| Circe
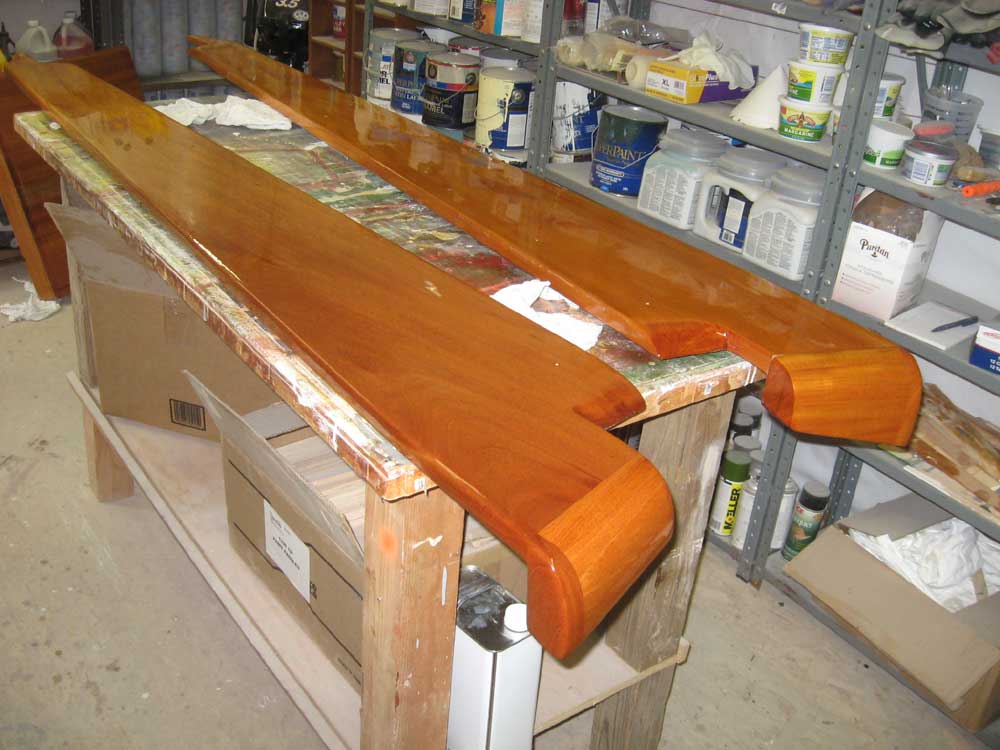
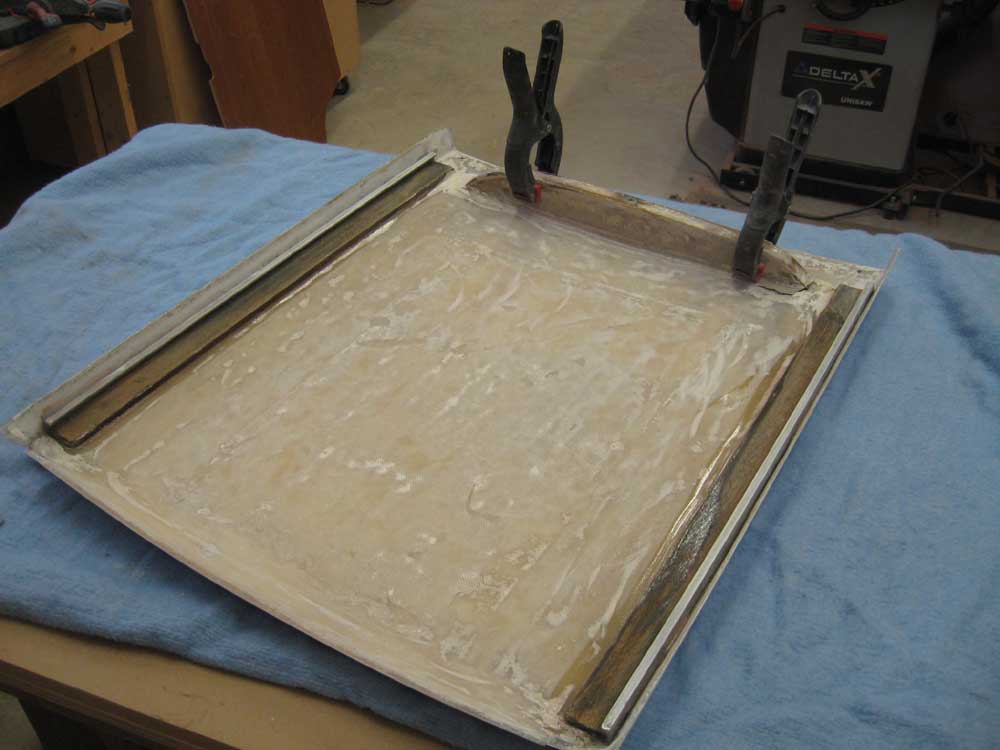
| Monday, January 11, 2010 Although the deck painting was complete, I wanted to give the new nonskid a bit longer to cure before I began to dance about the decks with abandon, so my plans for the beginning of the week involved several other tasks designed to minimize deck trodding for an appropriate length of time. In any event, I planned to protect the decks with rosin paper, particularly in light of the upcoming canvas templating work later in the week, but preferred to avoid taping things in place till I absolutely had to. To that end, I began up in the varnish room, where I turned over the coamings and sanded the opposite side once more. The inner side now had 6 coats and looked good, representing the end of the build process, but I'd left the "final" (6th) coat on the outsides until now. After solvent washing and tacking, I applied the 6th coat to the outboard side of the coamings. I planned to give the varnish as much cure time as possible before I had to install the coamings later in the week, probably Wednesday or Thursday morning, in time for the dodger templating. |
|
|
|
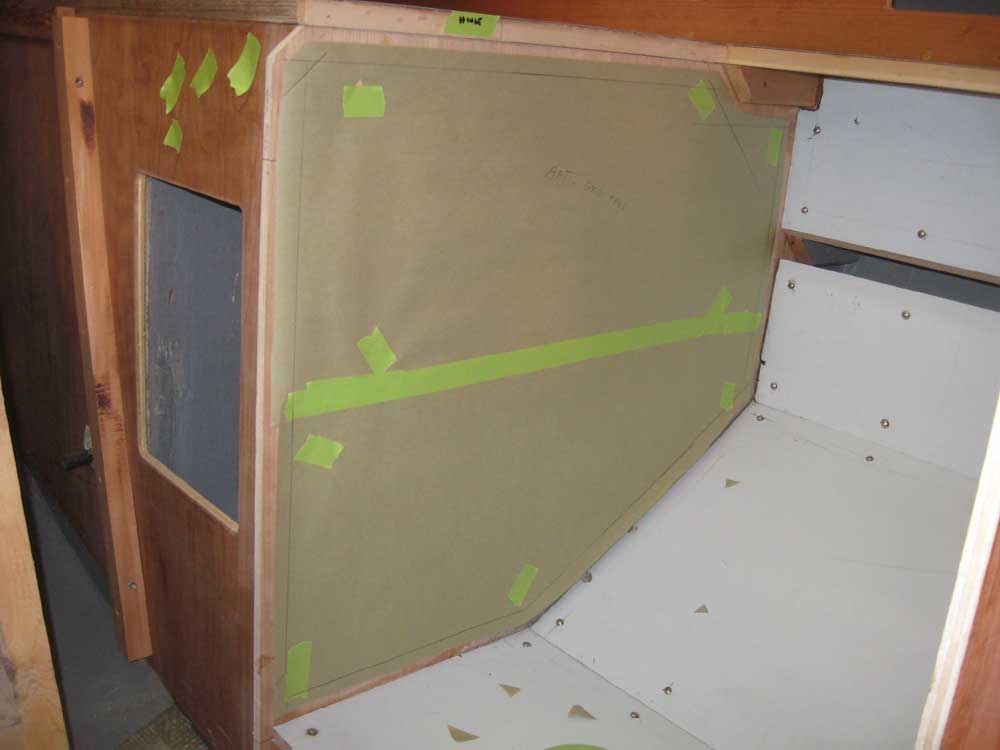
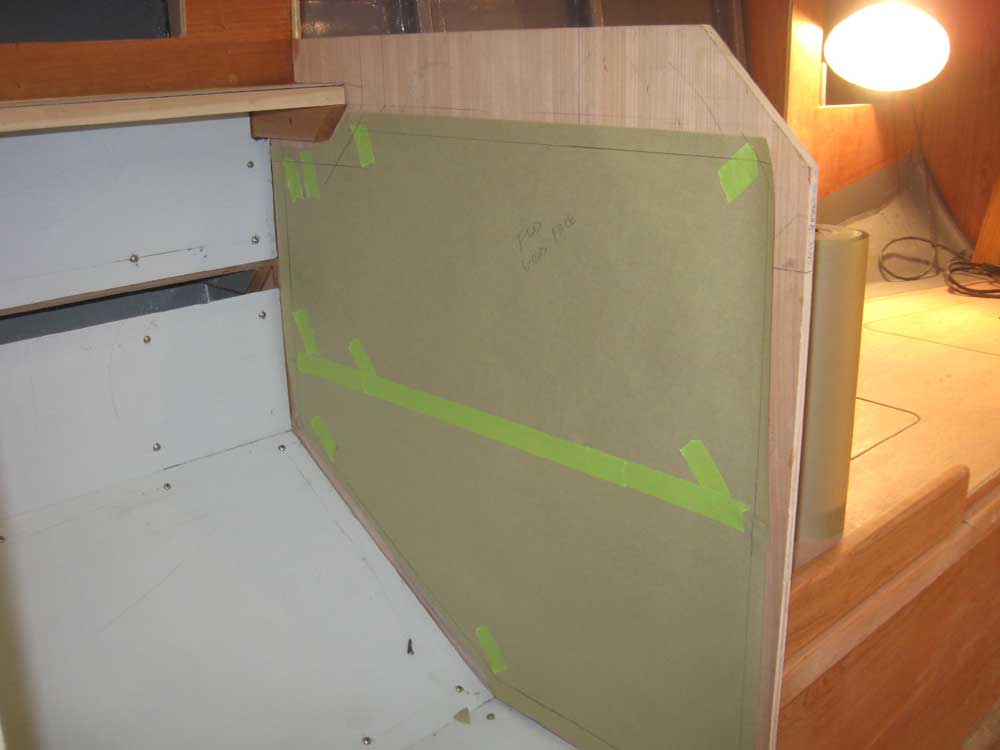
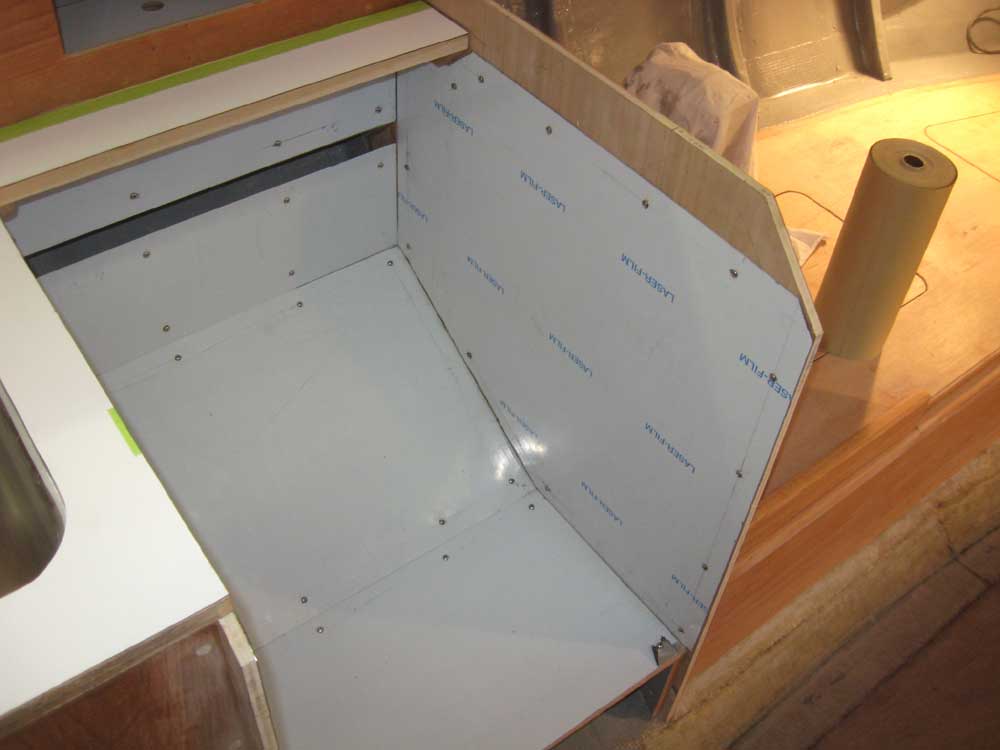
I continued work on the galley stove enclosure. I made accurate paper templates of the two large sides in order to transfer the shapes and angles to the rectangular pieces of 0.024" SS sheeting I had for the purpose. Once I had the patterns transferred to the panels, I made the necessary cuts with a grinder and cutoff wheel, and installed the panels. |
 |
|
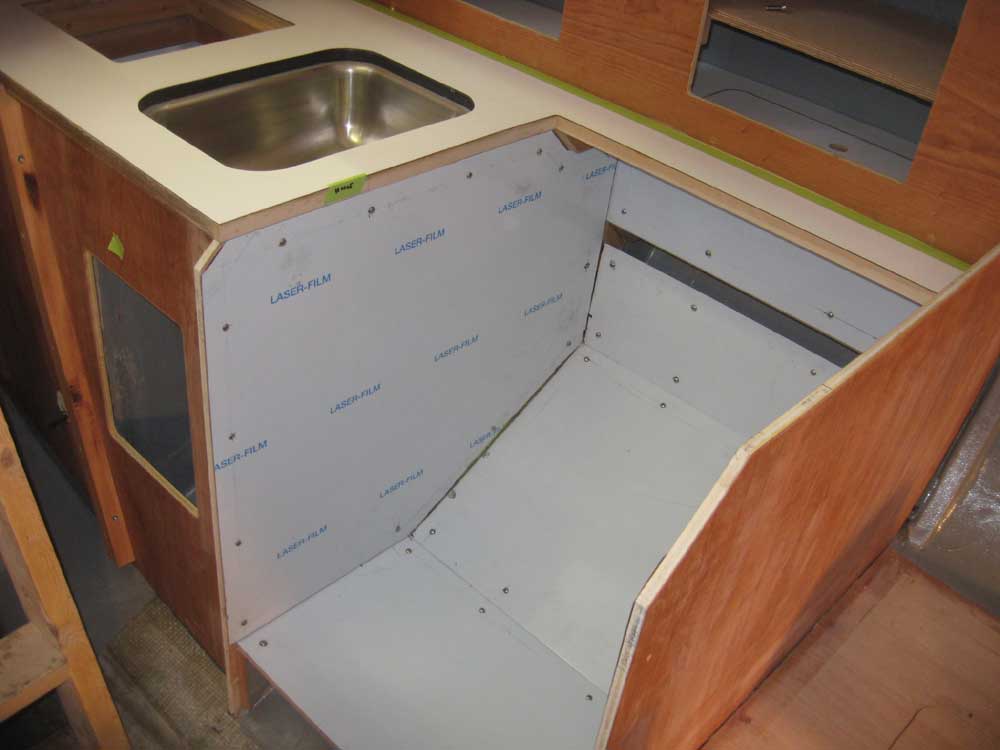
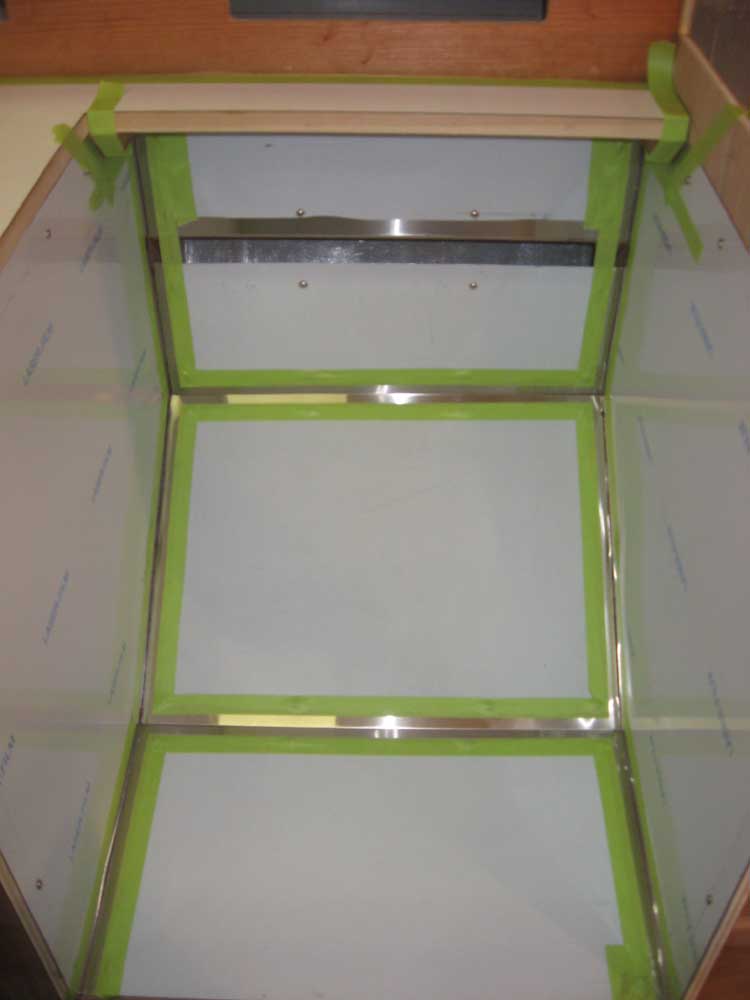
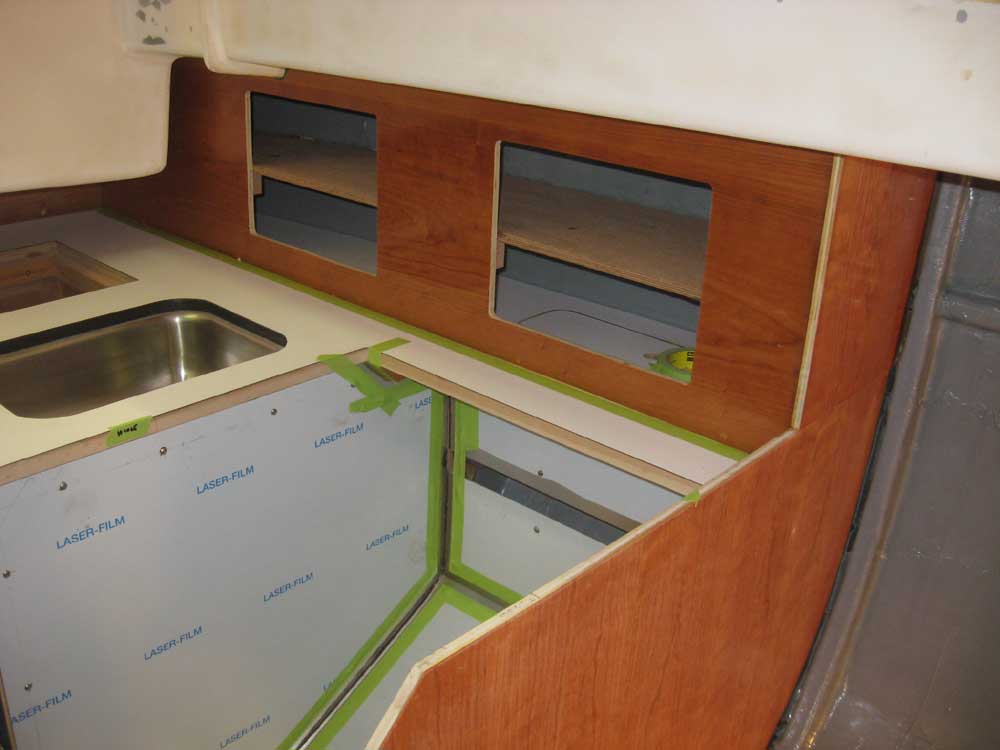
To trim the edges between the various panels, and in the corners, I planned to use silver-colored sealant. I removed the vinyl masking from the edges of the panels and applied masking tape a set and consistent distance from the sides. The sealant wouldn't arrive till tomorrow, so I'd taken this job as far as I could for the moment. |
 |
|
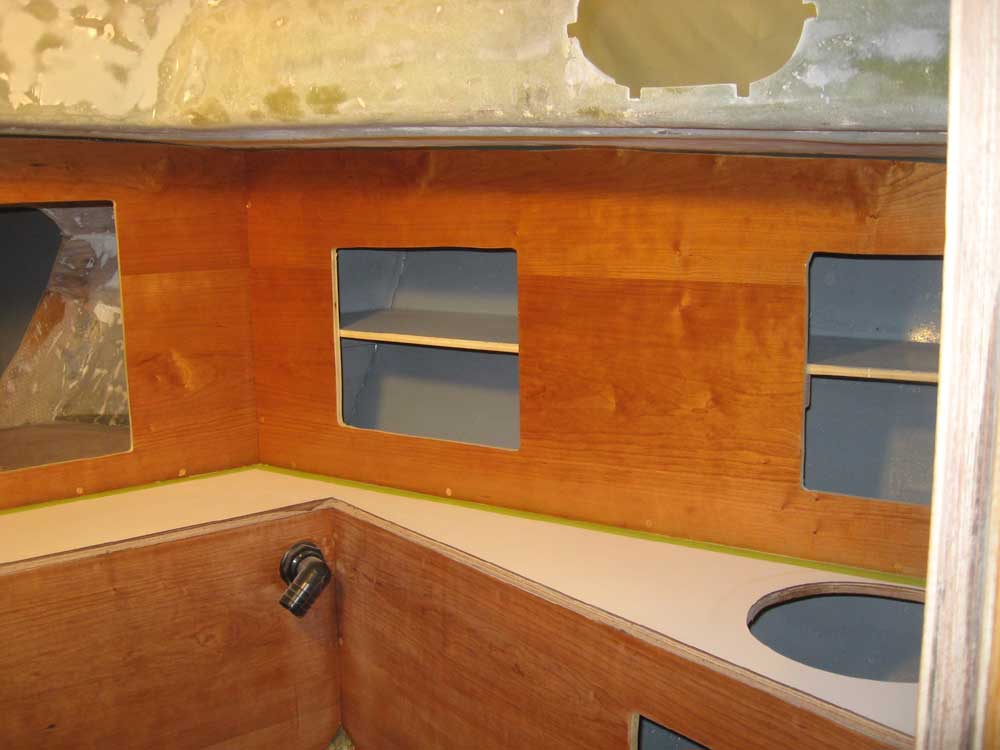
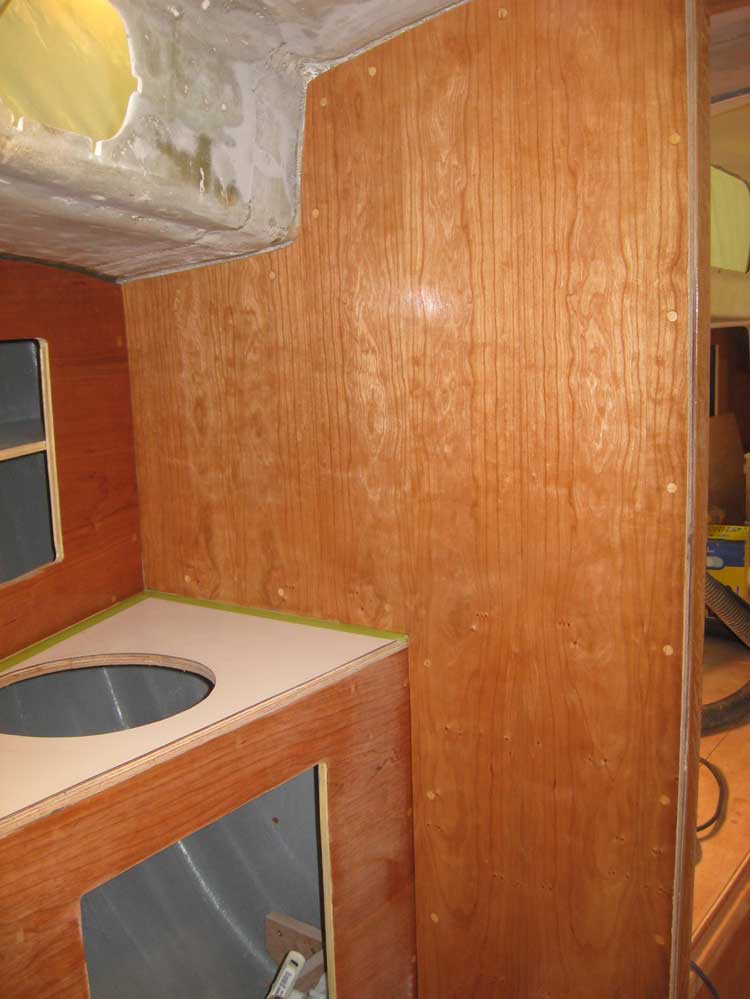
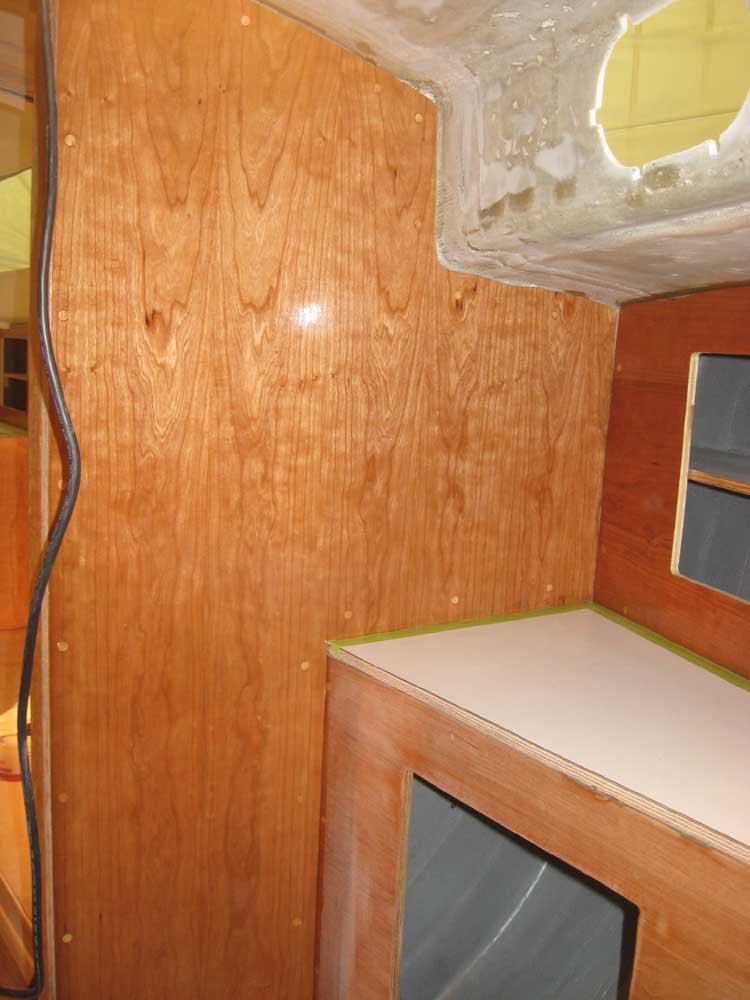
Continuing the varnish buildup on parts of the interior, I sanded and revarnished the newer panels in the head and galley as I worked to equalize the number of coats on all interior surfaces. |
  |
|
I'd be installing the companionway hatch later in the week, but first had to reinstall the original slides, which had become detached at some point. I cleaned up the bonding surfaces as needed, and epoxied the wooden bases to the underside of the hatch in the proper locations, ensuring that I oriented the L-shaped slides properly. I also re-glued some tabbing on the wooden stiffener at the aft end of the hatch. |
 |
|
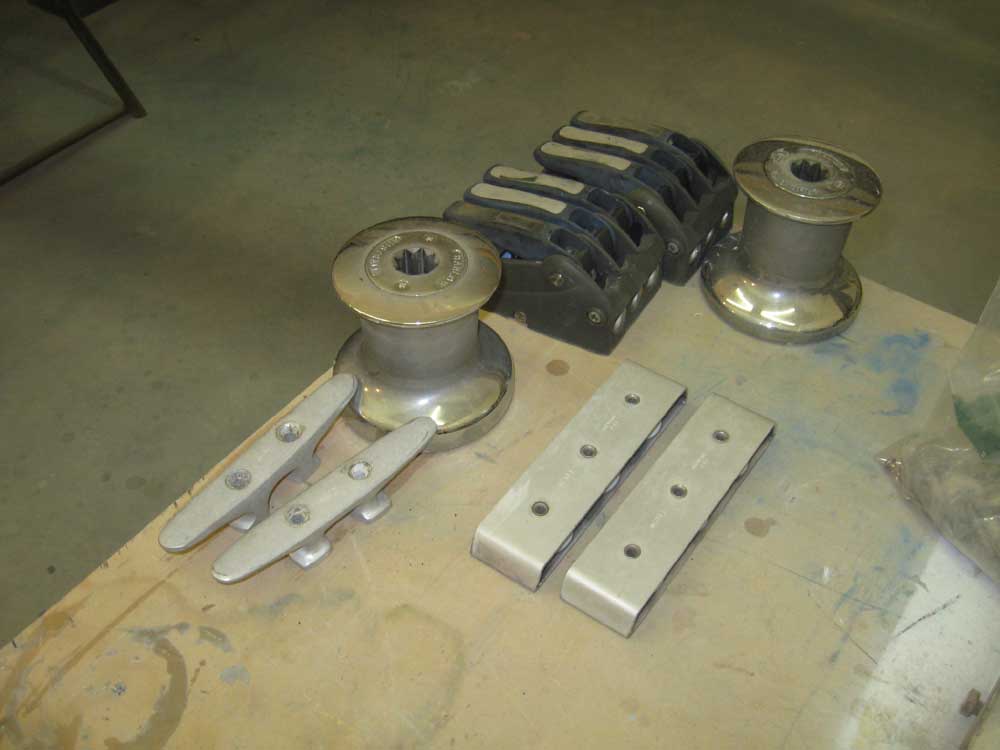
I spent the remainder of the day going through the bins of deck hardware that I'd earlier removed from the boat, setting aside the items that would go back aboard over the coming weeks. In particular, I needed to determine the location for the cabintop-mounted rope clutches before the dodger templating this week, so that the canvas contractor could properly allow for the line passage through the dodger. I set these aside and removed the old fasteners and cleaned up the hardware a bit for this task, which I'd complete tomorrow or the next day; I wasn't planning on installing the pieces just yet, but simply determining their locations for future reference. |
 |
|
While I was at it, I retrieved the old traveler from storage to determine how or whether to re-use it. It was looking like the best bet for mainsheet/traveler location would be at the aft end of the boat, near its original location, but now that the rudderpost and tiller extended into the aft deck, the new traveler would have to be mounted on a bridge to allow tiller operation and access. The old traveler, a late model Harken small-boat version, wouldn't be suitable on its own without a strong base to span the distance required between the necessary risers, so the question became whether to build a bridge on which to mount the existing traveler, or purchase a stronger traveler designed to work as its own self-supporting bridge. More to come. |
|
Photo from June 2009 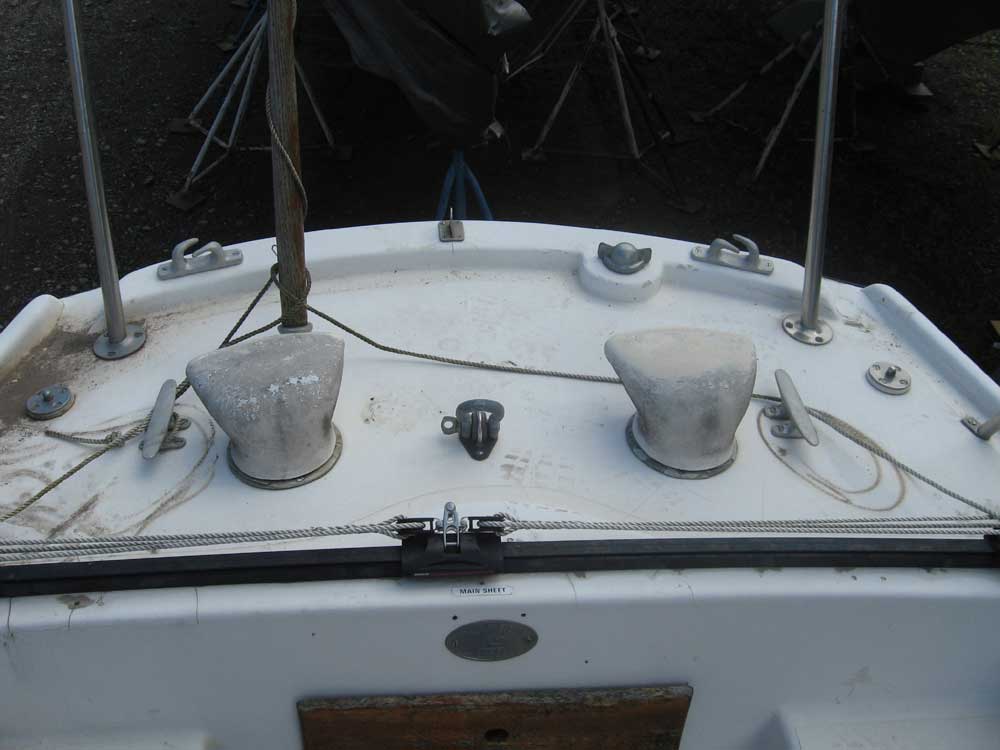 |
|
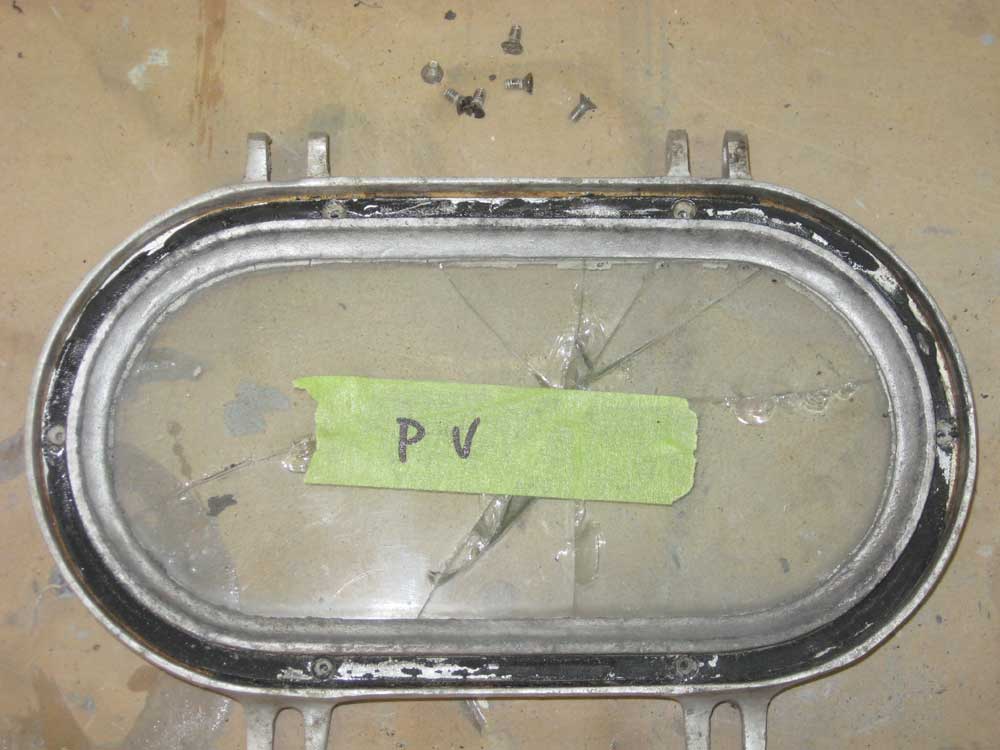
During removal, I'd noted that one of the opening ports contained cracked and broken glass. I pulled this port from storage and removed the glass, a process that went quite smoothly, perhaps because the boat had spent most or all of its life in fresh water up to this point. Most of the pictures I took of the process were badly washed out by flash, but I successfully removed the glass and taped it back together into its proper shape so I could have a new piece cut at a glass shop. Meanwhile, I had to determine what else needed to be done to the ports before reinstallation sometime in the coming several weeks. |
 |
|
|
|