| Circe
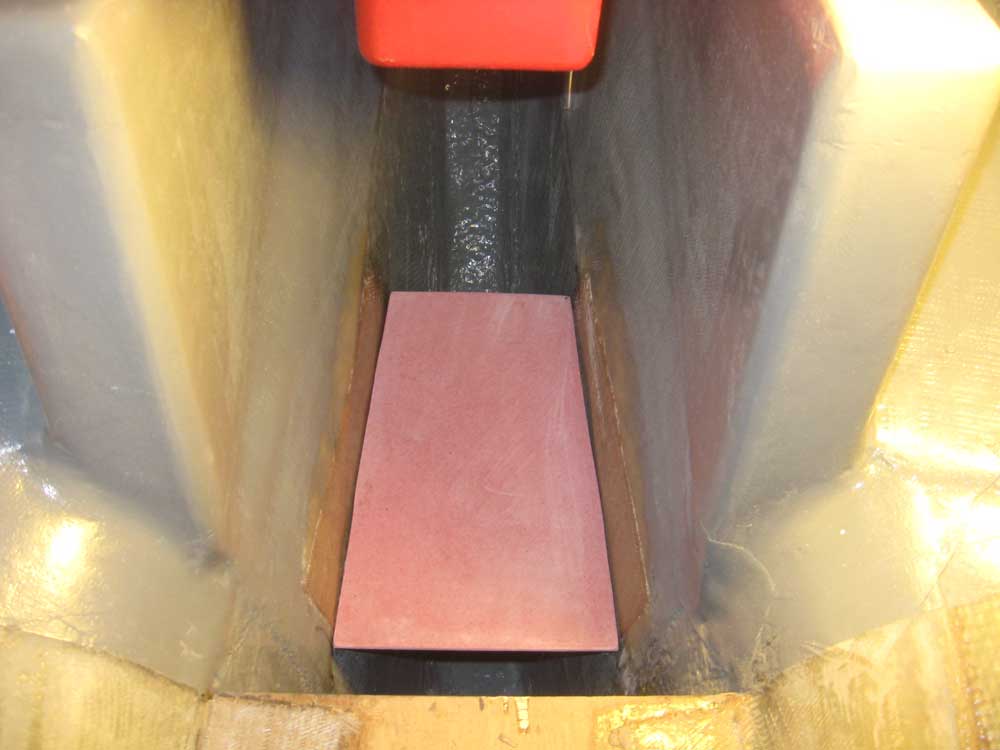
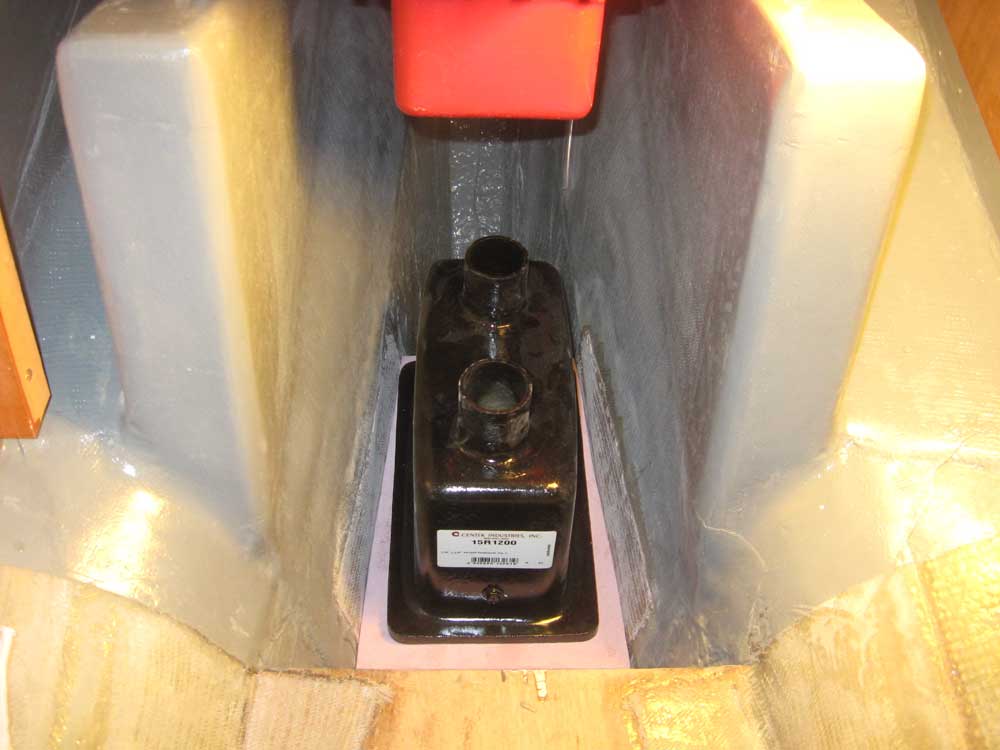
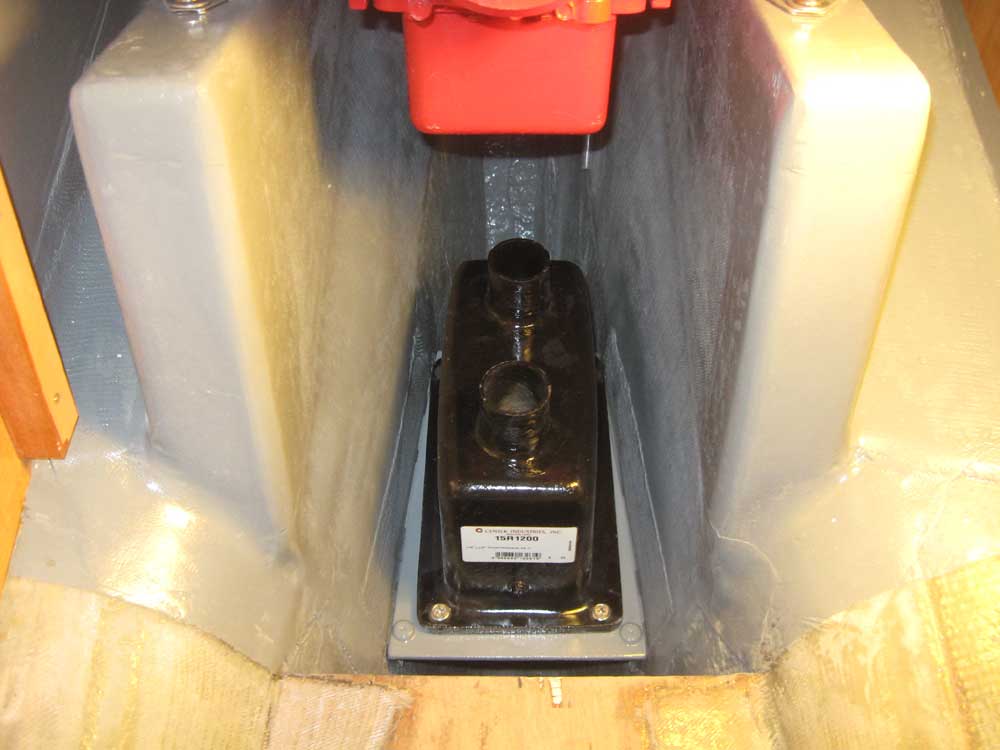
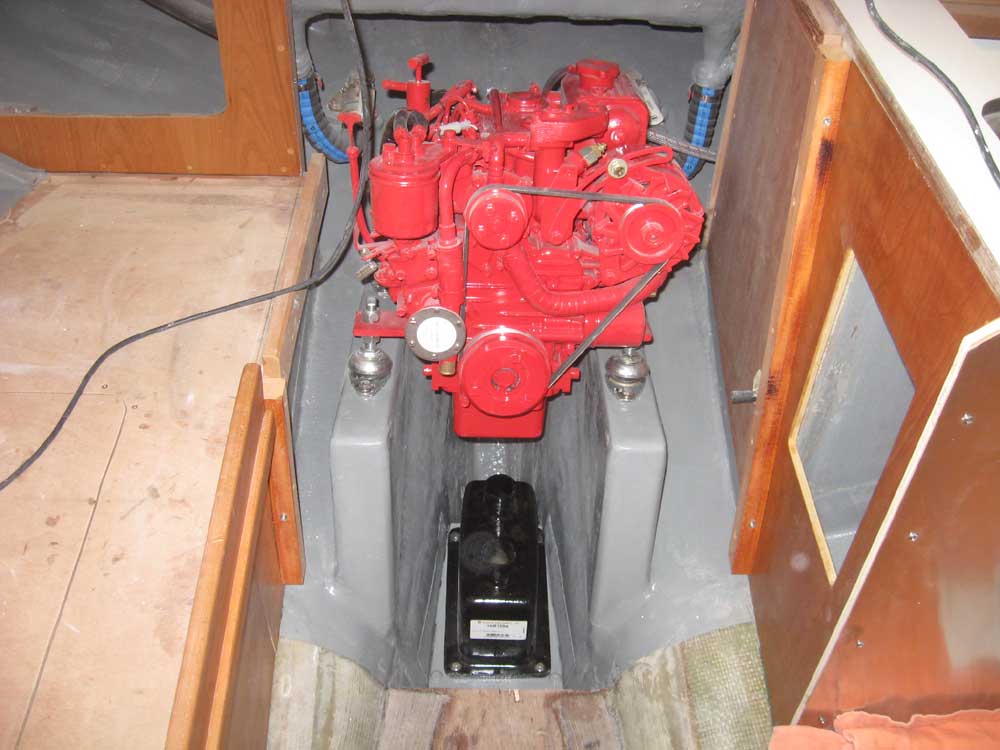
| Wednesday, February 10, 2010 The new muffler platform supports had cured overnight, so I washed and lightly sanded the parts, and then created a template for the platform, which I cut out of 1/4" fiberglass sheet. After a test fit and minor modification, I was ready to secure the platform. I wanted the whole arrangement to be secure, yet removable if need be for some future access to the bilge beneath. So I planned to secure it with machine screws into tapped holes. I began my setting the muffler in position and marking around its base for future reference. Down on the bench, I secured the front part of the muffler to the platform with stainless machine screws drilled and tapped through its thick fiberglass base and into the platform. The width of the muffler was such that the after two mounting screws could double as a means of securing the platform to the supports, as well as securing the muffler at that end, whereas at the forward end I needed two screws in the platform to secure it to the flanges. I started with the forward screws, drilling and tapping holes through the platform into the flanges beneath, and when they were secure I drilled through the muffler flange, platform, and flanges at the aft two corners. I removed the muffler but left the platform in place, and painted out the area. Later, I secured the muffler in place, completing the installation. |
|
|
|
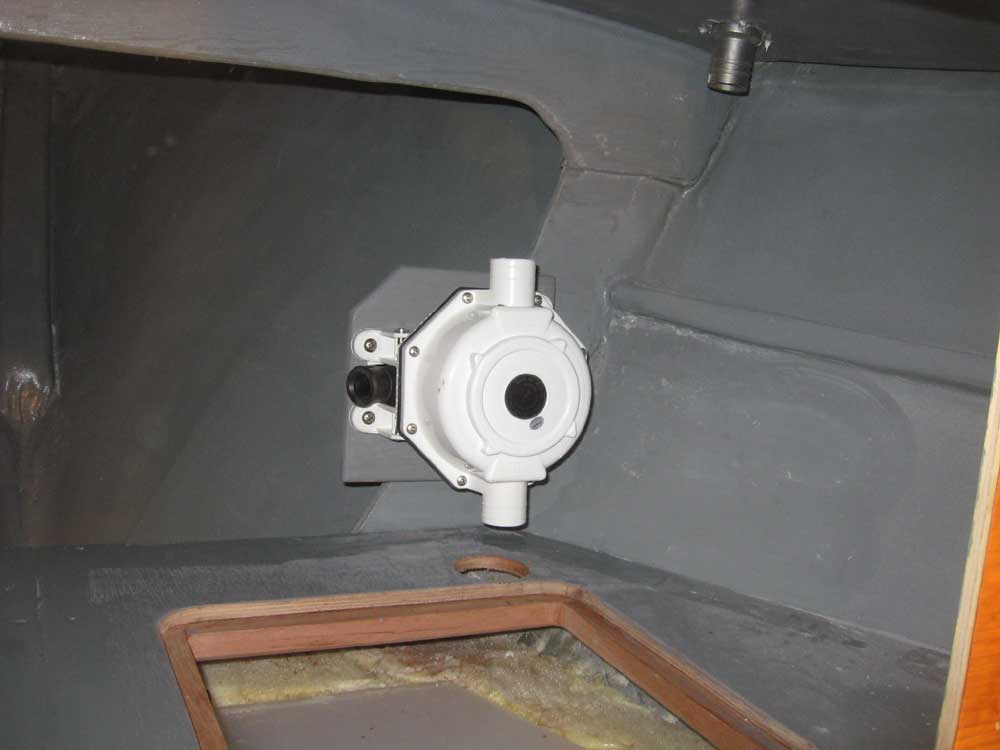
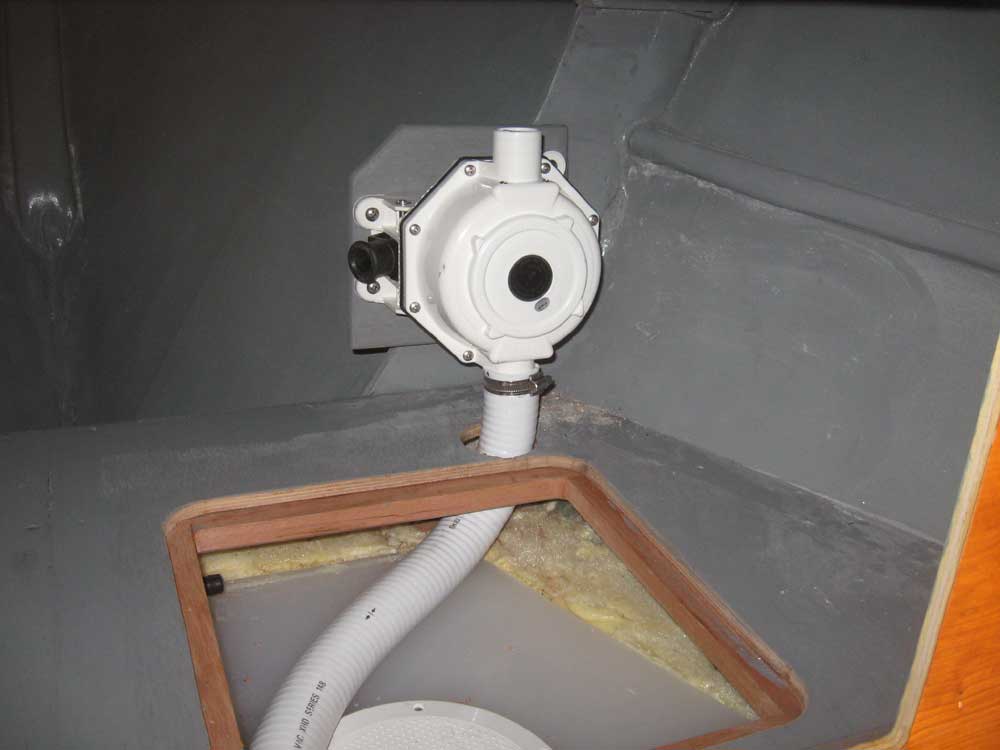
I spent the abundance of the rest of the day working on the sanitation system--specifically the holding tank pumpout. All waste on this boat will go directly into the holding tank, with no direct overboard discharge. From the holding tank, however, there needed to be the option of normal deck pumpout to a shoreside station, or overboard pumpout where statutes allow. During my initial hose installation, I'd not installed the pump and hoses for this system. After some thought, I decided to mount the waste pump on the aft edge of the chainlocker "bulkhead", near the starboard waste deck plate that I'd installed earlier in the week. This location would be convenient enough to operate the pump, out of the way enough to avoid undue clutter, and, most importantly, relatively receptive to the hose runs and directions that would be required. I built an 18mm plywood base for the pump and secured it to the bulkhead with epoxy adhesive and bronze screws. Then, using the pump as a guide, I drilled a hole in the platform directly beneath the pump inlet, so I could run the inlet hose directly to the pump. I installed the pump with four bolts--two of which also went through the bulkhead, further reinforcing that attachment--and ran a length of sanitation hose from the tank to the pump inlet through my new hole. |
 |
|
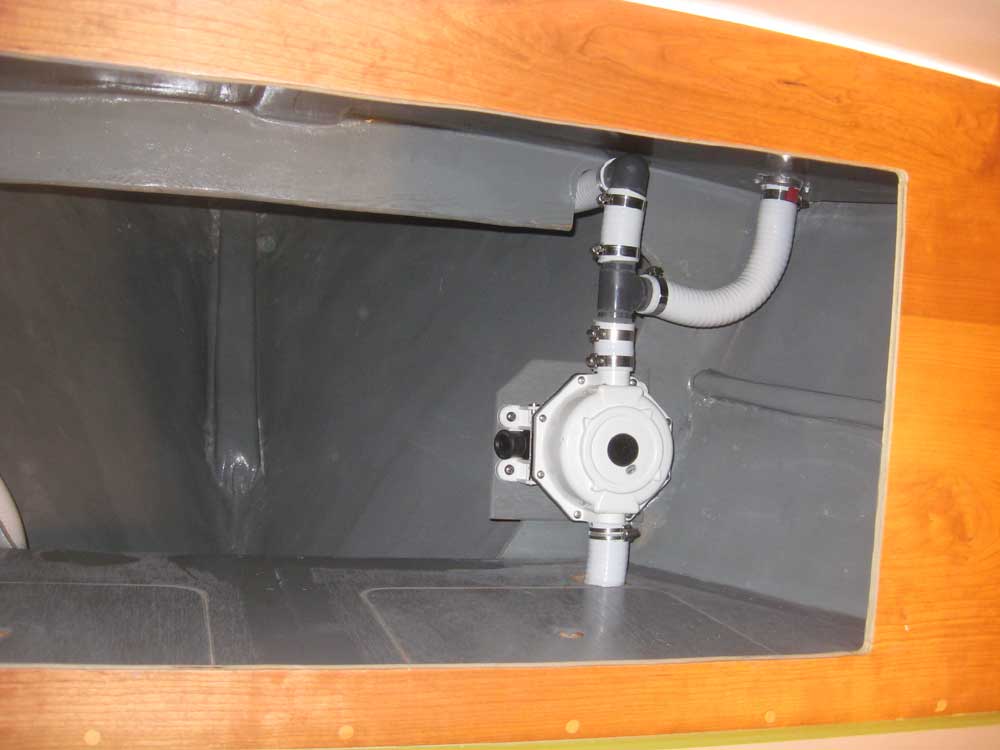
The hose for the overboard discharge had to run from the port side-mounted through-bulkhead fitting, located in the cabinet face beneath the forward countertop, through the chainlocker bulkhead and then over the top of the chainlocker to eventually meet up with the pump--or, more specifically, with the outlet hose from the pump one one side of a tee fitting, the other leg of which would run to the deck-mounted plate. With challenge neither easily nor effectively translatable into words, I completed these final two hose runs, creating a Saguaro cactus-looking arrangement of hoses. Still ahead, I'd need to run the holding tank vent fitting, which would complete the holding tank plumbing. |
 |
|
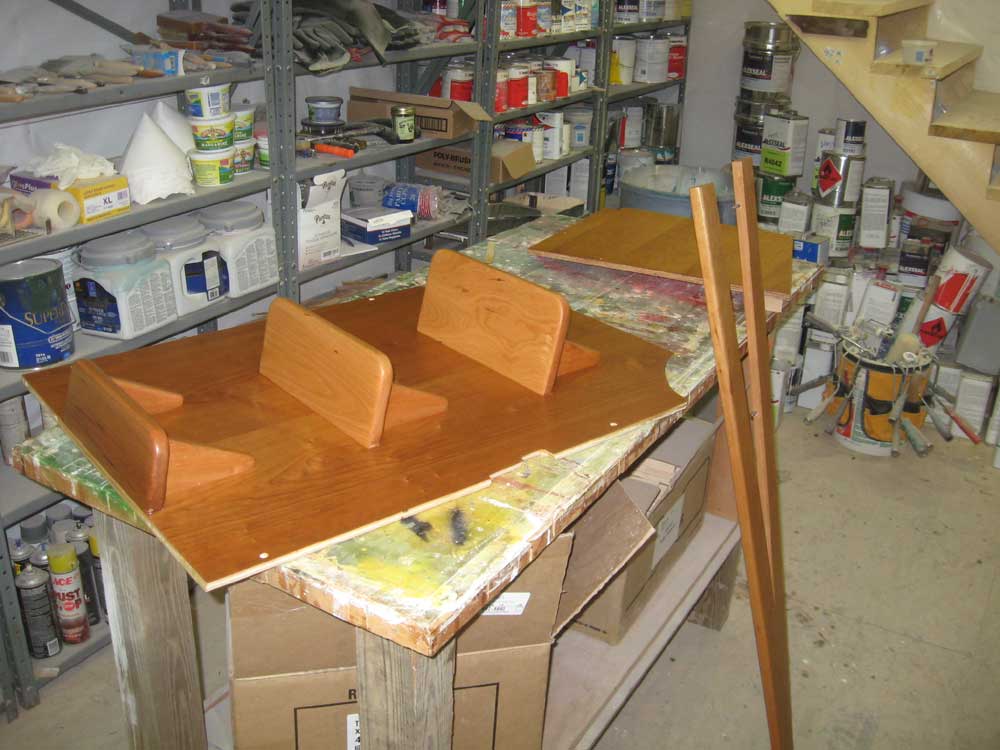
I finished up the day with another coat of varnish on the engine box/companionway ladder and removable settee fiddles, this time with a satin varnish. |
 |
|
|
|