| Circe
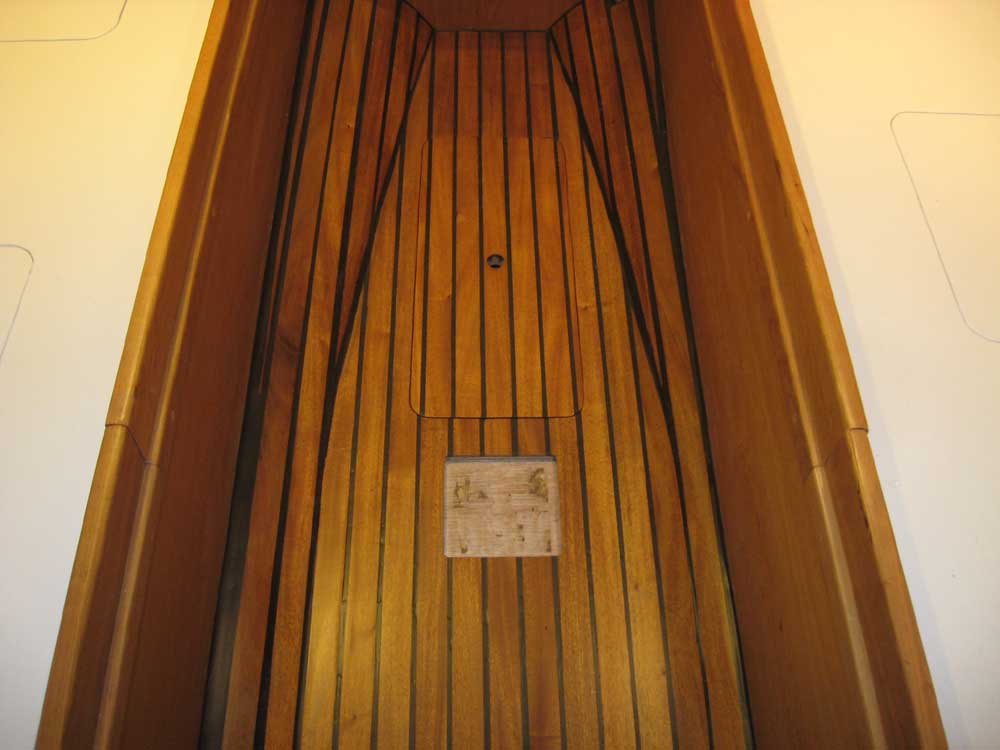
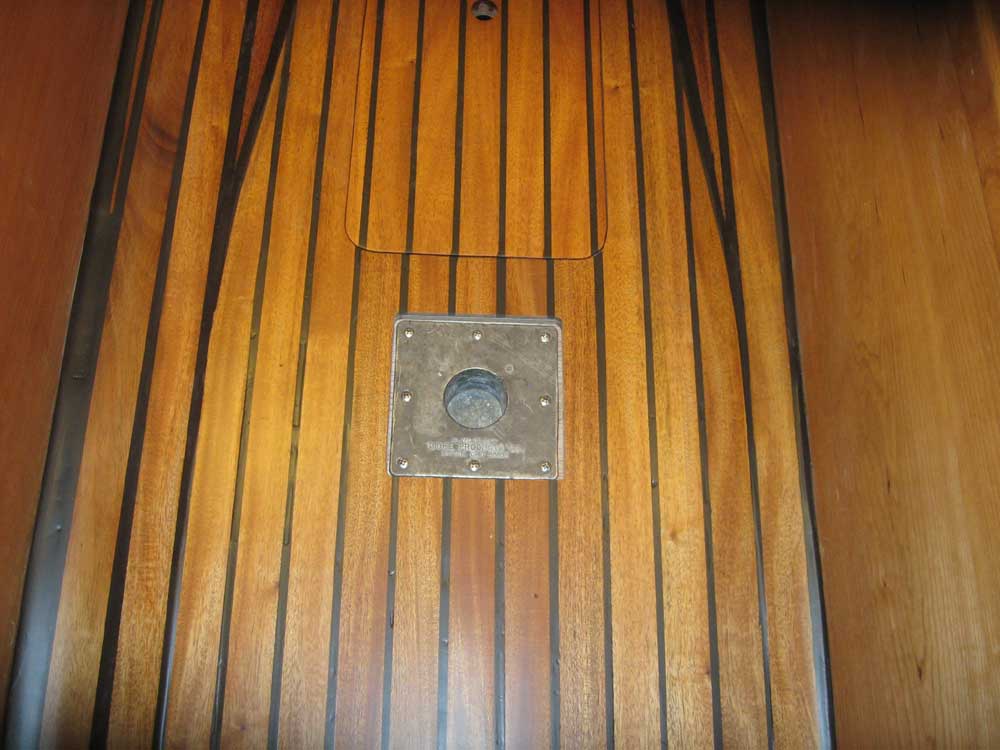
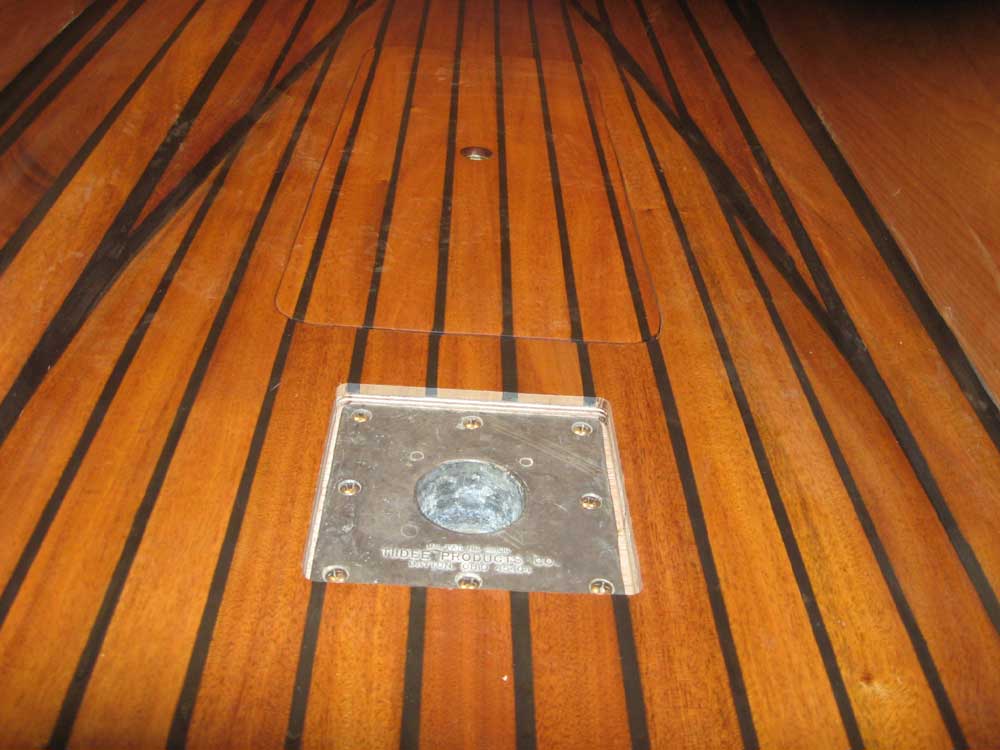
| Thursday, April 15, 2010 I used my routing jig, which I made yesterday, to cut a test hole in a piece of scrap to test the setup and determine the depth of cut required before I started work on the cabin sole itself. The test proved successful, so I covered the bottom of the jig with masking tape to protect the cabin sole and clamped it in place over the area I'd previously marked. Cutting the recess went well, if messily, and the resulting opening was clean and crisp. To install the table leg receptacle itself, I marked the center of the new opening and drilled a large hole for the base, after which I secured it with screws. |
|
|
|
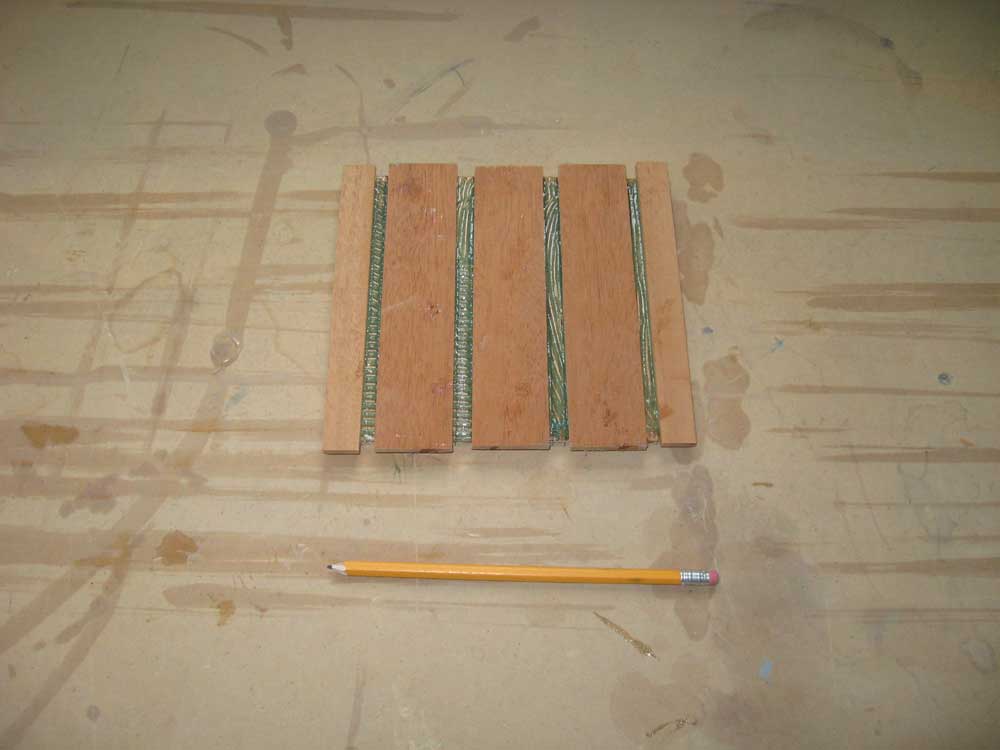
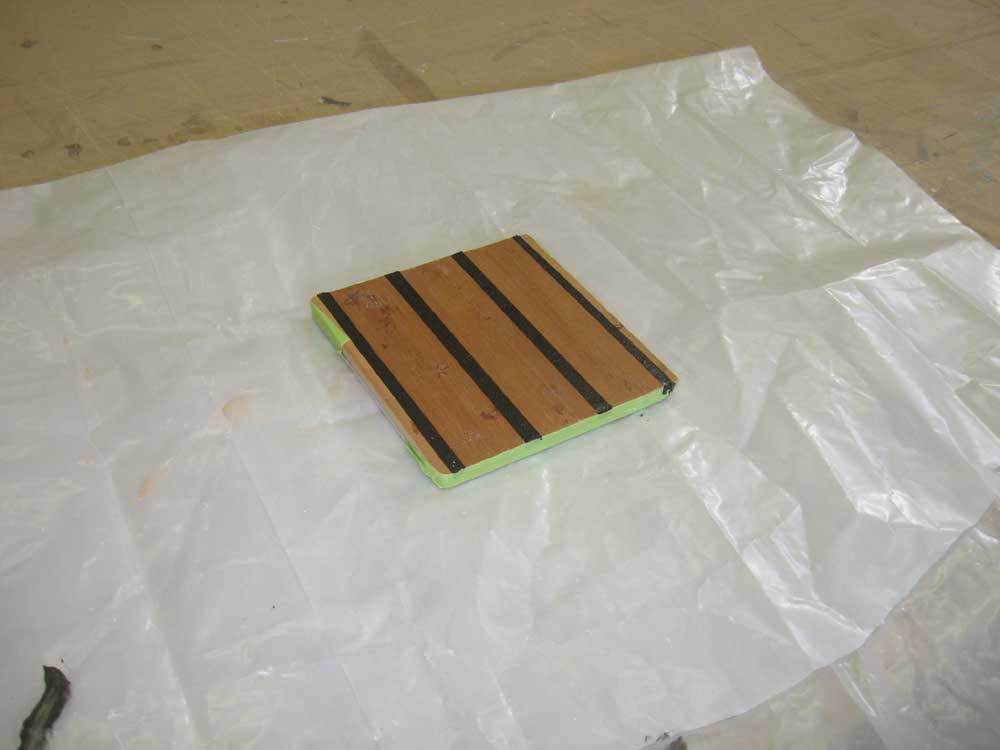
I'd routed the opening deep enough to allow for a 1/4" plywood base with 1/4" mahogany planks on top for the new cover plate, so I cut a piece of plywood to size, shaped the corners, and tested the fit. I marked the adjacent plank/seam pattern on the plywood base, cut strips of mahogany to rough length, and glued them to the plywood substrate with epoxy adhesive. |
 |
|
Later in the day, when the adhesive had cured sufficiently, I trimmed the overhanging edges of the mahogany, taped off the open ends of the slots between the planks, and overtaped the planks to protect them from the epoxy filler; then, I filled the slots with the graphite-blackened epoxy mixture I'd used throughout the cabin sole, and set the hatch aside to cure overnight. |
 |
|
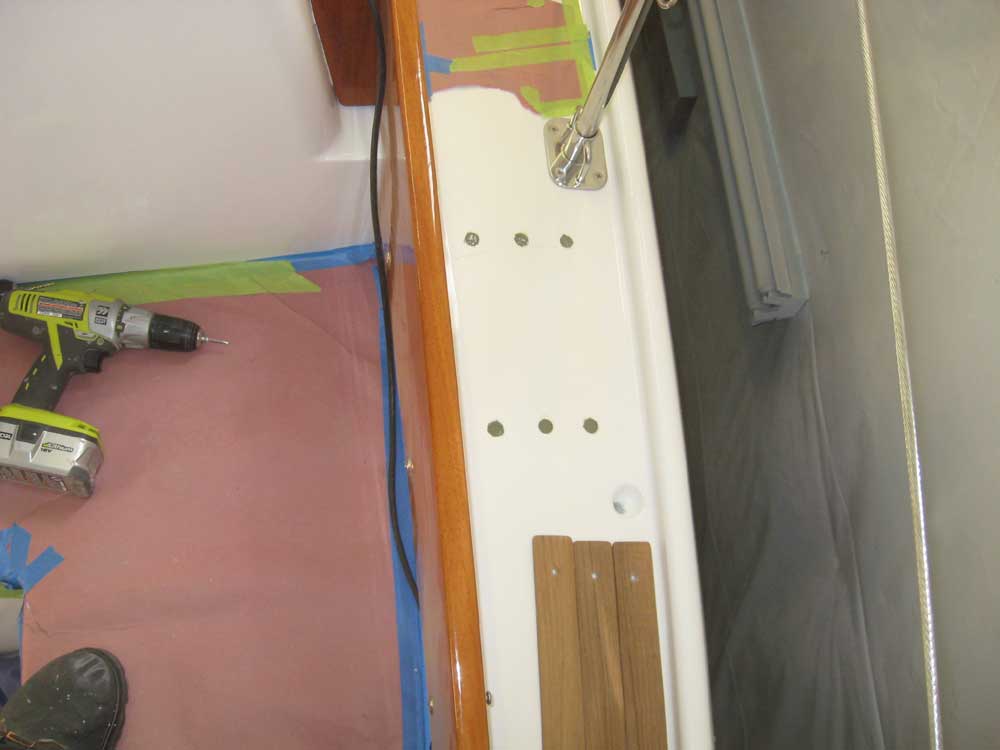
Another small project on the remaining list was to install some teak strips as a step pad on the sidedecks outboard of the coamings, where one might step when coming aboard. To that end, I milled some 12" long strips of teak--three per side--and made preparations to install them. Though I'd thought the area where they were to be installed was solid fiberglass, I discovered during drilling that there was a plywood core in the area, so I overbored all the screw holes and filled with epoxy, leaving it to cure before continuing. |
 |
|
|
|