| Bolero
Project |
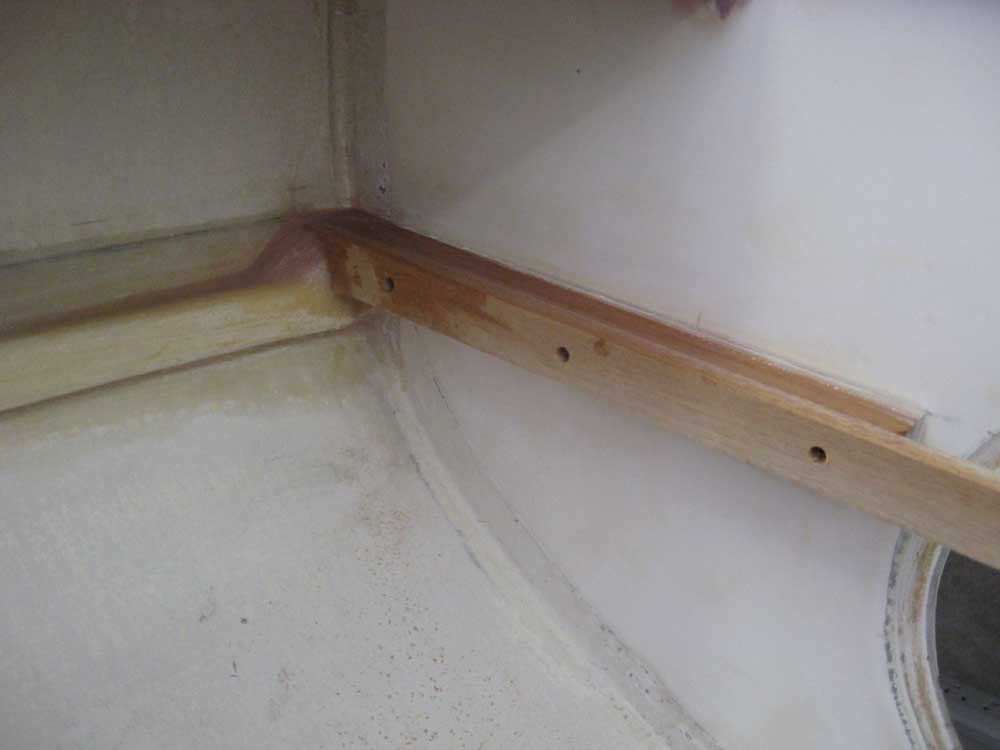
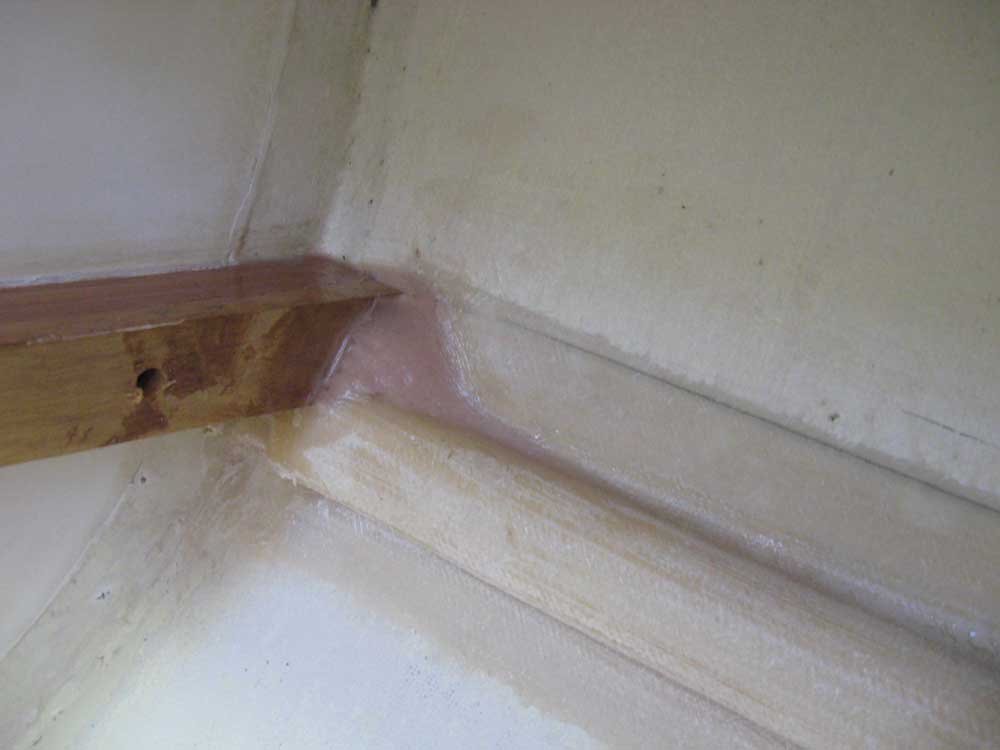
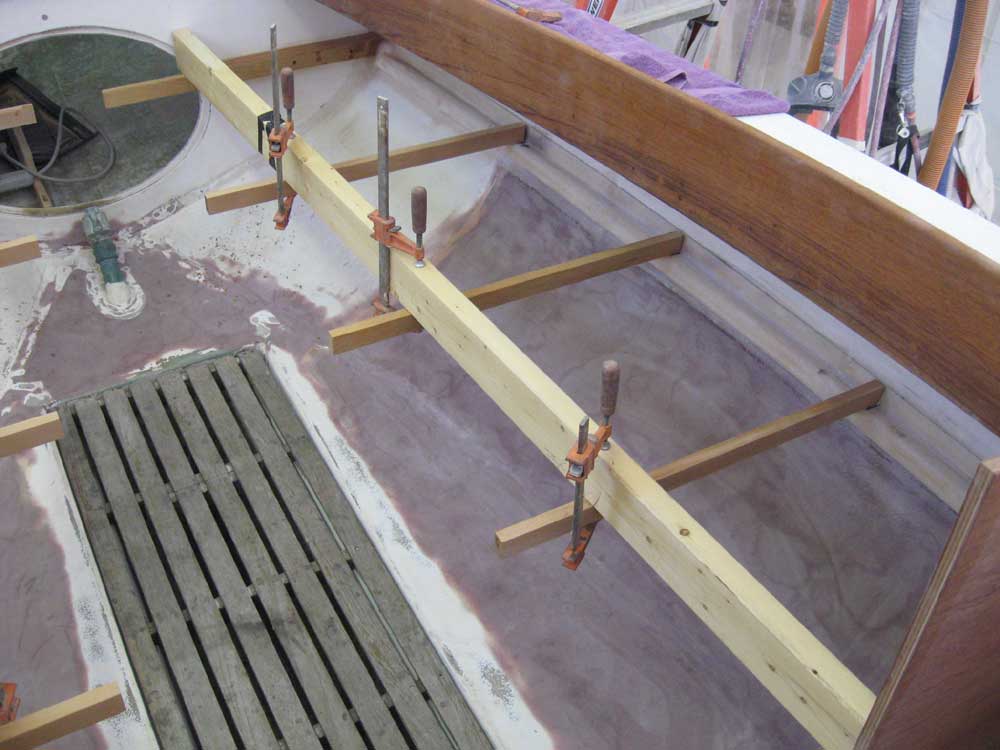
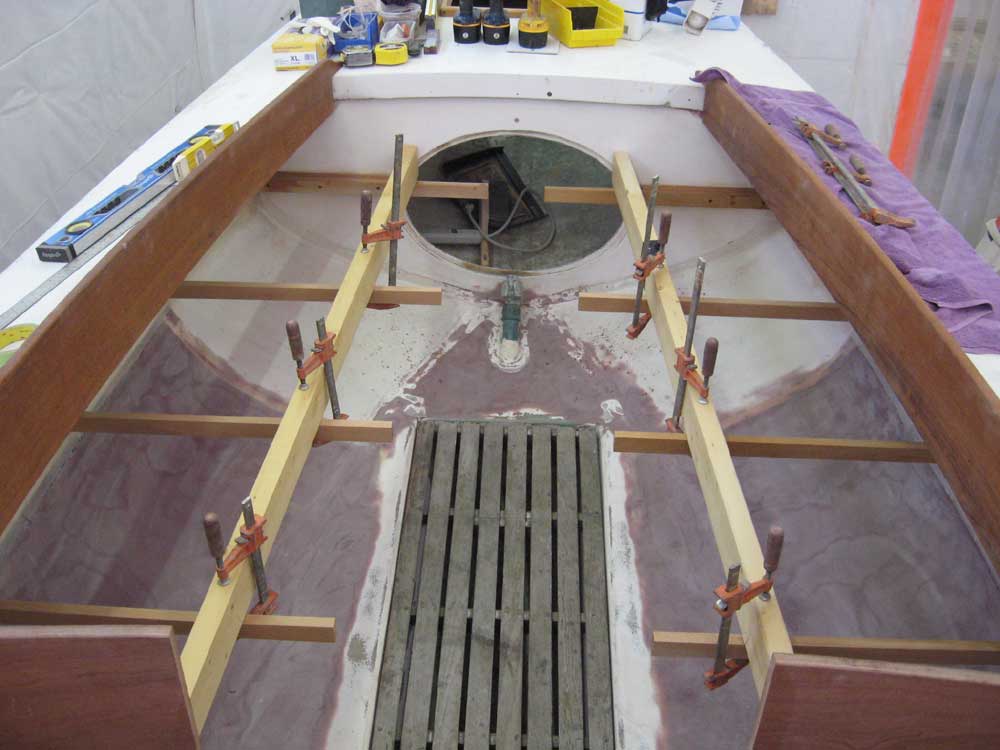
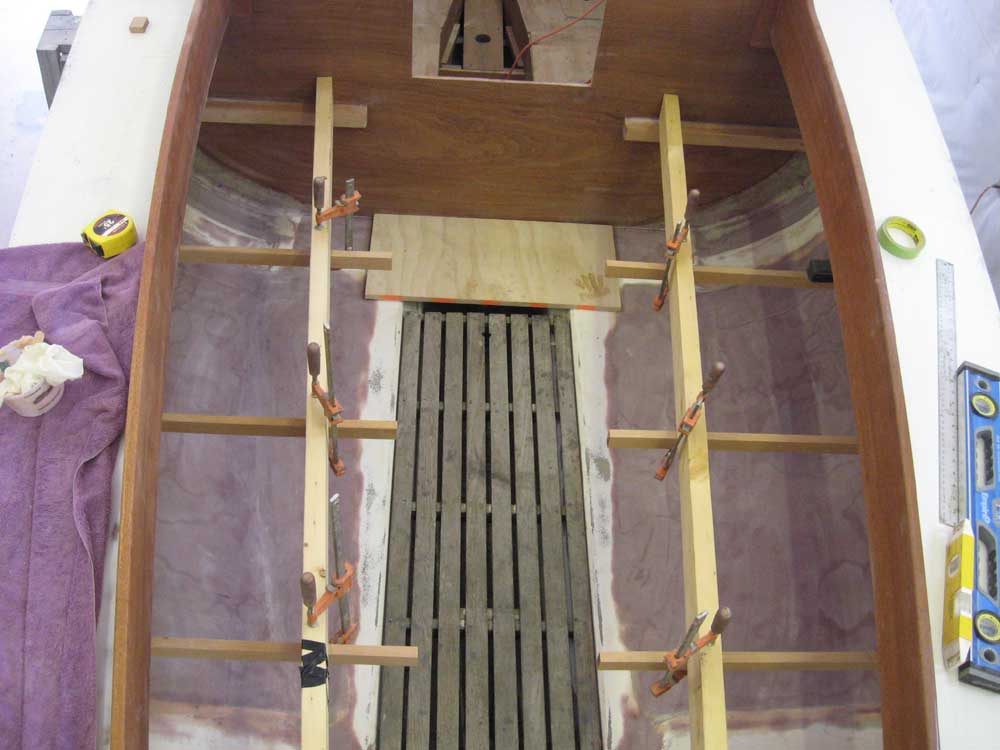
Friday, May 9, 2008 I spent most of the day working on the cockpit seats. It was time to get some supports into the boat and underway. I had an idea what I wanted to do with the supports, but as with so many aspects of construction I knew that the process would develop on its own once I got started, whether or not I knew exactly how before beginning. I knew that I needed a series of transverse supports for the cockpit slats, and I knew that the outboard ends of these supports would rest upon the glassed-in stringer that I installed earlier. I knew that somehow there'd be angled legs running to the hull beneath these supports. But where the whole thing went from these basics I knew I'd only discover when it happened. For a time, I'd been worrying about what to do at the aft end of the cockpit, where several forces would combine to complicate matters. First and foremost--and still concretely unresolved, though not in a worrisome way (refer to the paragraph above)--was the need for clearance for practicable use of the tiller. Only seeing how the actual seats laid out and how much space they took would point towards the correct solution, so I wasn't concerned about that now. But another issue at the aft end of the cockpit was the existence--and desire to maintain the existence--of the elliptical bulkhead hatch. The seats would likely be wider than the available bulkhead space for support; I'd installed the bulkhead cleats to support as much of the cockpit seating areas as possible, but there was still a section where the future seat would extend past the opening in the bulkhead. My solution for this, and the most straightforward one possible, was to install additional mahogany cleats directly to the faces of the heavier cleats already installed. With the 1-1/2" width of the main cleats, the new cleats, when installed, left a gap more than wide enough to maneuver out the elliptical hatch if needed. I cut a pair of cleats overlong and installed them with epoxy and screws, thoroughly bedding the outboard end in thickened epoxy and forming a broad fillet for additional support. Later, I'd trim off the excess length when I determined exactly what that length should be. |
|
|
|
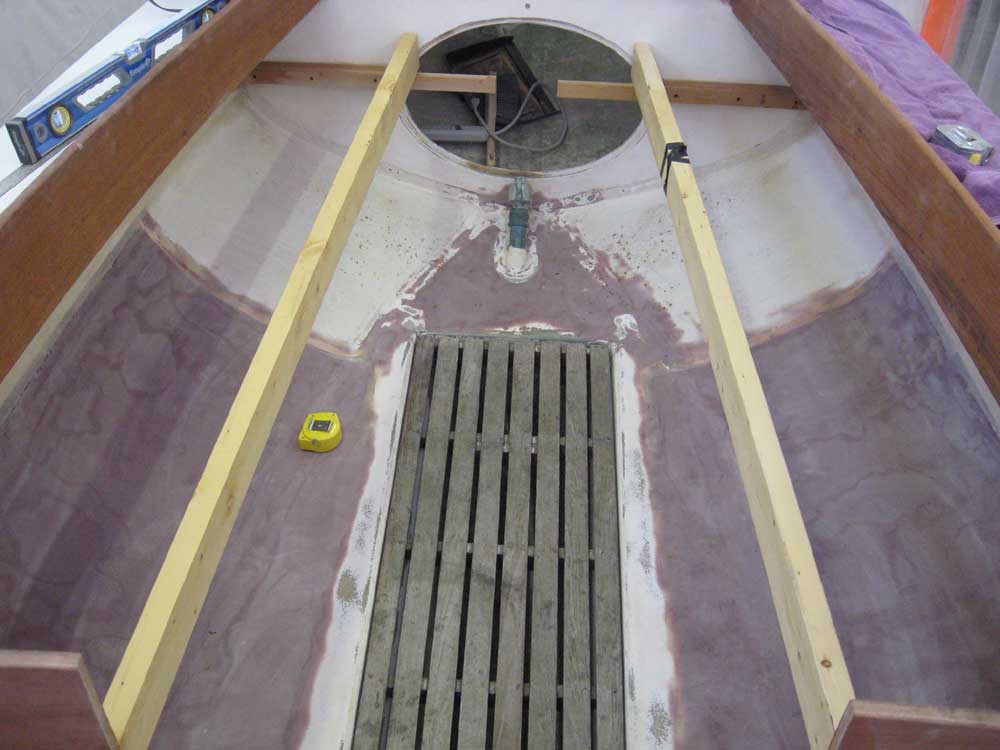
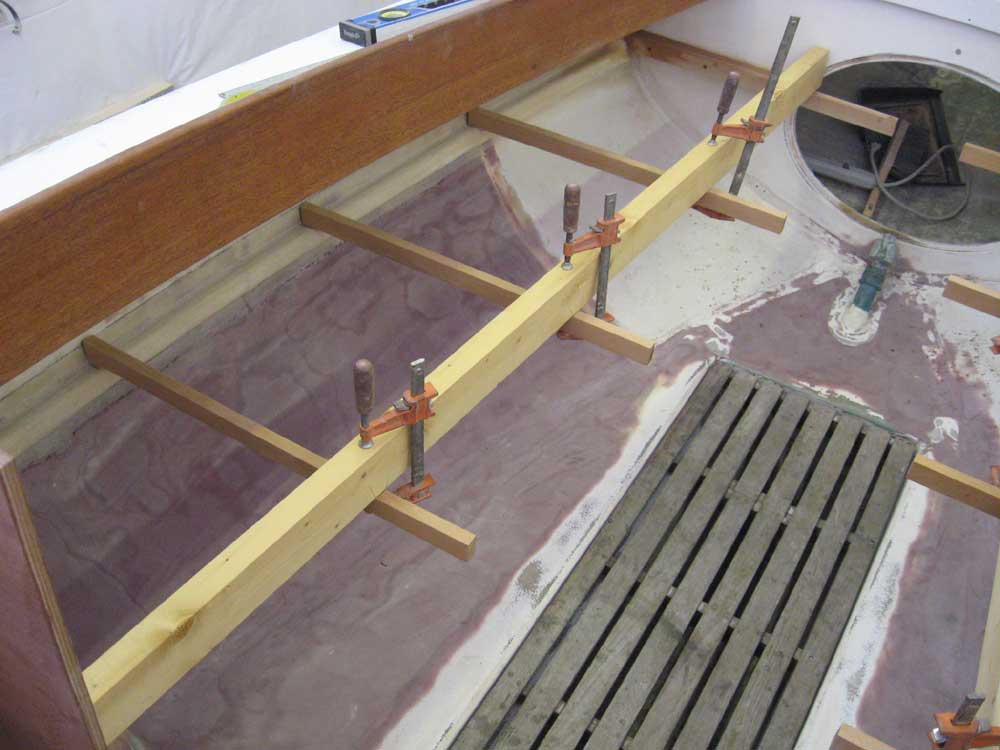
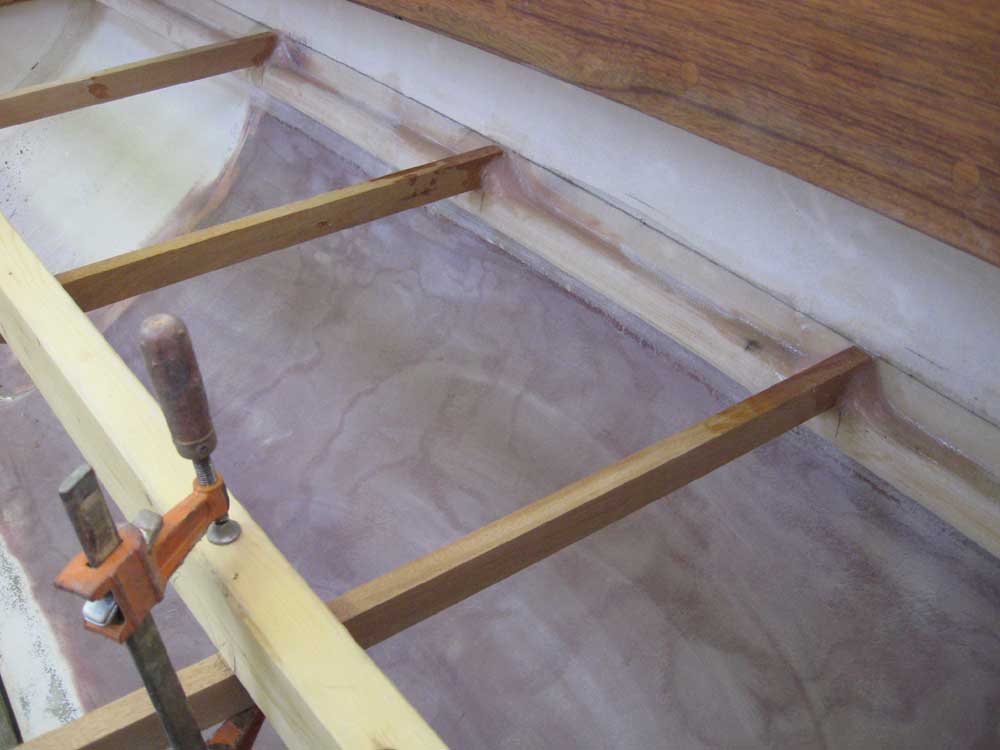
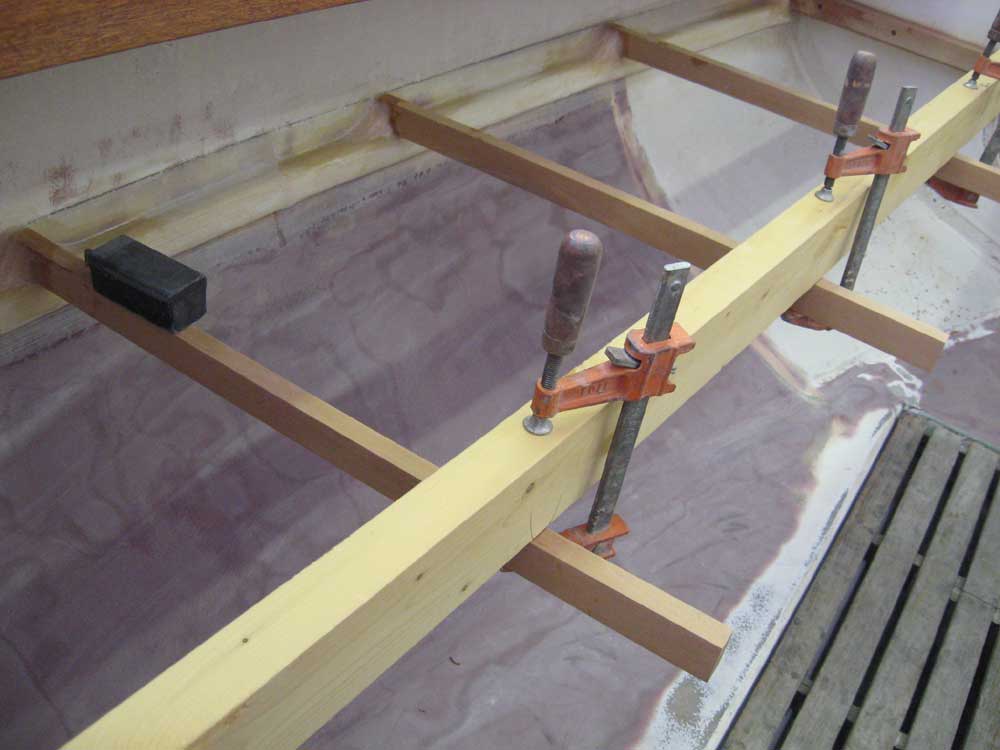
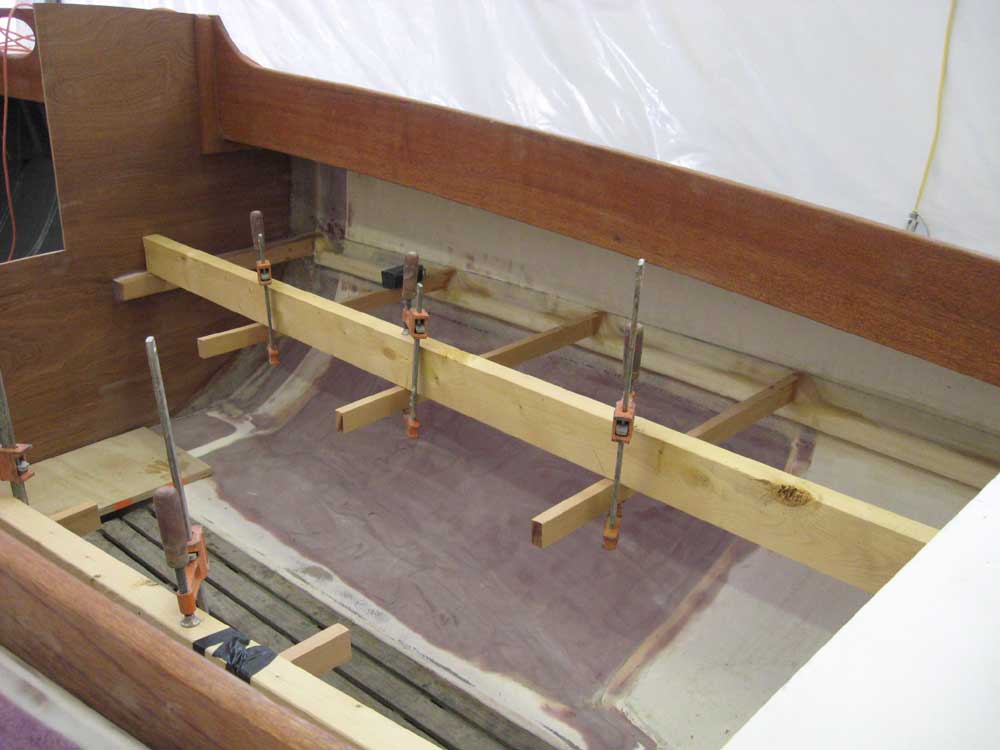
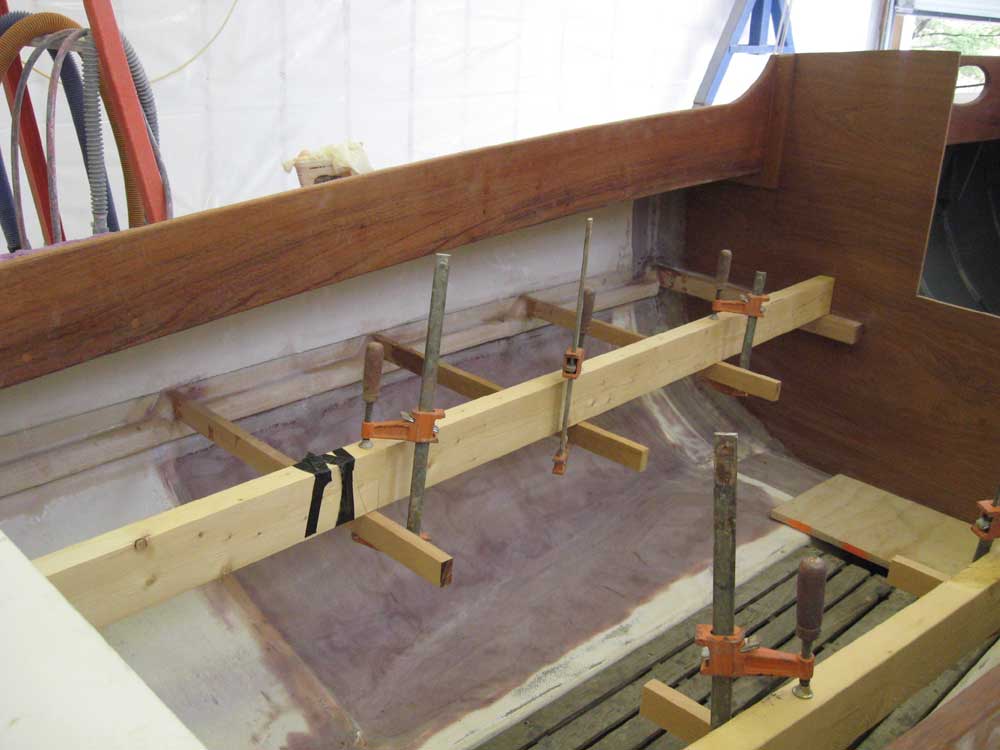
While I was at it, I cut six additional supports from 1-1/2" wide, 3/4" thick stock. After measuring the maximum width that I thought the seats might be, I cut the supports several inches longer to provide adequate leeway for adjustments or other considerations (27"). These six supports, roughly evenly spaced on each side, would provide the support and screw-bearing surface needed for the seat slats between the two cockpit bulkheads. To install the supports, I cut a pair of 2x4s to a length that fit between the bulkheads roughly 18" out from the hull (randomly selected measurement), and temporarily installed them on the bulkhead cleats with a dab of hot glue just so they wouldn't move around unintentionally. Then, after making some measurements, I spaced out the three supports on each side, keeping them parallel with the forward bulkhead. I rested the outboard end of each support on the fiberglassed stringer on the hull that I installed for the purpose, and clamped the inboard end to the 2x4. As planned, the top of the support ended up flush with the level of the bulkhead cleats, and the supports were level in a transverse orientation. I repeated this process with all six cleats. |
|
|
|
With the layout complete, I installed the cleats in a heavy bed of thickened epoxy at the support stringer on the hull--beneath the piece, behind (outboard of) the piece, and on each side with a thick fillet, and left the boat so that the epoxy could cure. Remember that these cleats were all overlong, so their ends sticking into the cockpit do not represent the actual inside edge of the planned seats. |
|
|
|
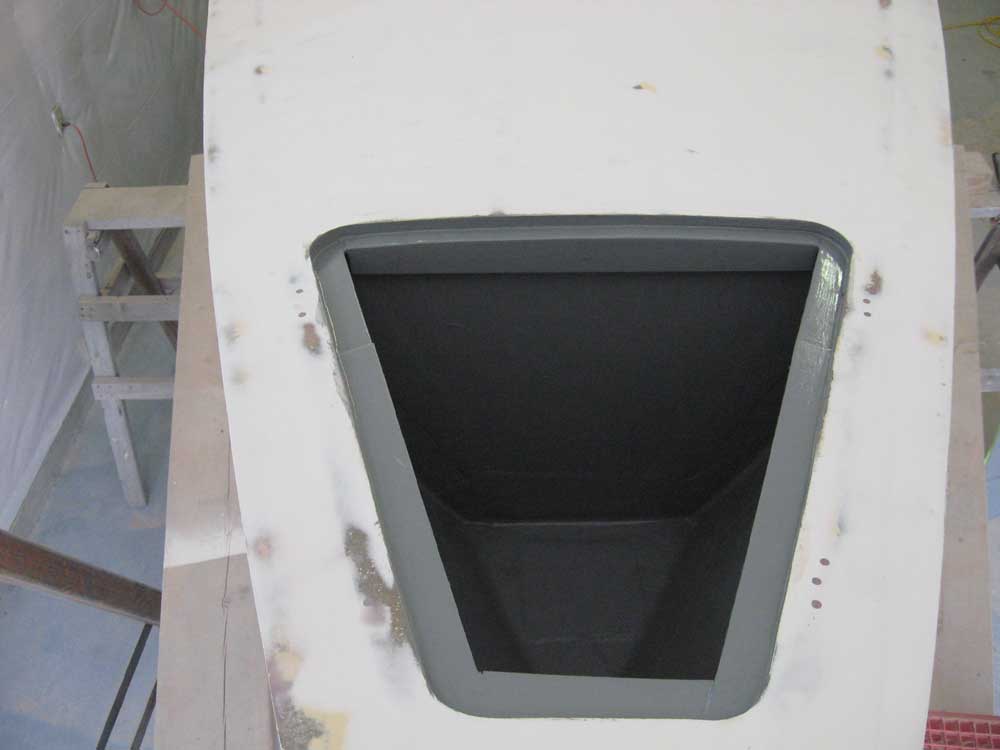
In other work, I cleaned and painted the anchor well and underside of the anchor well hatch. |
|
|
|
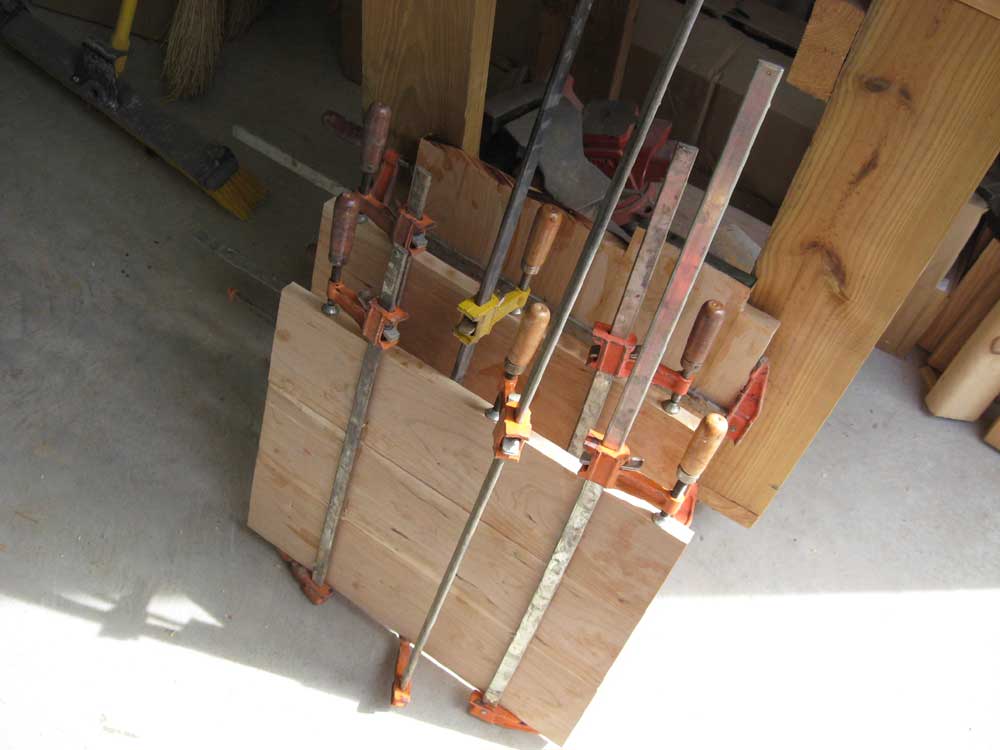
In preparation for additional interior work ahead, I prepared a few cherry boards and glued up three panels to use for the chainplate box covers and the raised forward part of the cabin sole (for lack of a better moniker), and set them aside to cure. |
|
|
|
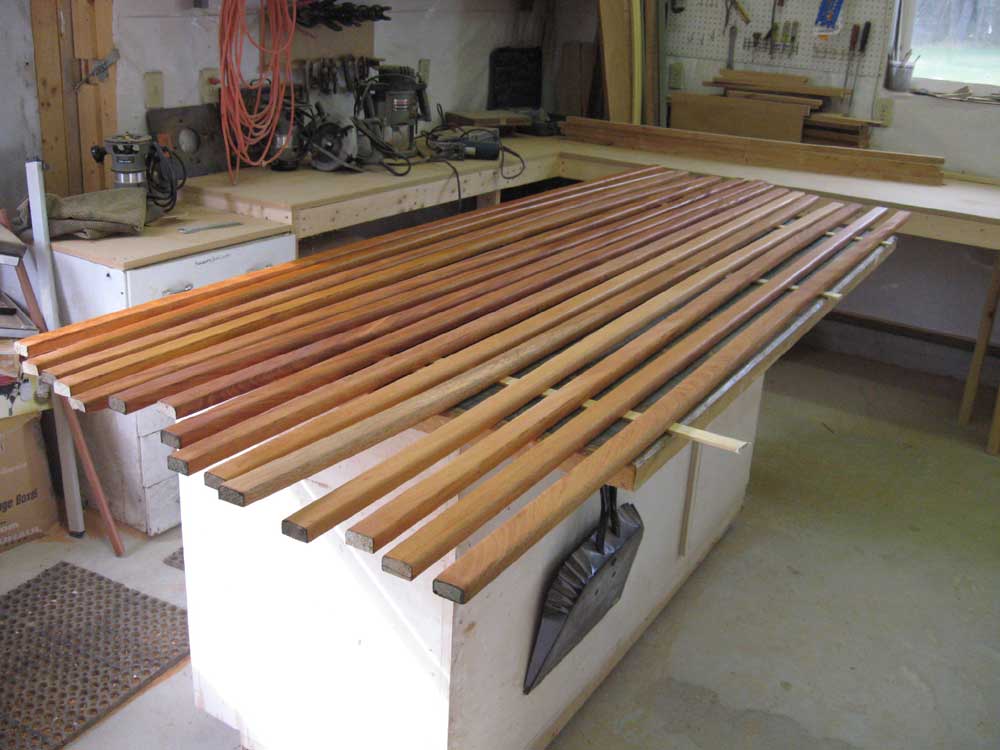
Finally, I cleaned up and applied a sealer coat of varnish to the pile of seat slats that I'd finished milling and sanding this week. I also began the varnish process on the after deck hatch. |
|
|
|
|
|