| Bolero
Project |
Tuesday, May 6, 2008 I began with the aft deck hatch, which was still in the clamps from yesterday. I unclamped the piece and used a straight trimming bit to trim the overhanging edges of the top flush with the sides; then I milled a 3/4" roundover on the top edges, and spent quite a bit of time sanding the entire piece smooth through all the grits. When I was done, the hatch was done and ready for coats of varnish. Hinges, latch, and gasket would follow in due course. |
|
|
|
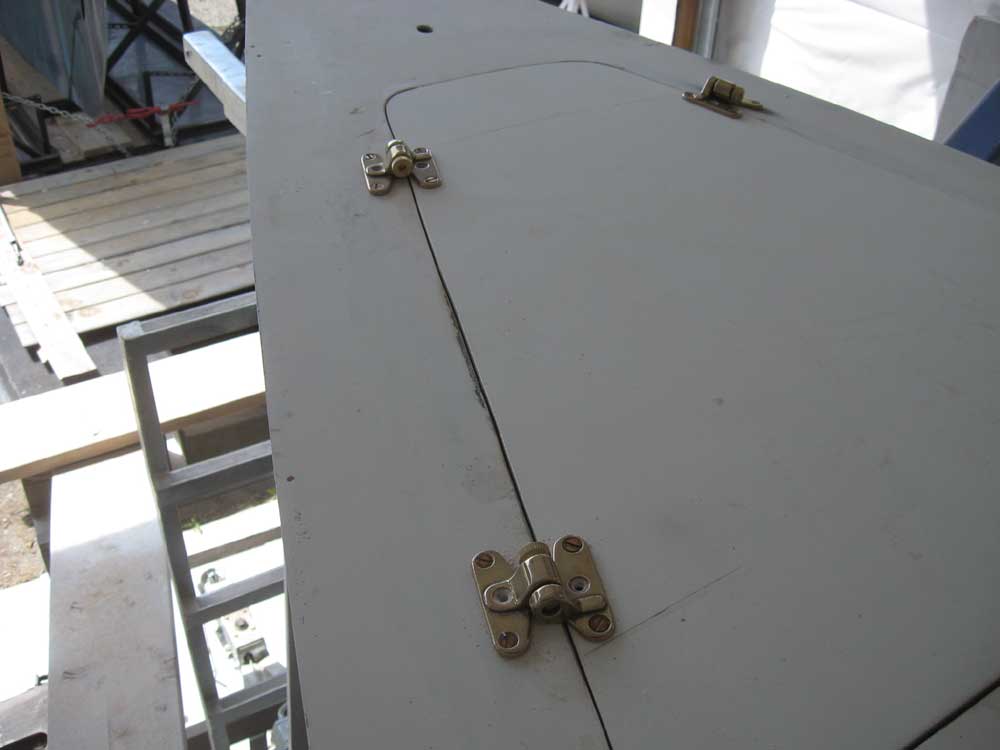
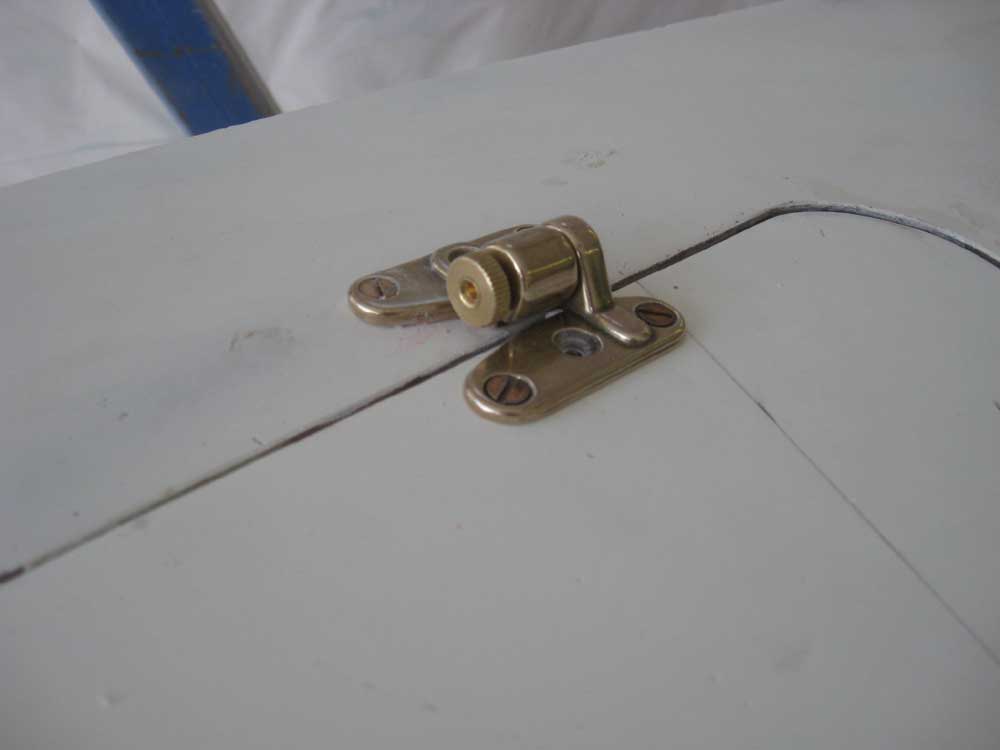
Next, I returned to the anchor well with designs on finishing up the work there today. I removed the clamps, and chiseled away a couple clumps of epoxy here and there before sanding the edges smooth; I also sanded underneath to remove sharp epoxy shards. The plan for securing and hinging the hatch involved two sets of bronze removable hinges. Not only would the hinges, with their spring-loaded pins, hold the hatch in place, but they'd also allow it to be opened from either side as well as removed completely. This was an interesting and effective solution that the owner came up with. I wanted to test-fit the hatch and ensure that the hinges would work as desired, and also--fortuitously, as it turned out--to allow me to correct any issues before the boat was painted. So after a quick test to see that the hatch fit over the new cleats properly, I began installing the hinges on the hatch itself; I wanted to get a couple on the hatch first so I'd have a means of removing the hatch from the deck, as without anything to grab onto it would have been quite difficult to remove it otherwise, even for a test fit. So I spaced out where I thought the hinges should go and drilled and tapped holes for a set of hinges at the after end, and then repeated the process forward on one side. Because of the thickness (or thinness) of the hatch at the forward end, I had to cut off the protruding screw length beneath the hatch so it'd sit flush with the deck. This all seemed to work well at first; the hatch swung easily on the hinges. I did realize that I'd made an error, however, in how I'd arranged the hinges. I had never used these hinges before, and my first thought was that it'd be most convenient if the knurled knobs on the pins were both facing aft for easy reach. But of course this didn't work, as there was nothing to prevent the hatch from sliding aft on its own. Of course one pin had to face forward and one aft in order to lock the hatch in the hinges until the pins were pulled.Fortunately, this was an easy fix, as I found that the screw holes lined up if I turned one of the hinges around, though I couldn't reuse the screws that I'd cut off before and had to repeat that process again after reinstalling the forward hinges. Confident now, I installed the remaining sets of hinges on the other side. |
|
|
|
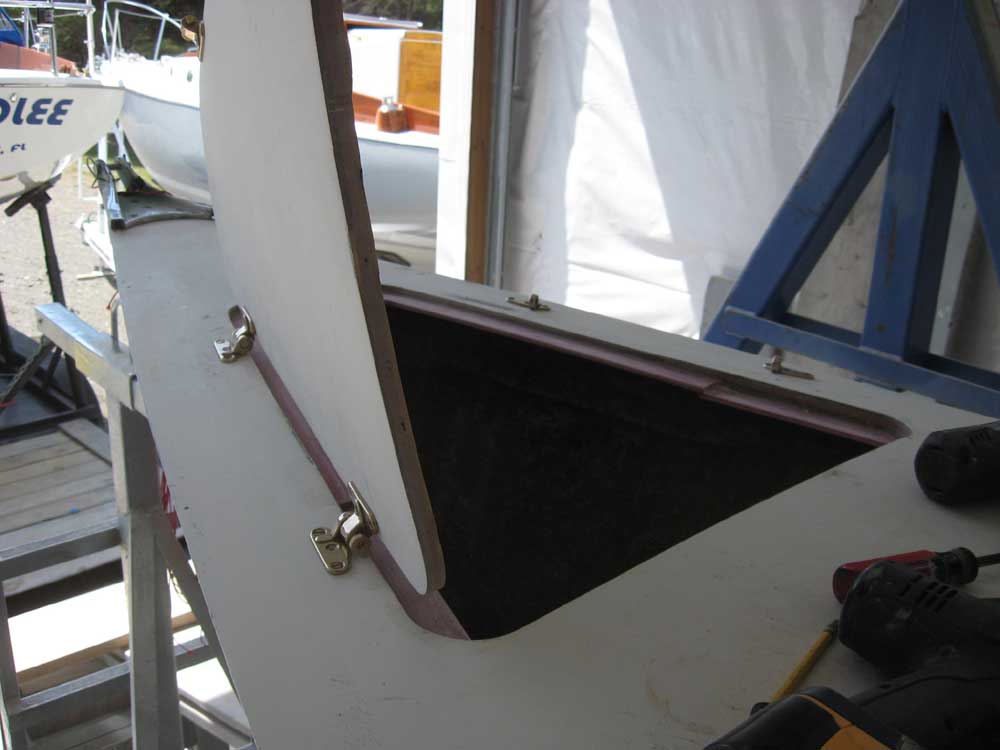
But again an unforeseen problem arose:
I couldn't open the hatch. The hatch and hinge hardware on the
hatch itself hit the protruding part of the hinge section located on
deck. I quickly realized that it mattered which way the hinges
were oriented, and that I should have turned the hinges 180° so that the
overhanging part was located on the hatch and not on the deck. Who
knew? It was just one of those things, and I hadn't even
considered the possibility before installation. In any event, this meant that I had to unscrew all the hinges again, reverse the positions of everything, and reinstall. The holes for the section on the hatch itself lined up again, fortunately, but the change meant that the deck side of the hinges were slightly forward of where they'd been, so the holes didn't line up. For now, that wasn't a big deal, as I now knew that the hinges would work as designed, and this hadn't been a final installation anyway. So I removed everything, marked each hinge for its location (in case of minor variations in the screw patterns), and then filled the incorrect holes in the deck with epoxy after milling small countersinks to accept the filler. Later, during final installation, I'd
redrill and retap the holes in the deck to mount that side of the hinges
in their proper positions. I was glad I'd taken the time to square
this away ahead of time, though, since I hadn't caused any harm to a
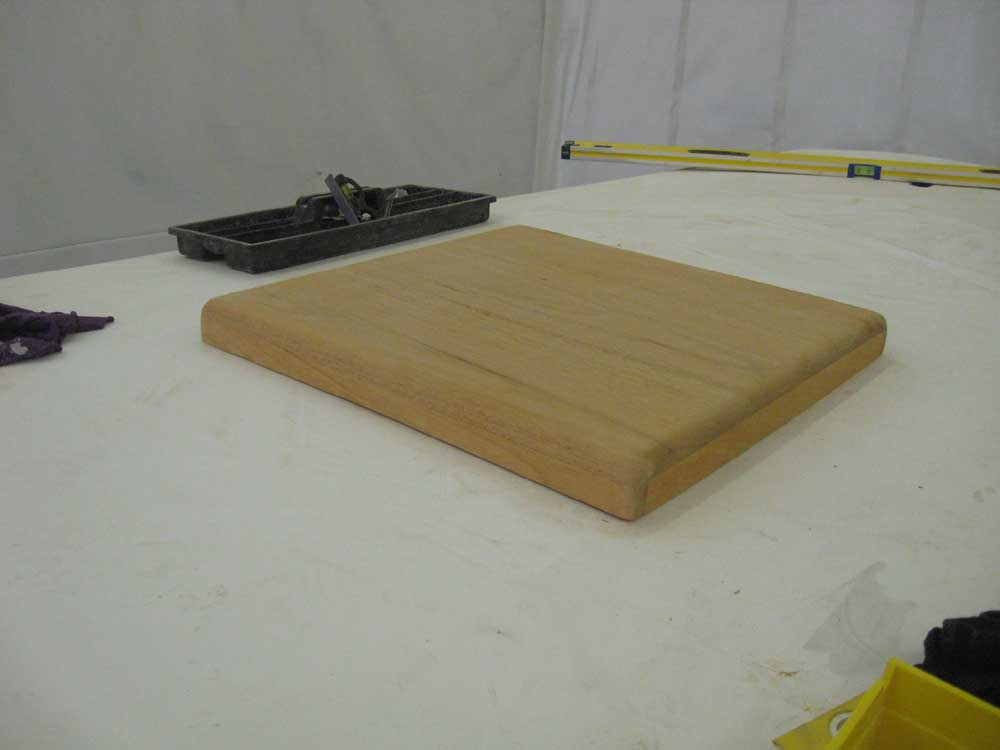
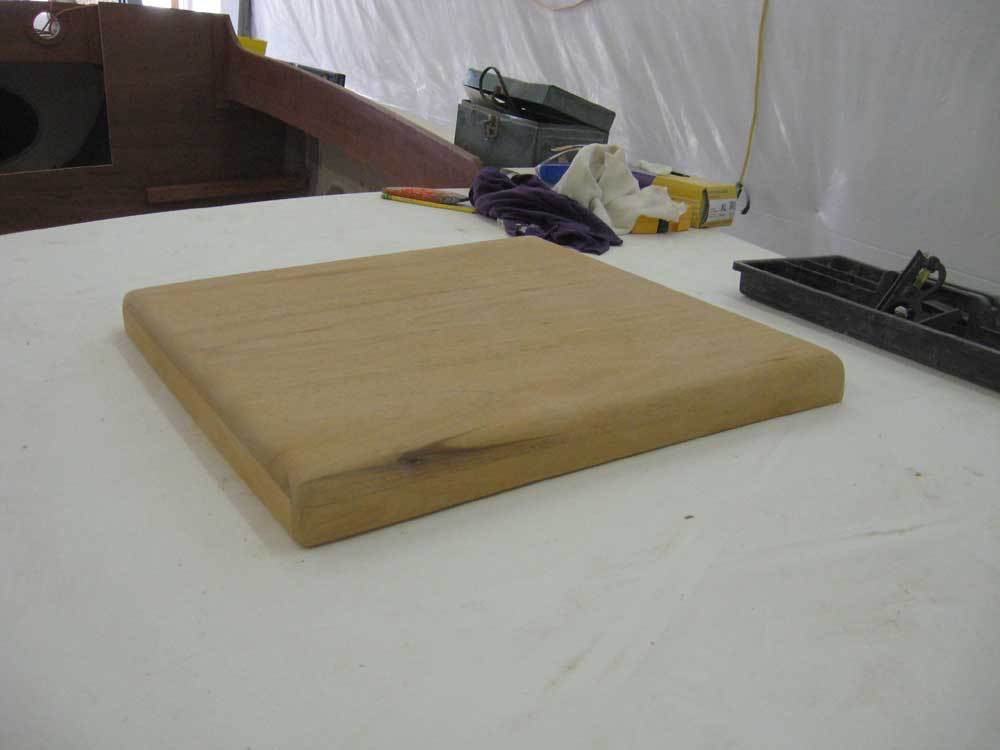
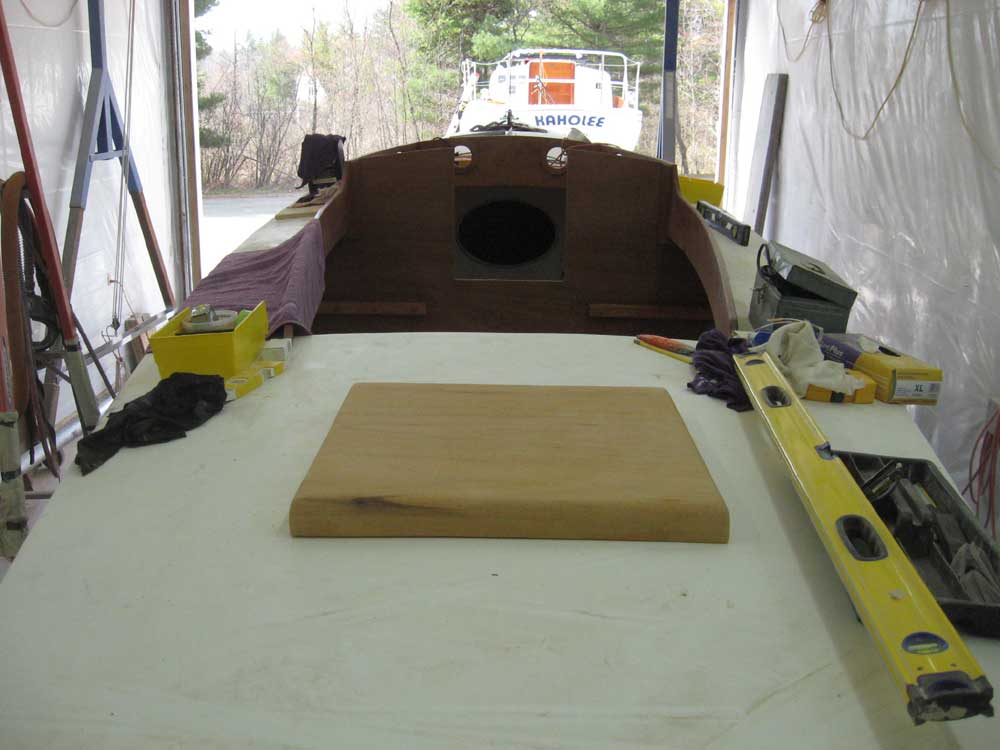
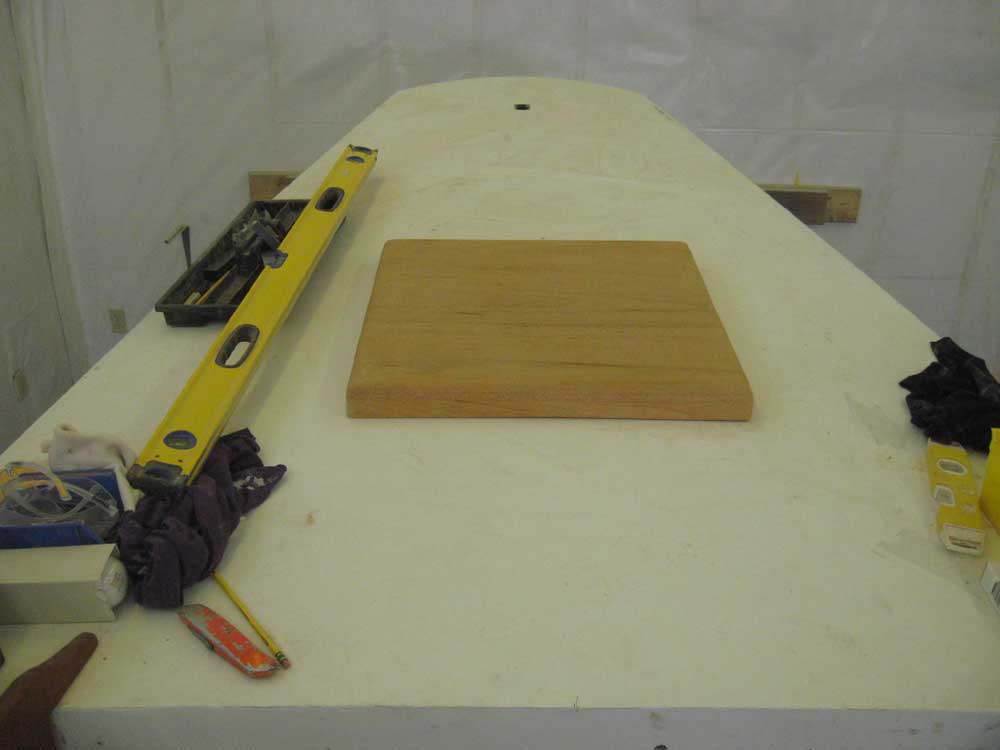
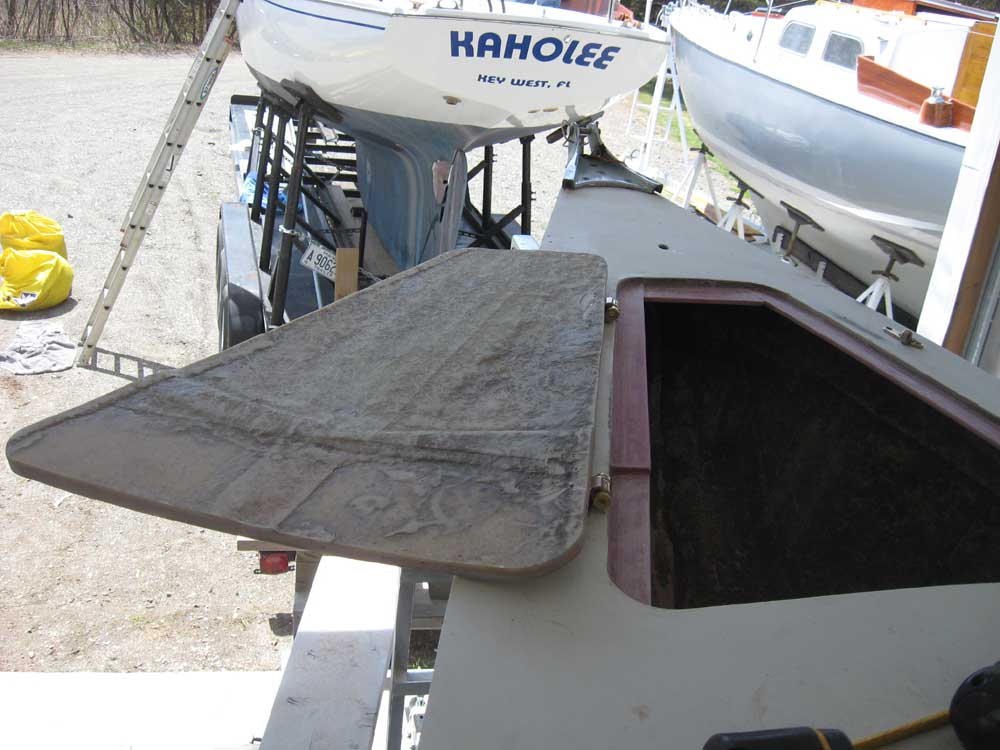
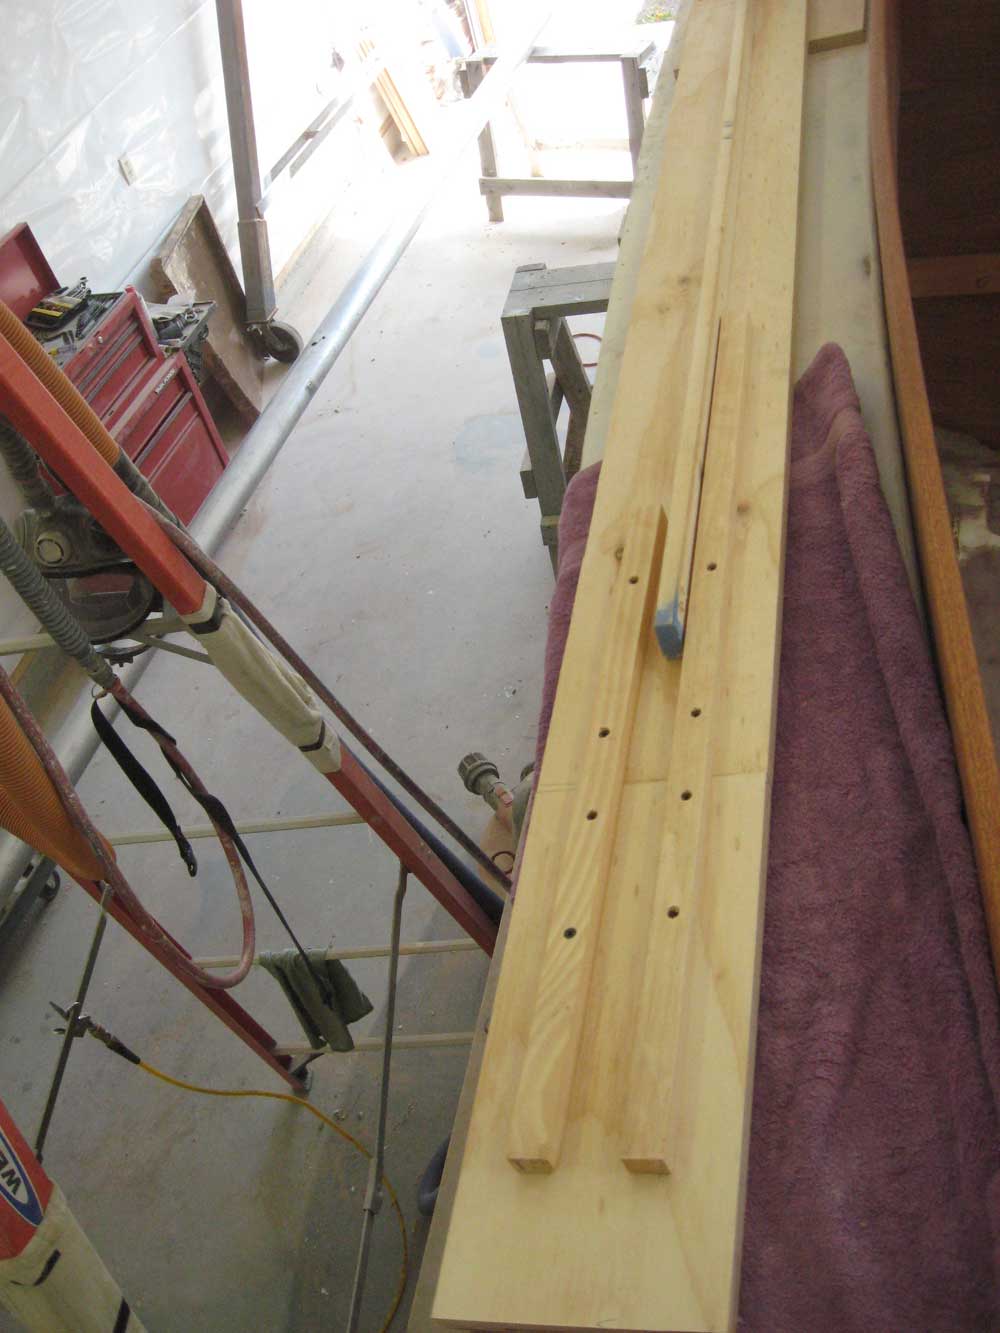
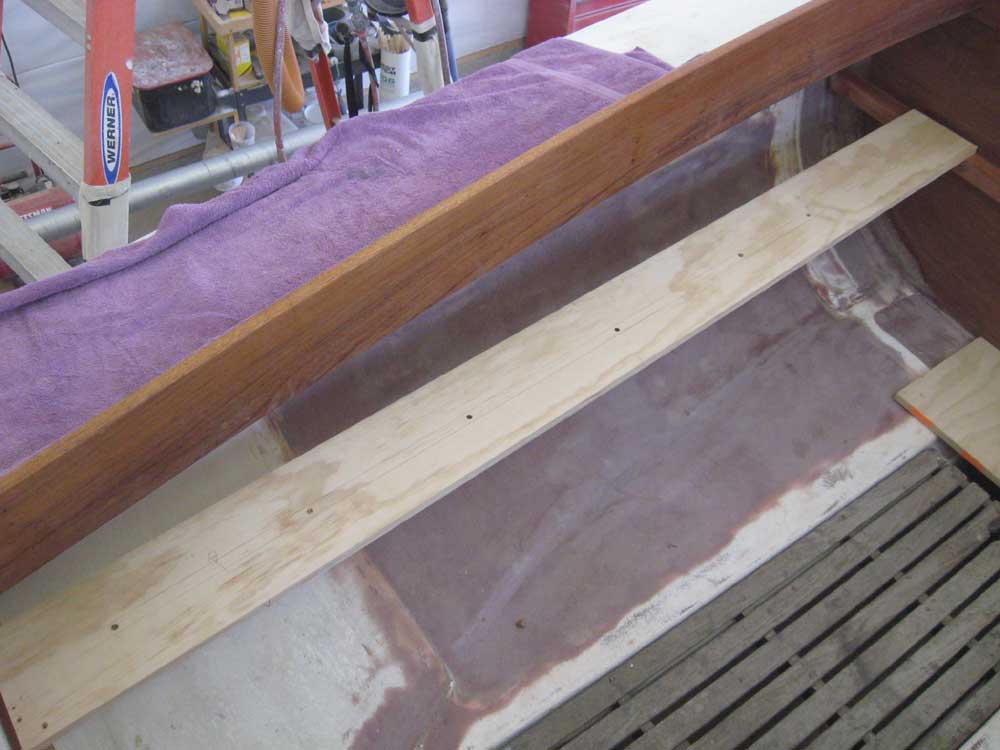
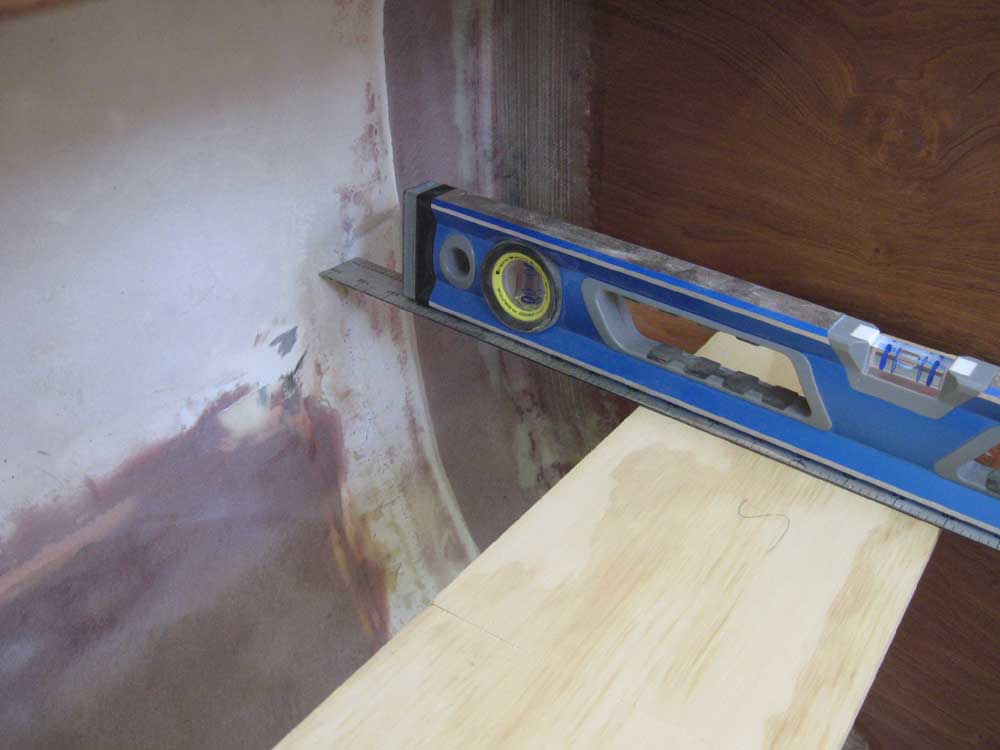
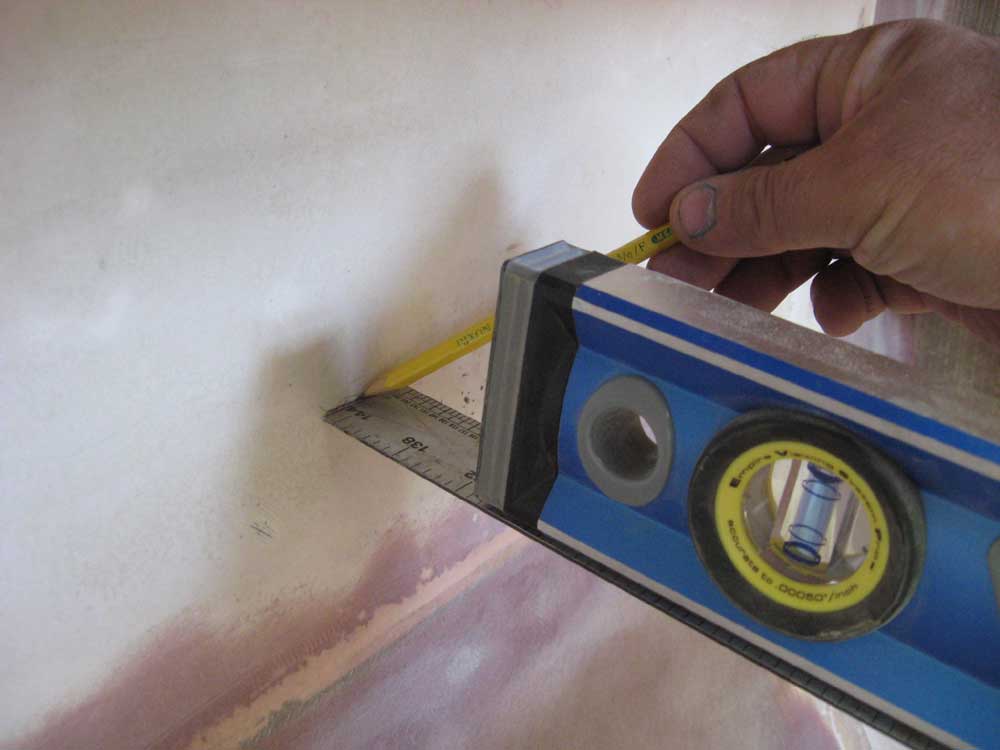
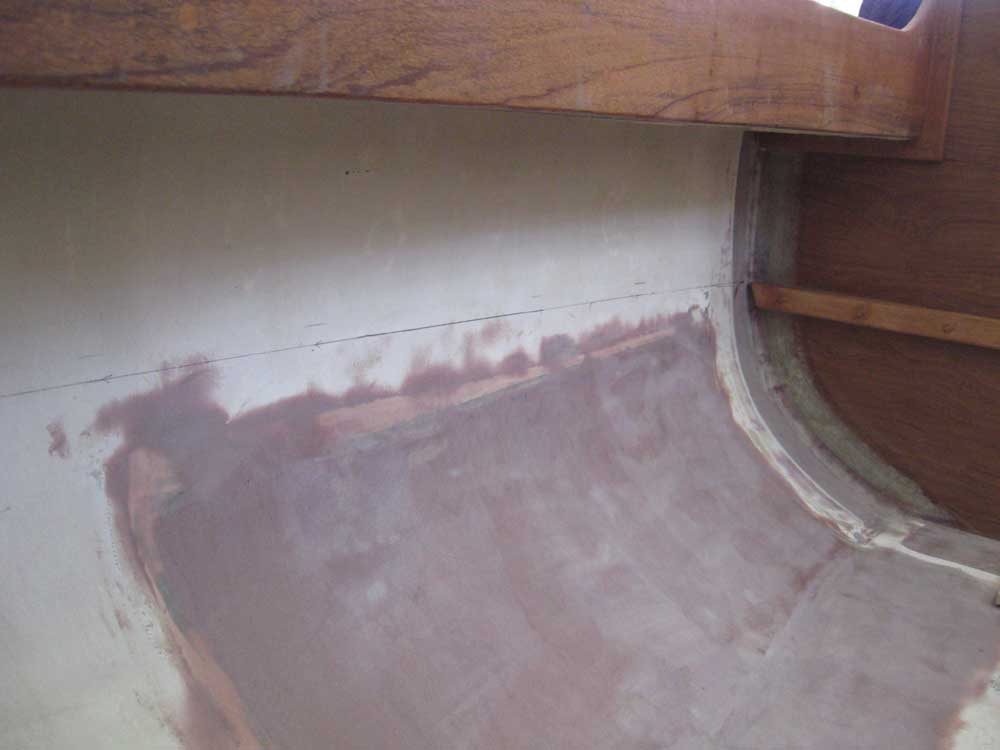
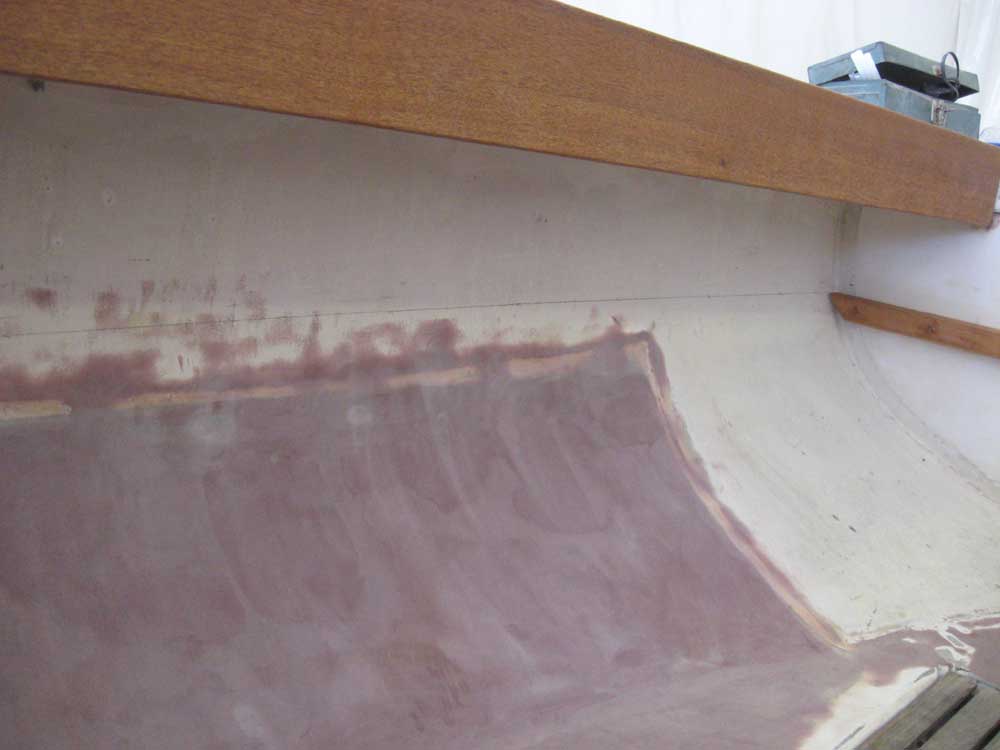
finished paint surface. What was the purpose of all this, one might ask? I planned to use the plywood scrap to help mark the location of the cockpit seats on the hull, using the stiffened plywood to span the gap between the cleats on the bulkhead so that I could easily transfer a mark at the correct height. Using a level, I made a series of marks along the hull between the bulkheads, first on the port side then to starboard. Since I used the top of the plywood (3/4" thick), the tick marks represented the top surface of the finished seat. To mark the top of the supports needed, I transferred the marks down by 3/4", then connected the marks with a flexible metal ruler, creating a line from which to work as I built the necessary supports. |
|
|
|
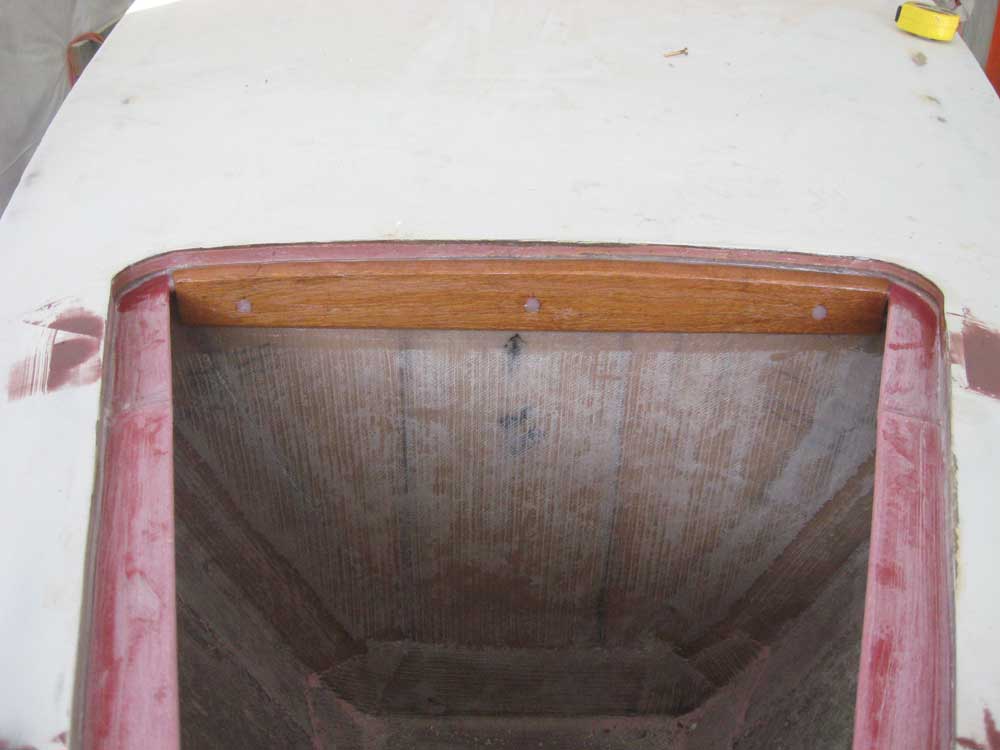
It was too late in the day to begin the cockpit supports, design of which I was still unsure, but to wrap up the day's work--and also bring to a close the work remaining on the anchor well--I fashioned a cleat to support the aft end of the hatch. Because of the deck camber, I chose wood as the medium, and cut a piece 2" wide to the appropriate length, and then scribed the deck shape onto the top edge. I cut out the curve, milled and sanded the piece as desired, and installed it with thickened epoxy adhesive and bronze screws, coating the entire piece in epoxy for water resistance. |
|
|
|
|
|