| Bolero
Project |
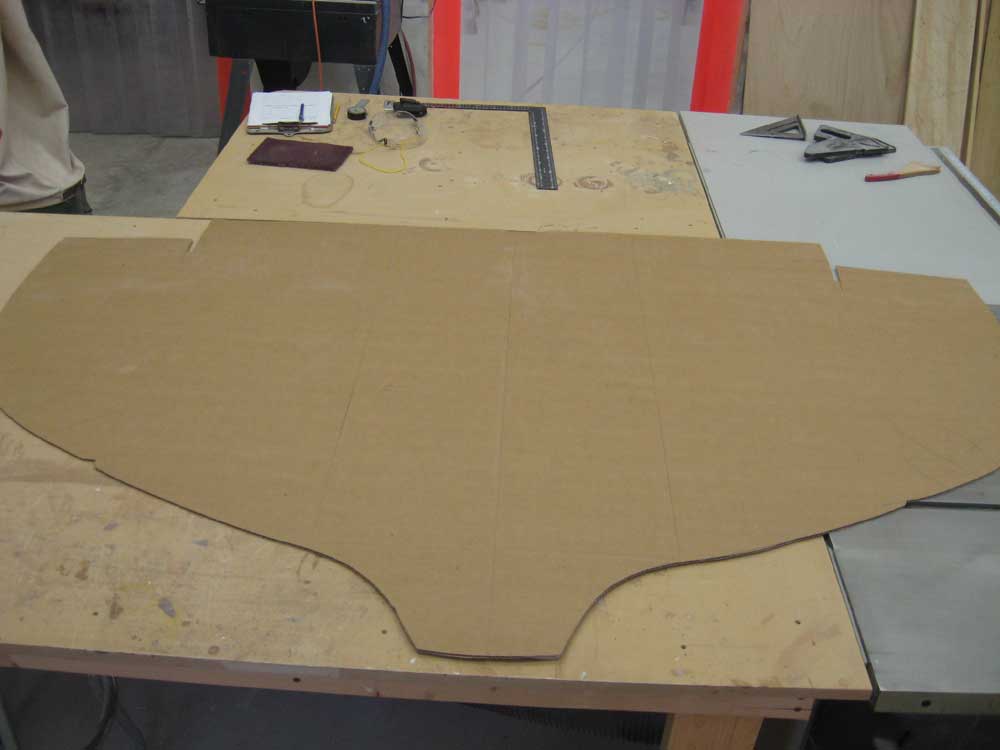
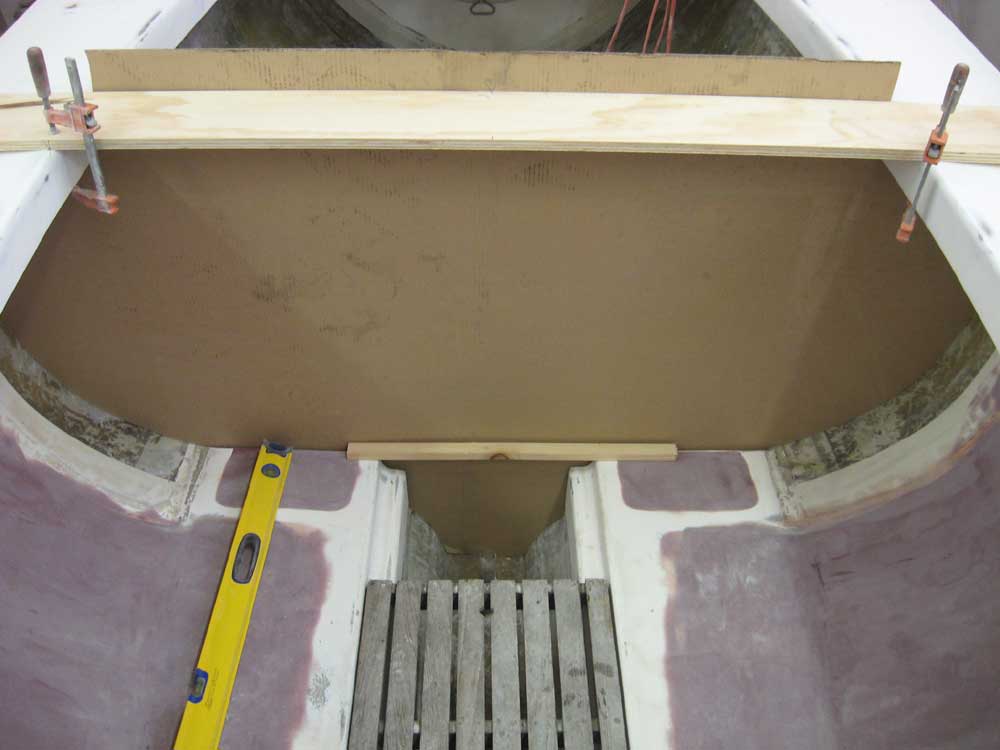
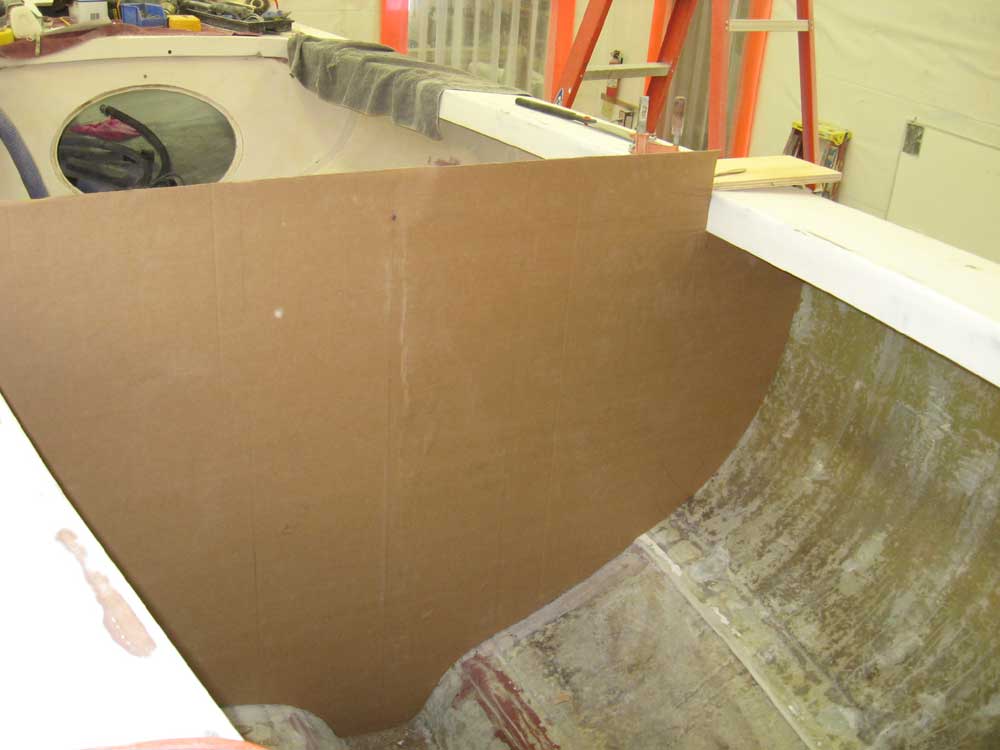
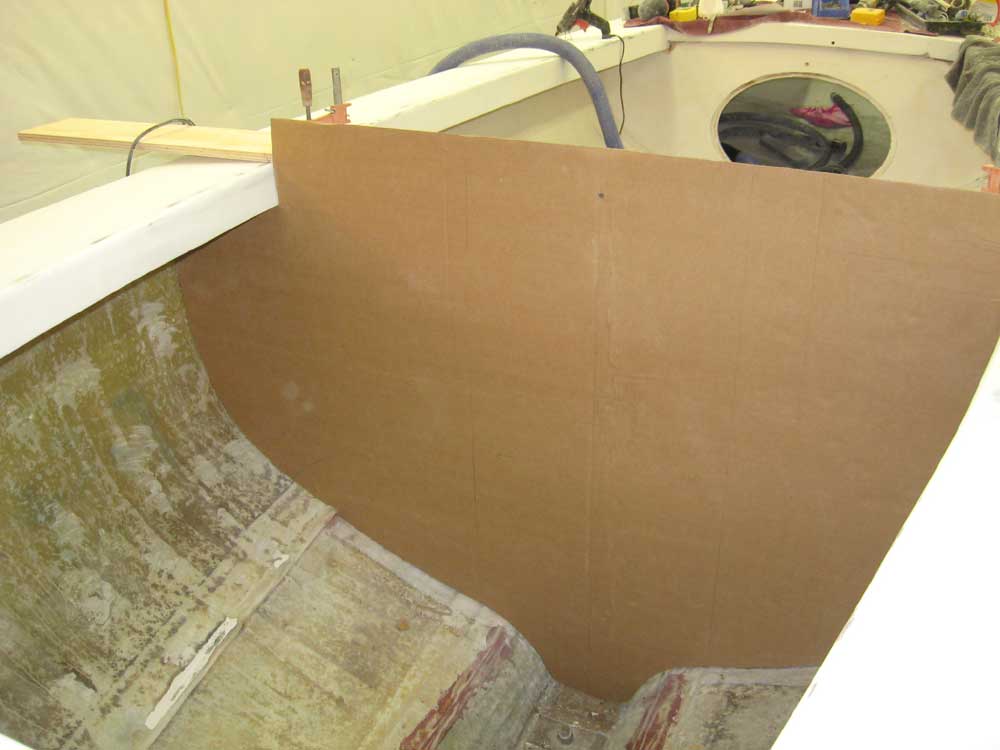
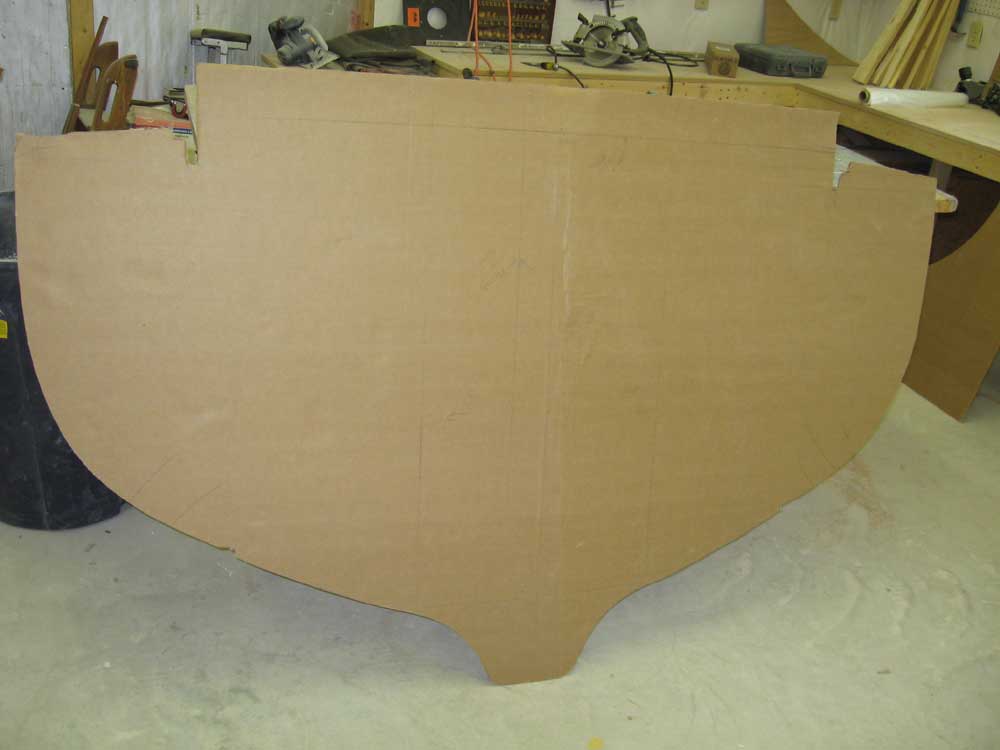
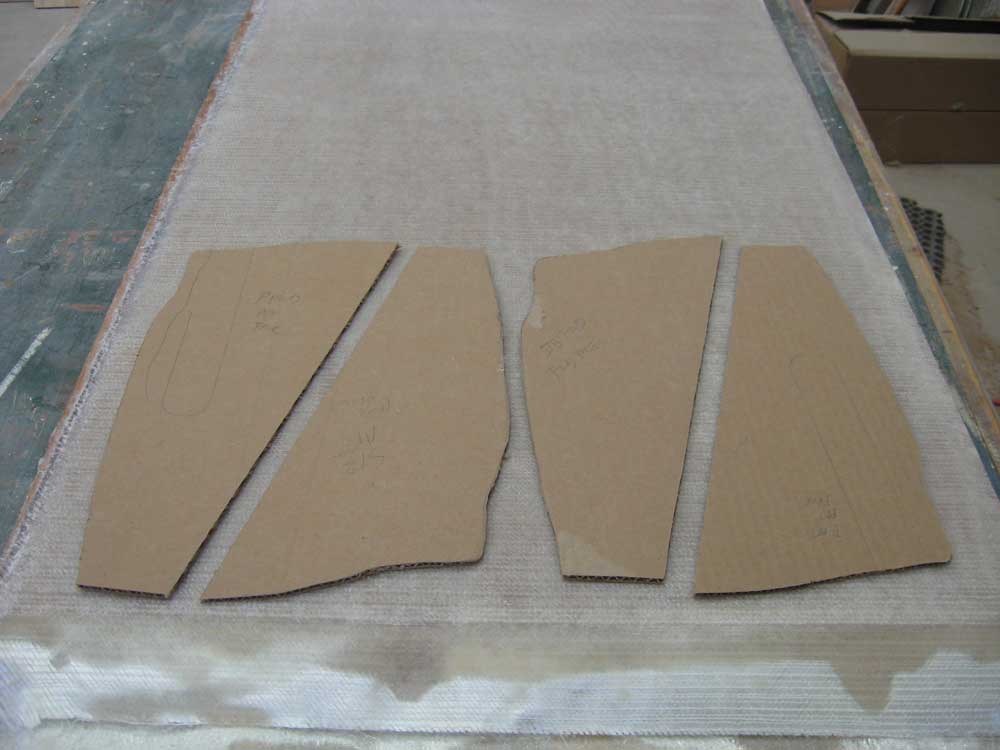
Wednesday, March 5, 2008 I began where I left off yesterday, and used a spline to connect the marks I'd made on the cardboard with the tick strip. Then, I cut out the template along the line and brought it to the boat for a trial fitting. |
|
|
|
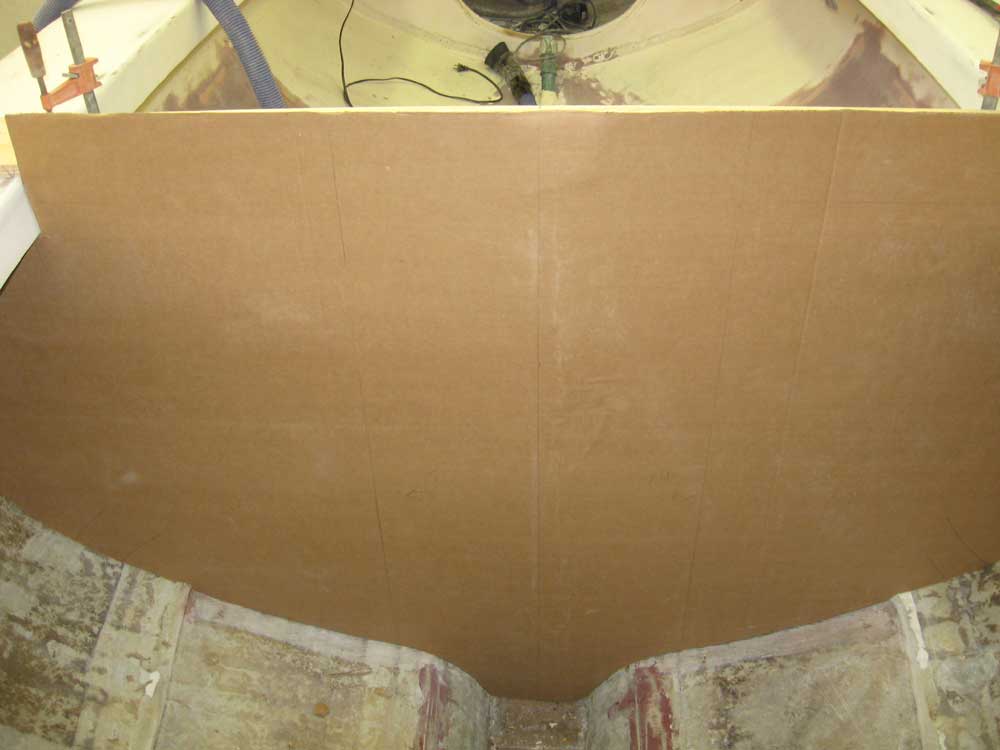
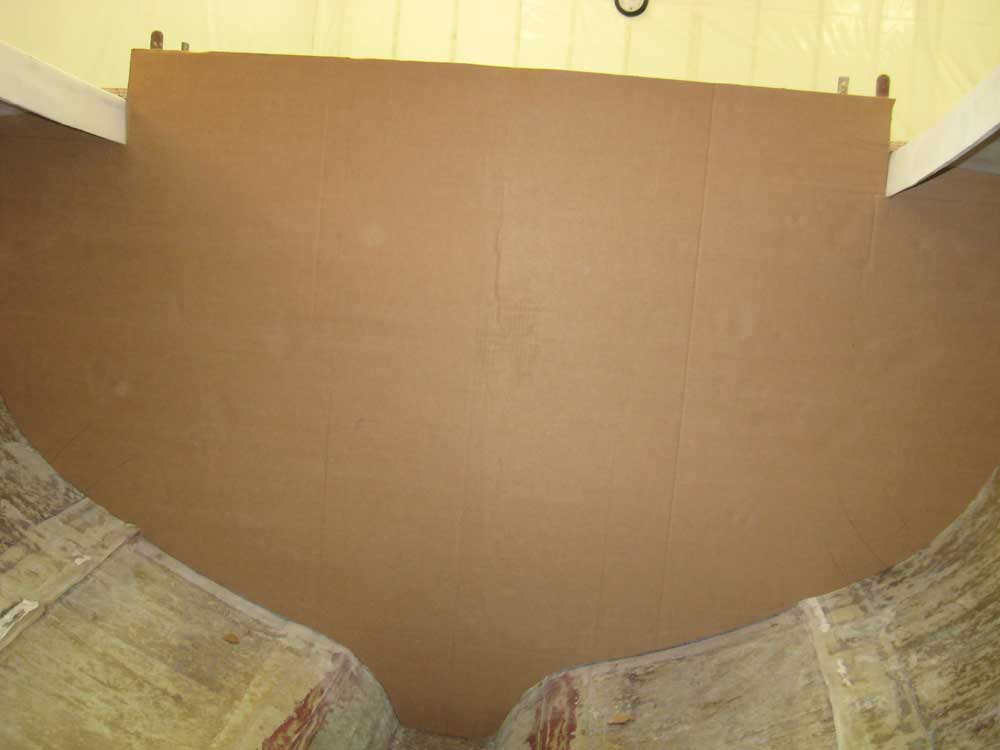
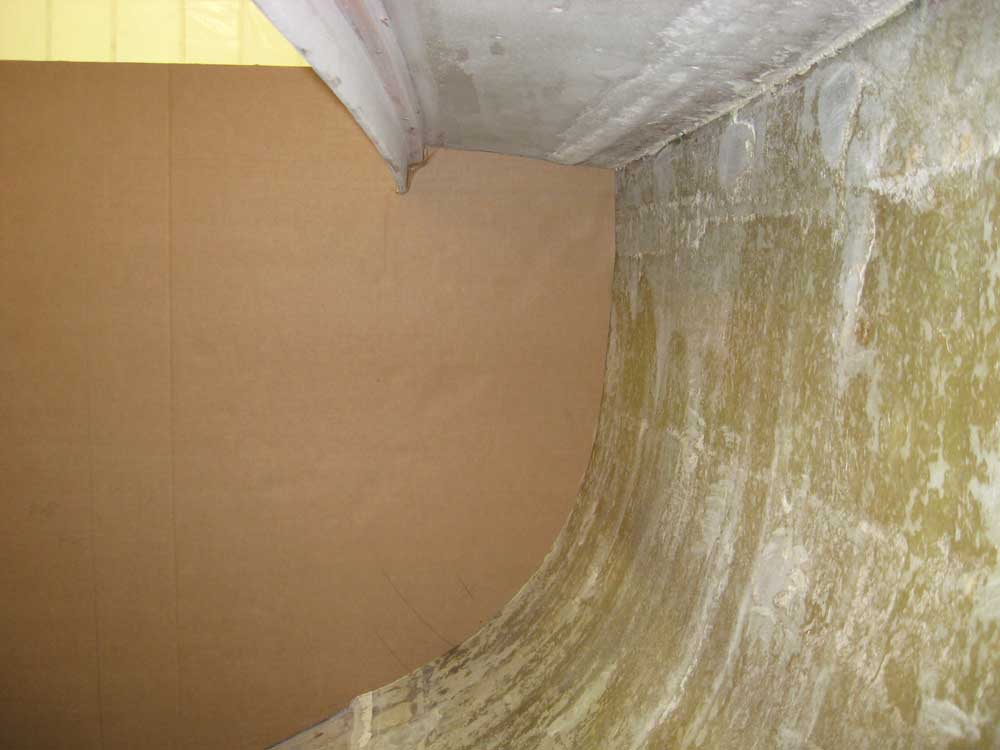
The template fit extremely well. I had to make some additional cuts in the areas beneath the sidedecks, where I hadn't actually templated; I'd used other reference marks to rough out the height in these areas, so naturally I needed to cut a bit more to allow the bulkhead to slip in. Only time would tell whether I'd be able to get the actual plywood bulkhead into position within the confines of the boat, particularly with my desire to have the bulkhead fit in and around the deck edge the way the template did. I made a few additional reference marks on the template for future use: I marked the height of the cabin sole on the aft side, and also made a plumb line with a level to reference things to how the template actually fit in the boat. Hearteningly, the plumb line I marked on the bulkhead turned out to be parallel to the layout lines I'd made on the template during the process--as it should. But theory and practice often diverge tracks, so each time things work exactly as they should is cause for a mini-celebration. I removed the template from the boat, confident that it was pleasingly accurate enough to use to cut the plywood for the actual bulkhead. Note that the height of the template in the center is not the actual height: the actual bulkhead will be taller, which is why I spec'd a 5' wide sheet of plywood for the job. For templating purposes, however, this height (4') was sufficient. |
|
|
|
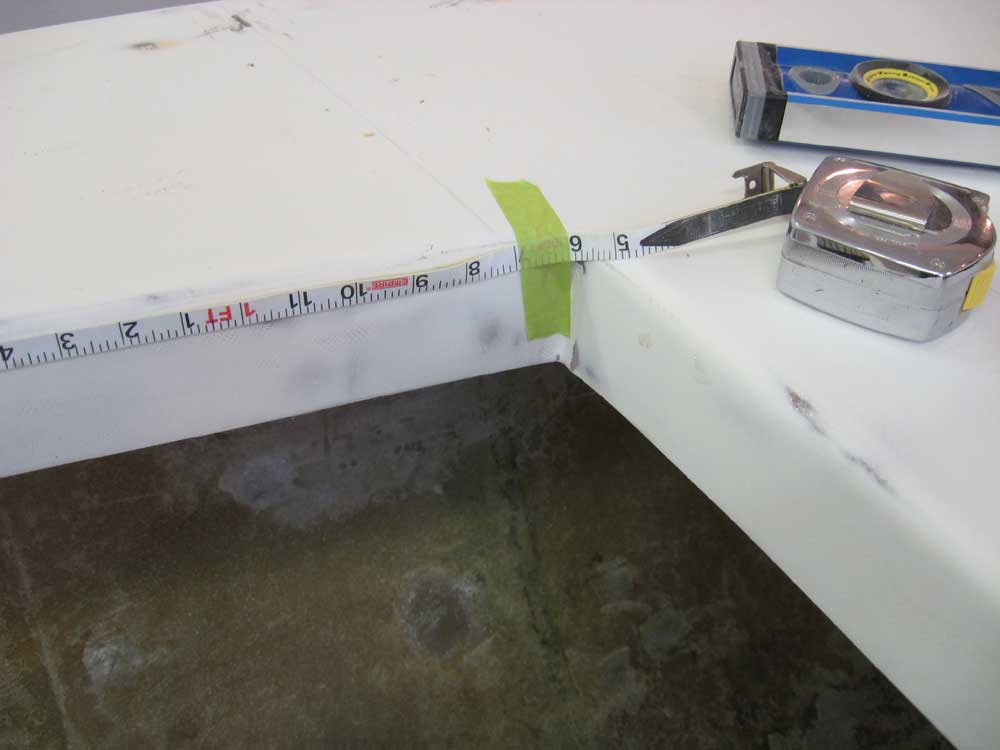
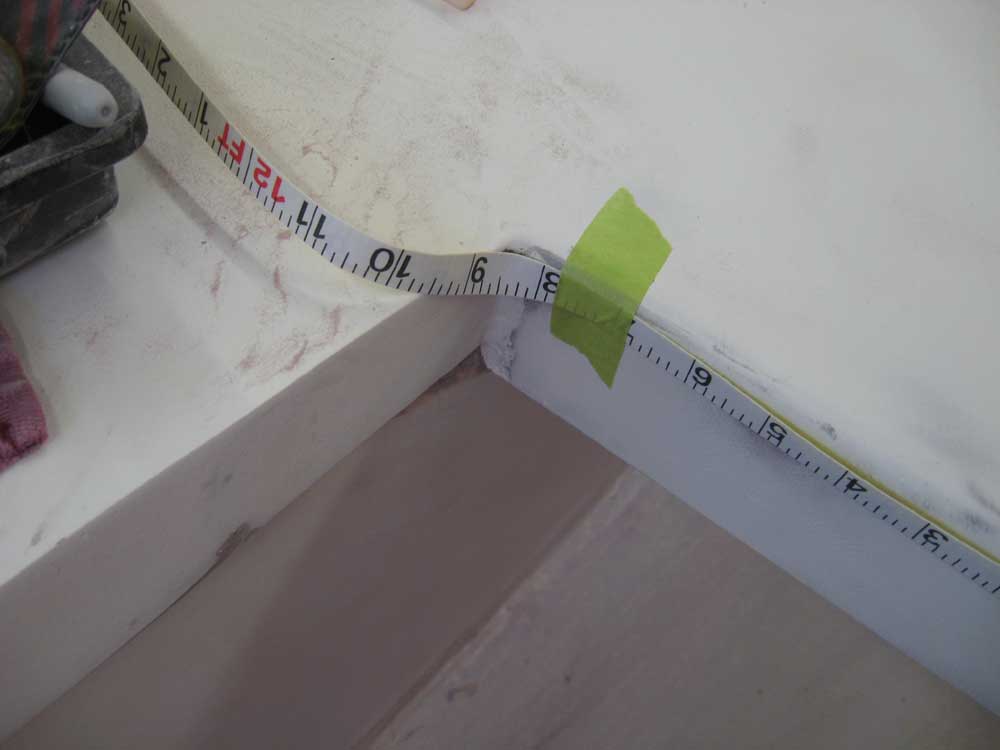
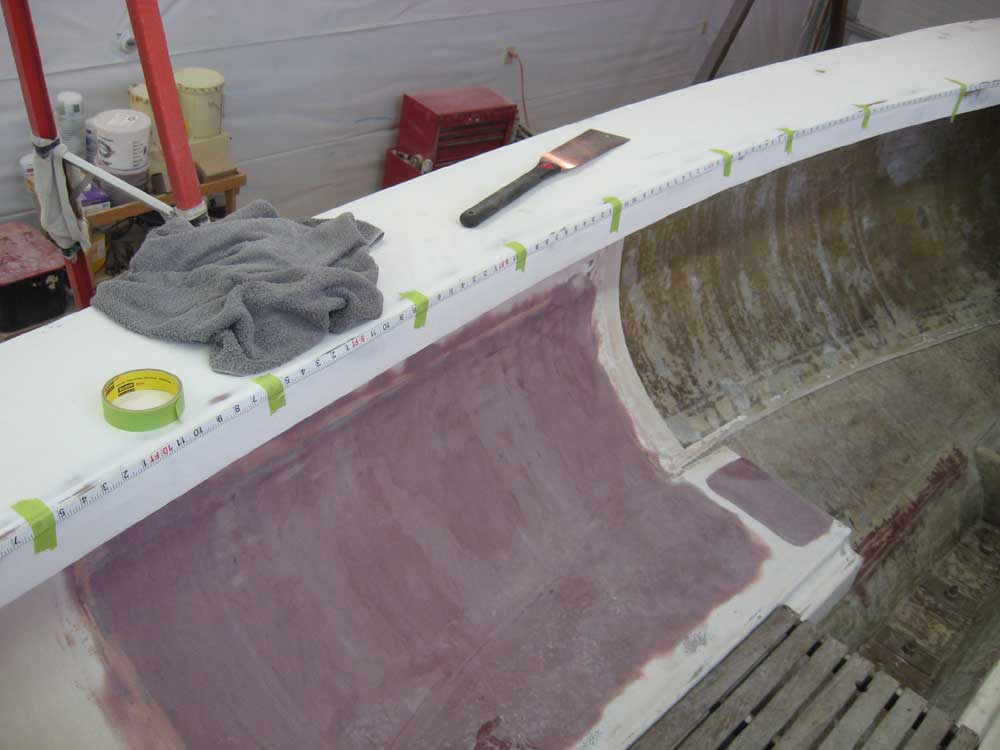
Anxious though I was to cut and install the bulkhead, I paused to consider my next move. I'd been going back and forth in my mind whether to install the bulkhead first, and then fit the one-piece mahogany coaming/cabin trunk side afterwards, or whether I should fit the coamings first and the bulkhead after. The evidence pointed more and more to the latter course of action, so for the moment I attended to that thought. I obtained actual measurements of the inside, curved length of the coaming pieces; to do this, I taped a fiberglass tape measure along the inside edge of the deck, beginning at the 6" mark because of the awkward and imprecise hook at the end of the tape. The length on the port side (adjusting for the 6" mark) was 11' 2-3/8"; the starboard measurement was 11' 2-1/2". (Fire that builder.) I'd also have to factor in additional length to allow for the coaming tails to extend over the aft deck as intended (about 4"). |
|
|
|
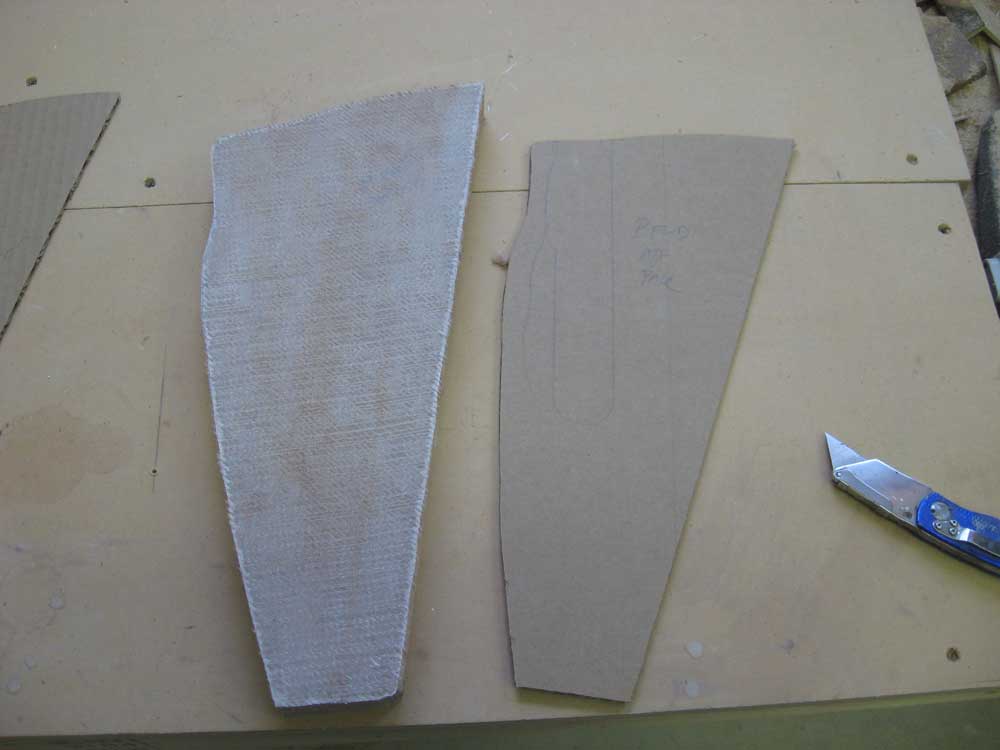
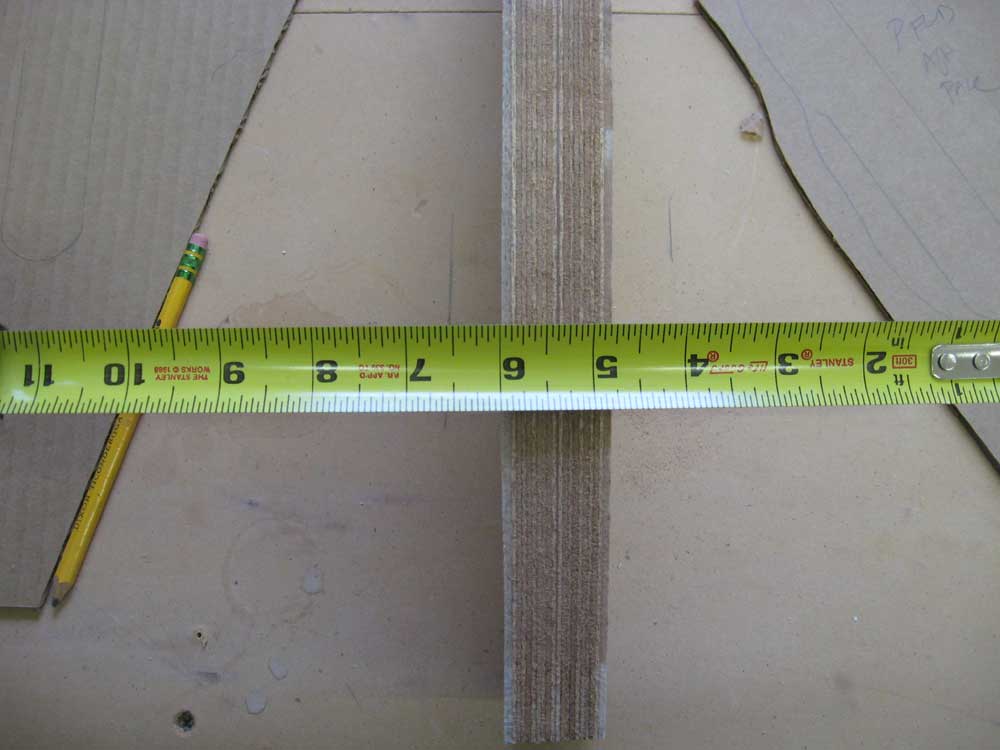
With the coaming measurements in the bank, I temporarily abandoned both projects and turned to the chainplates once more. After I cleaned and sanded the laminated panel blank that I'd constructed over the past couple days, I used the cardboard templates to lay out the actual chainplate knees, and then cut out the shapes with a jigsaw. I rounded over the inboard edges of the knees with a router to ease the edge for eventual fiberglass that I planned to wrap over the exposed edge to fully encapsulate the plywood, and moved on to the actual installation. |
|
|
|
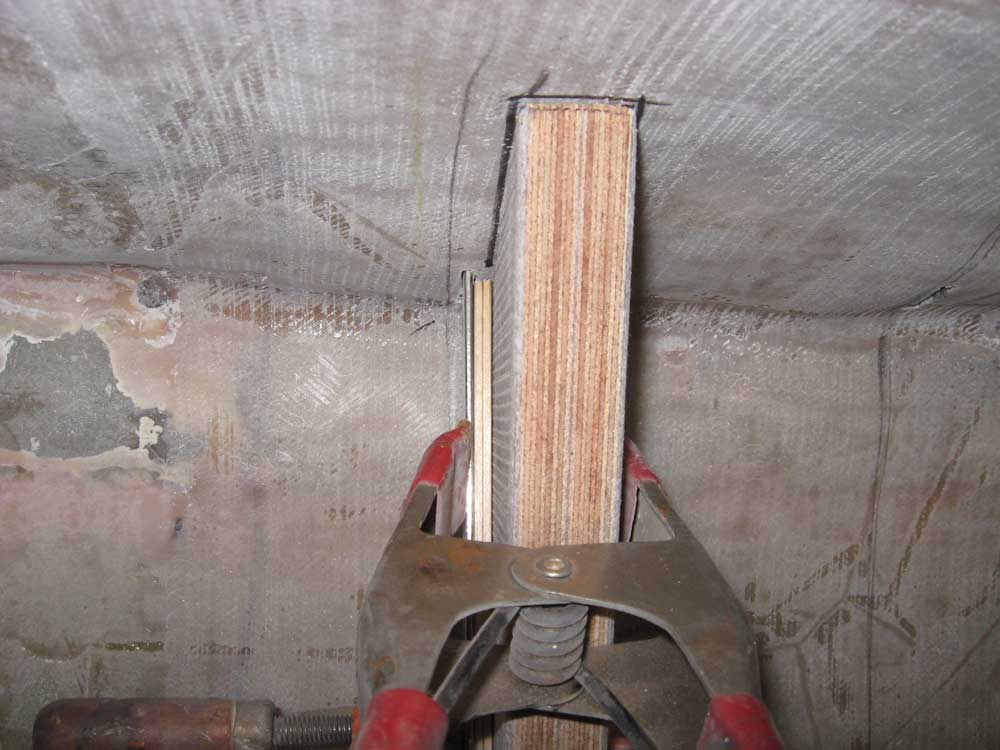
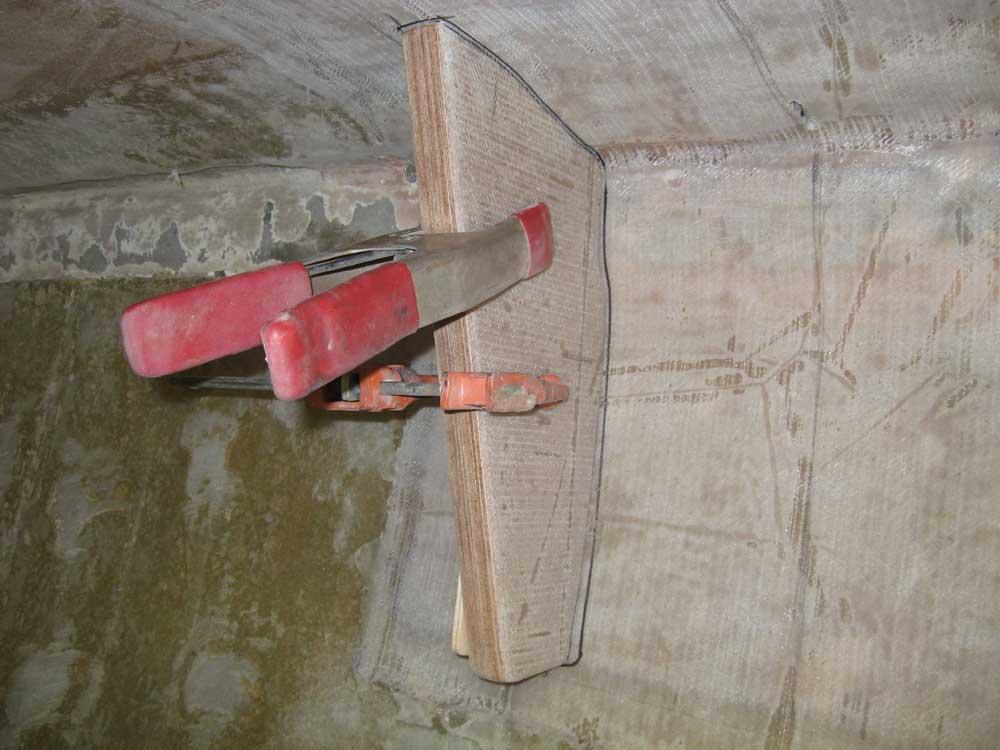
I needed to allow for the additional thickness of the tabbing that would secure the knees to the hull and deck. I planned on two layers of 1708 from the knee to the hull, and then an additional 2 layers of 1708 to tab the knee to the deck above. Each two layers total about 1/8" in thickness, so to ensure that the finished knee surface ended up flush with the chainplate slot locations, I had to offset the knee about 1/4". Two paint stir sticks, 1/8" in thickness each, worked well to represent the thickness of the final tabbing. Using one of the chainplates as a guide, I clamped the knee and stir sticks to the protruding chainplate and aligned them properly, then marked the position on the hull and deck. Because the two knees would be fairly close together, I chose to locate the slot--and the chainplate itself--to the forward (accessible) face of the forward knee, and the after (accessible) face of the after knee; this would allow me to drill holes for the chainplate bolts using the chainplate itself as a guide, since I'd never be able to get a drill into the few-inch space between the knees. |
|
|
|
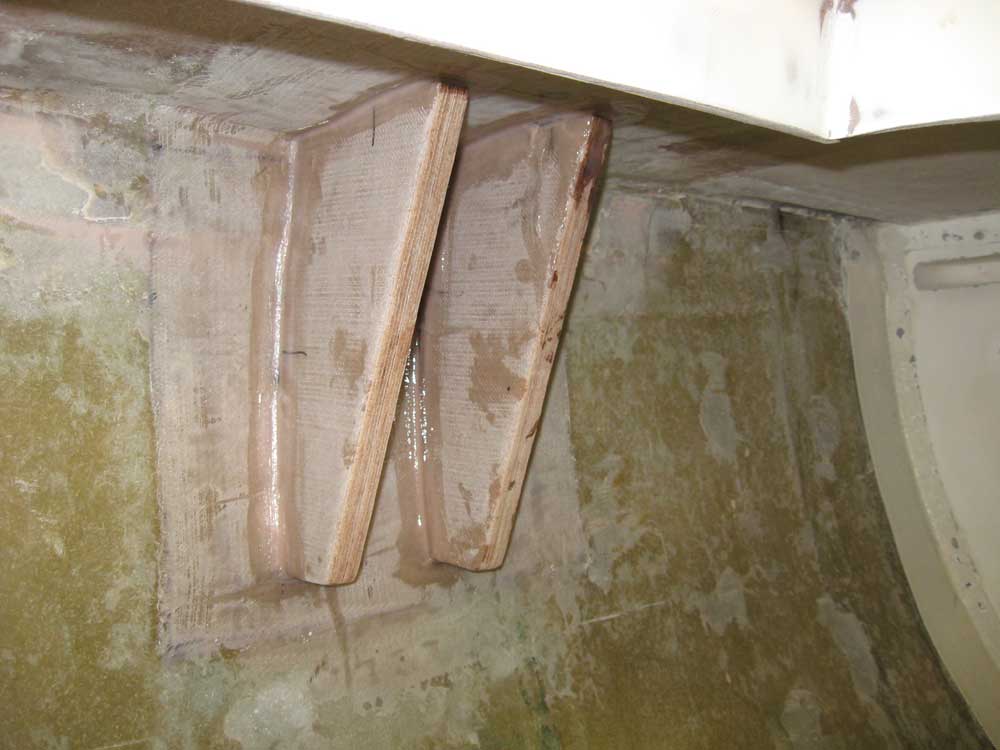
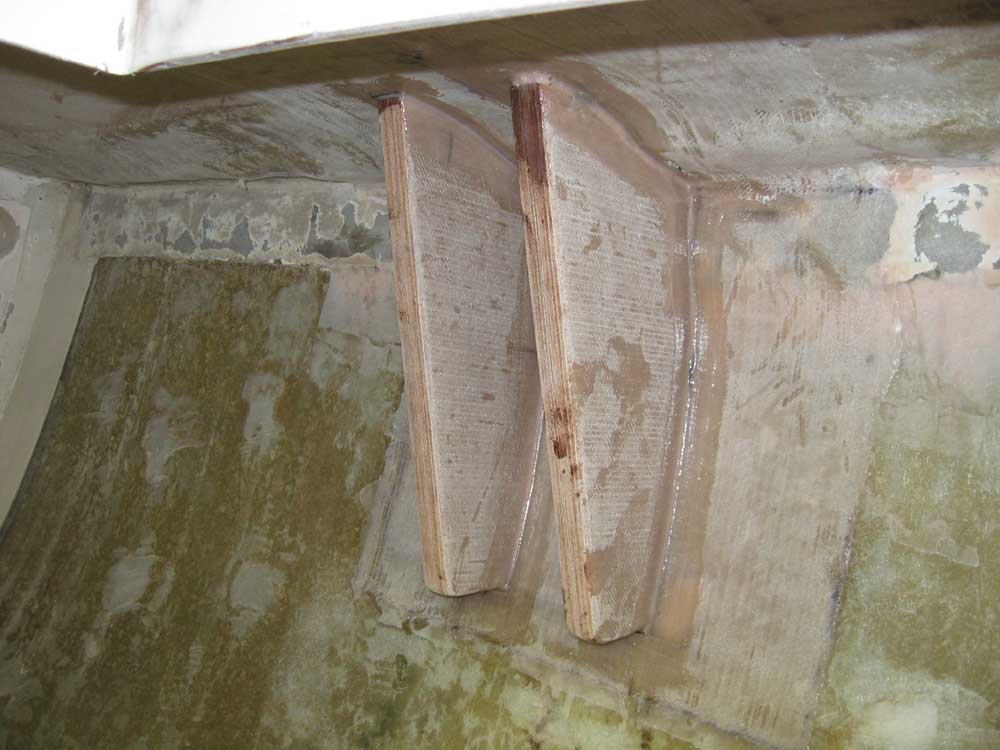
With the final position of all the knees determined and duly marked (I only had to make a slight trimming cut on one of the four knees in order to make it fit properly), I secured them in place with thickened epoxy and, to hold things while the epoxy cured, small dabs of hot-melt glue in two places on each knee. I smoothed the epoxy and created small fillets around the edges of all the knees, and left things to cure overnight. |
|
|
|
|
|