| Bolero
Project |
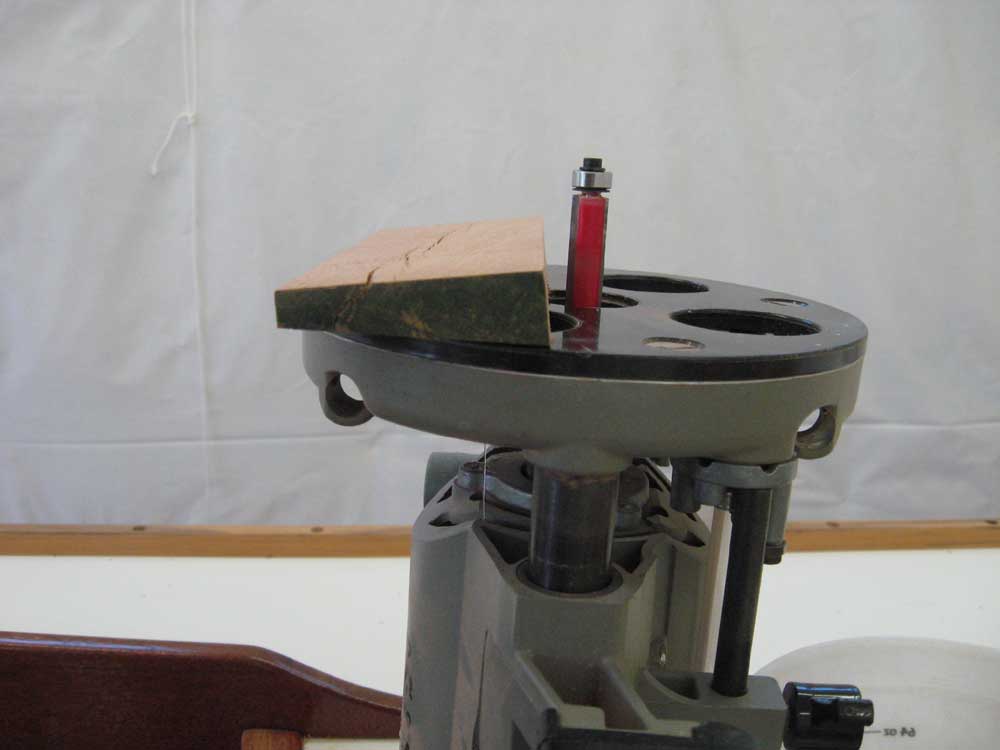
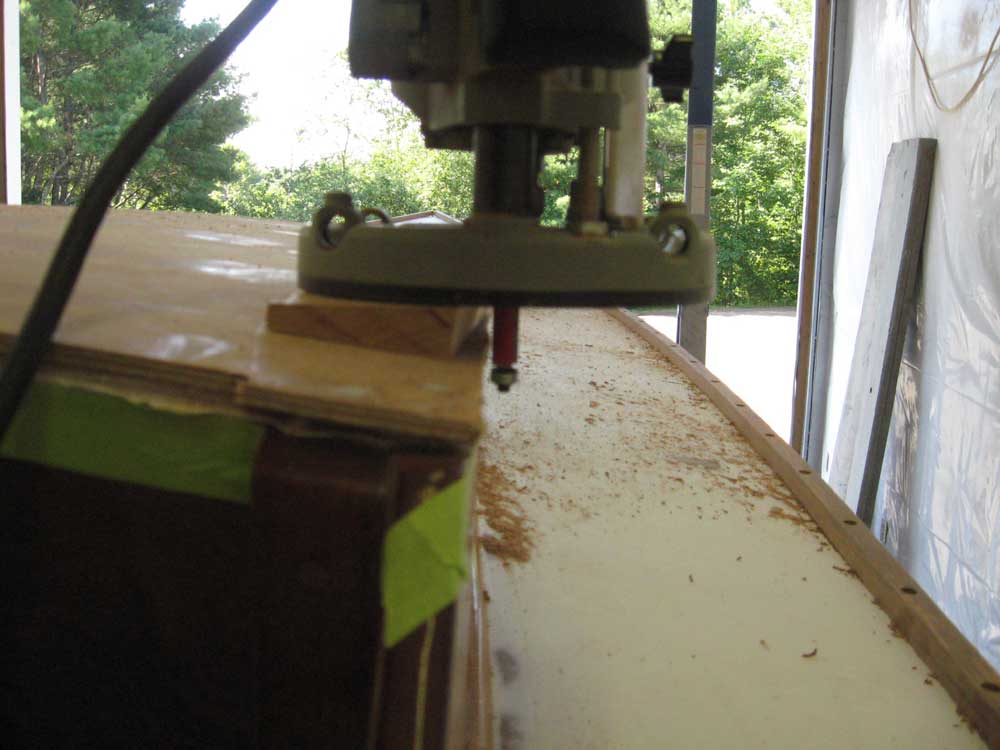
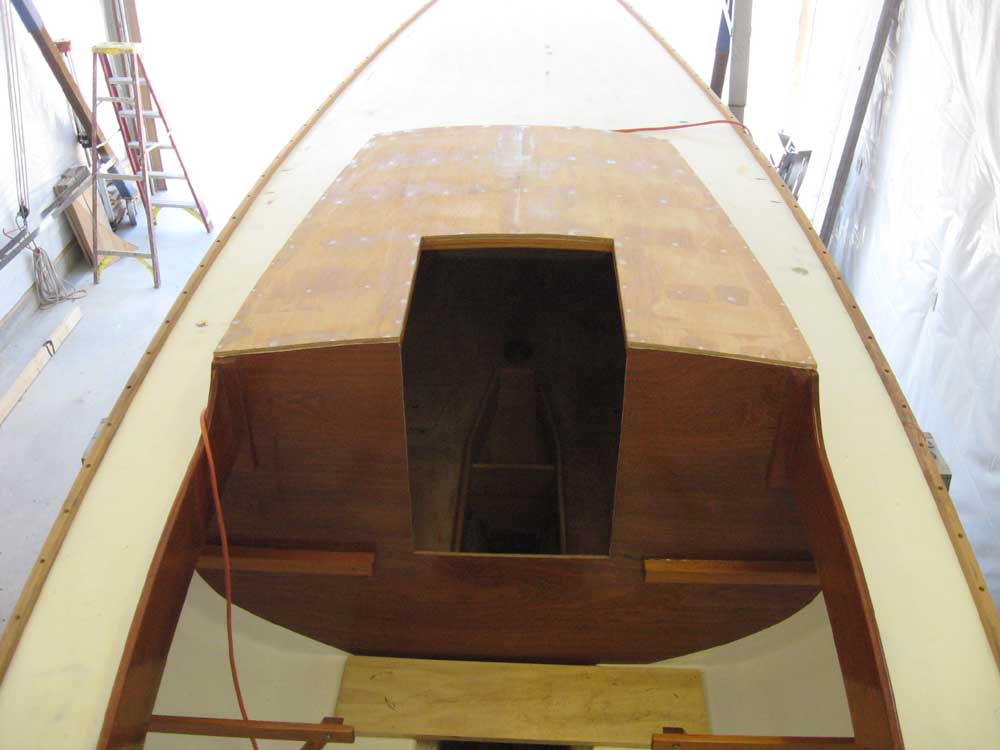
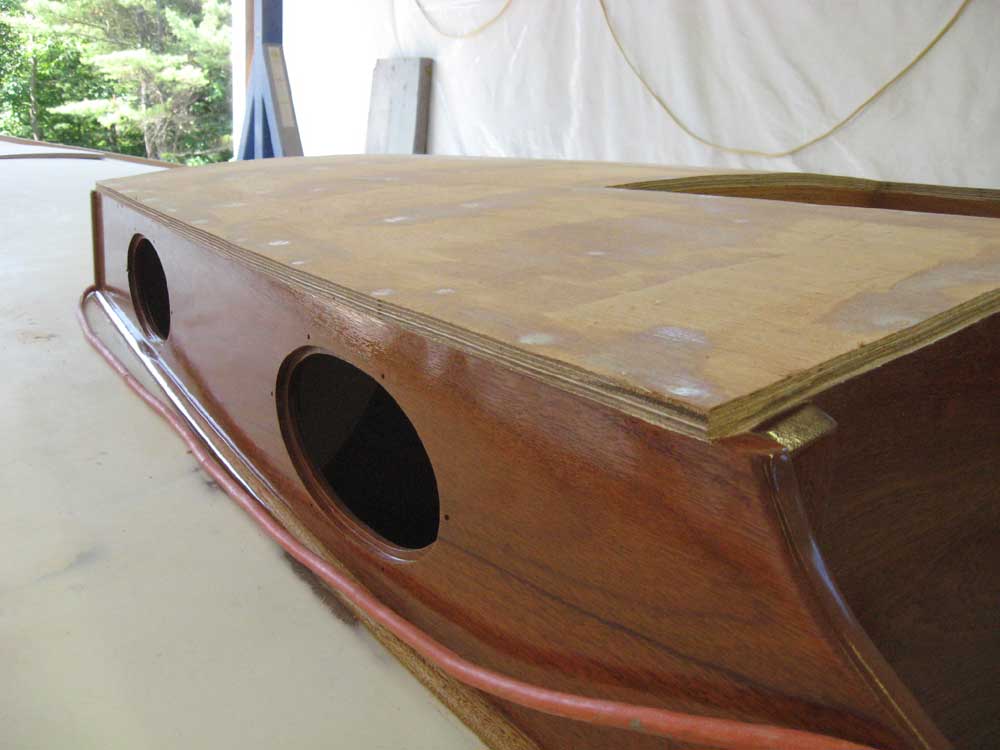
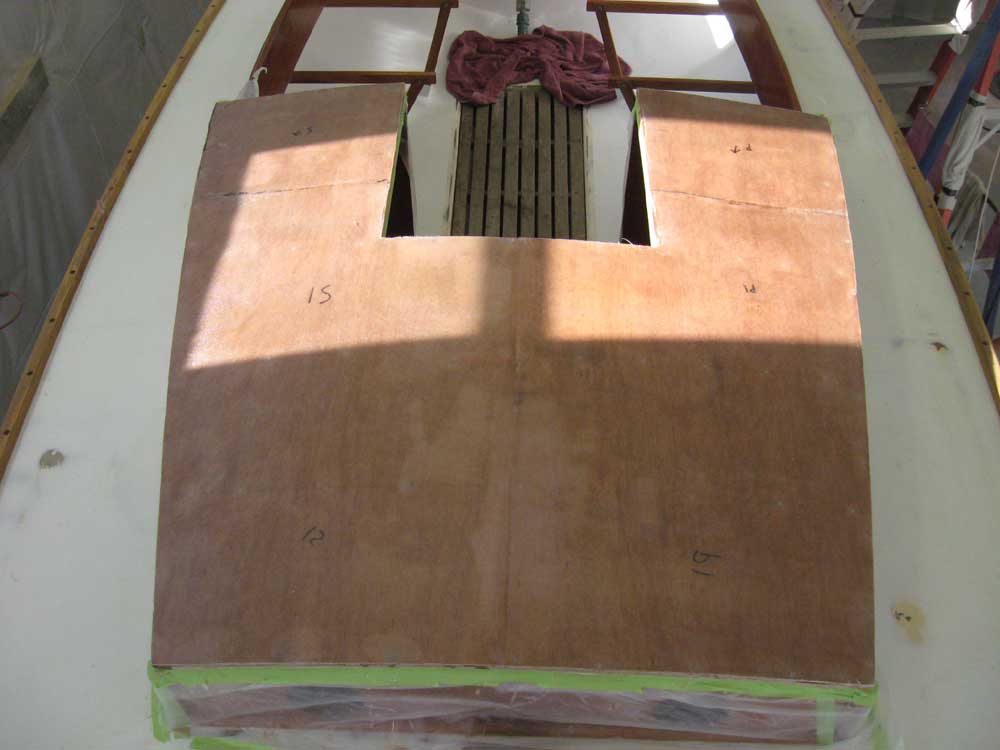
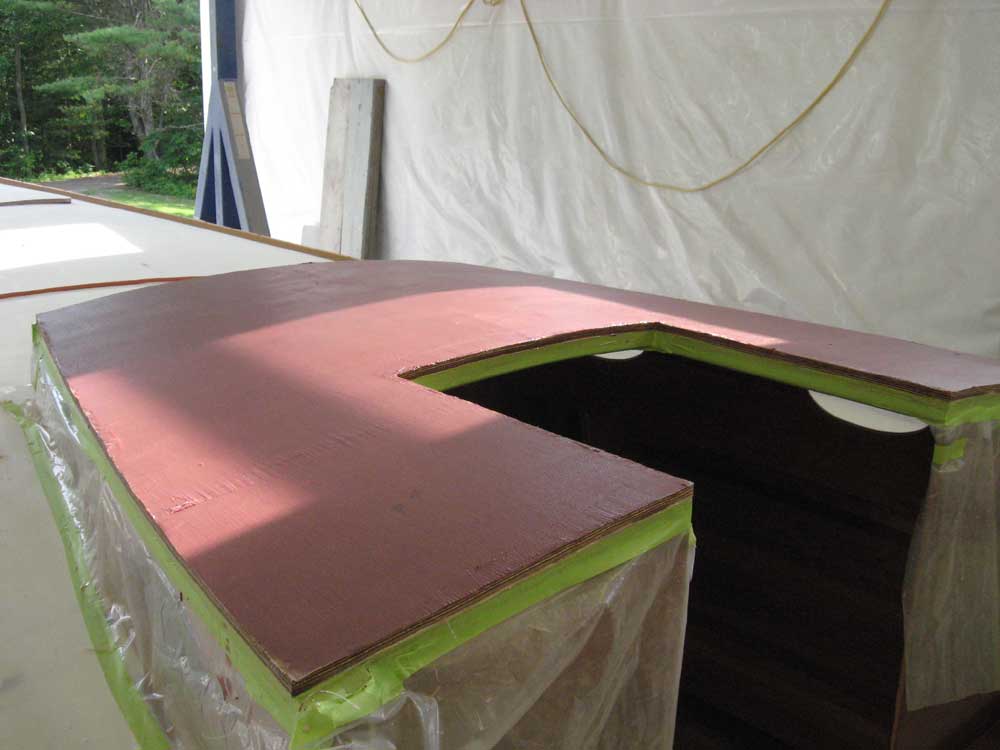
Tuesday, June 24, 2008 I continued work on the coachroof during the day. After washing yesterday's epoxy over the screw holes, and lightly sanding these areas, my first task was to trim the rough, overhanging edges of the plywood. Before beginning, however, I applied two layers of masking tape to the cabin sides to protect the surface from the upcoming operations. On the athwartships sides of the coachroof--the forward edge, the aft edge, and the forward edge in the companionway opening--I could use a router and a flush trimming bit without difficulty or modification, so I milled these edges first after carefully setting the depth of the bit so that the cutting edge passed only just barely past the bottom layer of plywood. For the longitudinal edges, I had to account for the crown of the coachroof. To do this, I made a small block cut to the appropriate angle, and secured it to the router's base plate with hot-melt glue. This aligned the router bit with the vertical side of the trunk, as necessary. Carefully, I made the passes required after ensuring that the setup was just right. I stopped the router short of the corners, where various trim pieces on the cabin trunk corners were in the way. Similarly, I milled the two sides of the companionway opening, but had to make a new wedge block since the angle here was slightly different because of the variable geometry of the cabin trunk crown; I also had to turn the wedge around since the angle was opposite here. But eventually, I completed the routing operation, leaving a clean, flush edge in all areas. |
|
|
|
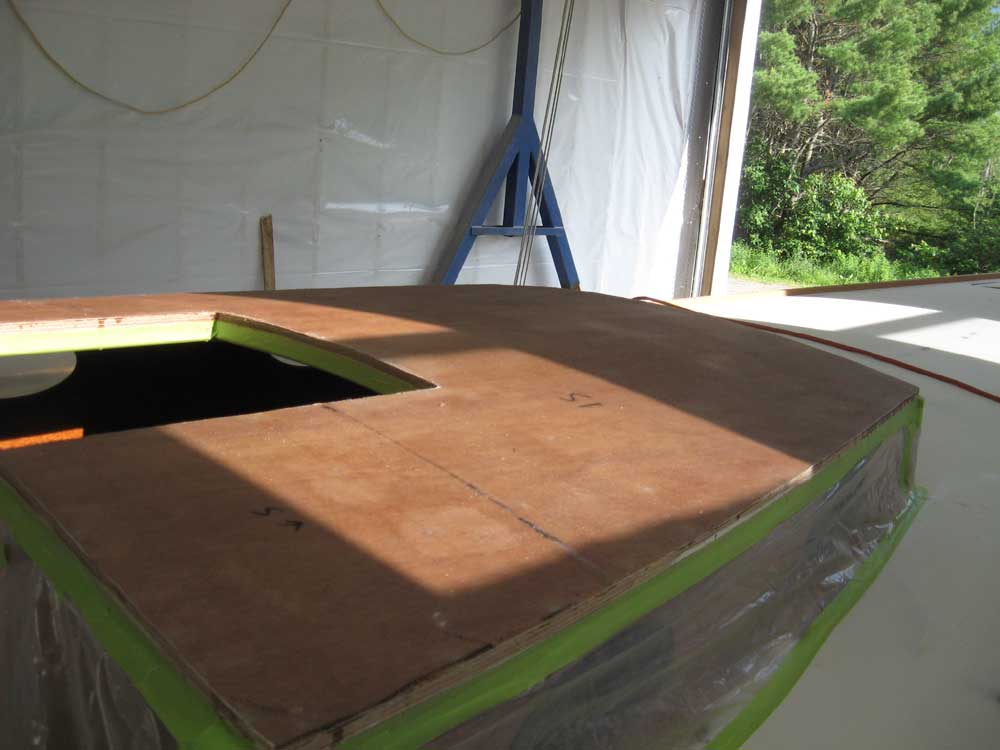
At the corners, I finished up with a hand saw, carefully removing the plywood. Later, trim would cover all the raw edges and round the corners appropriately. |
|
|
|
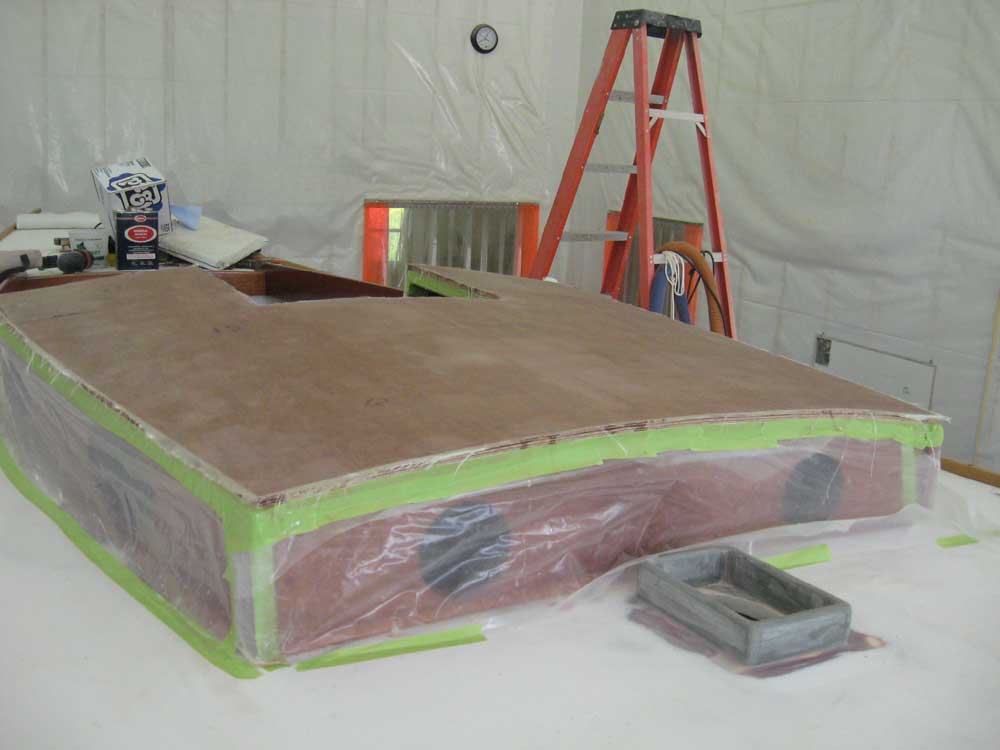
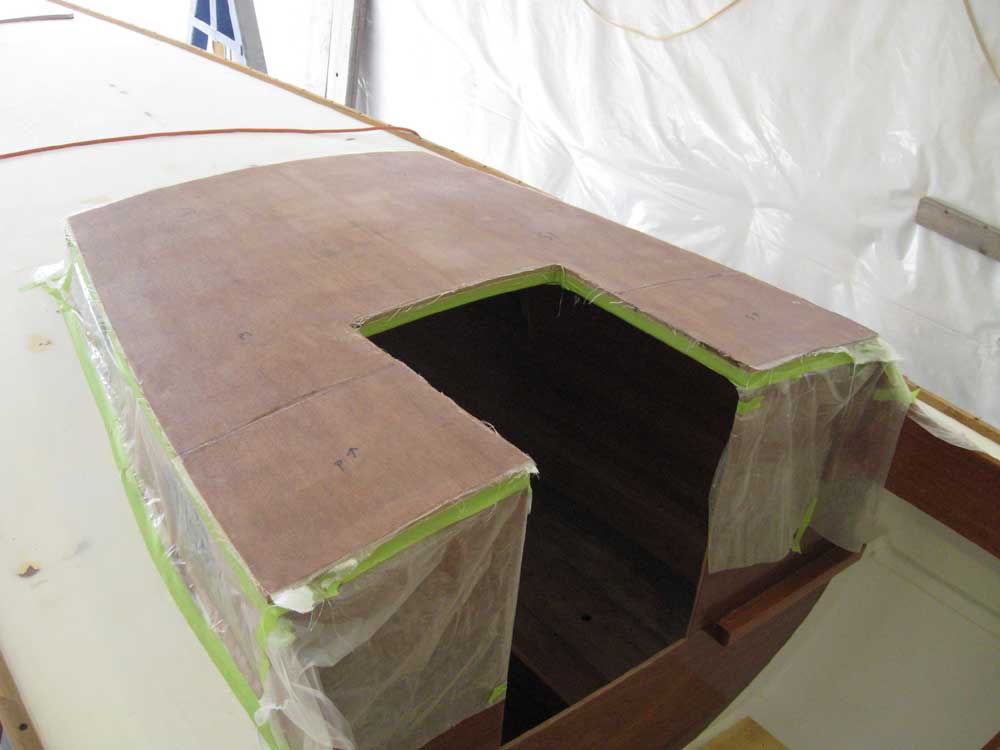
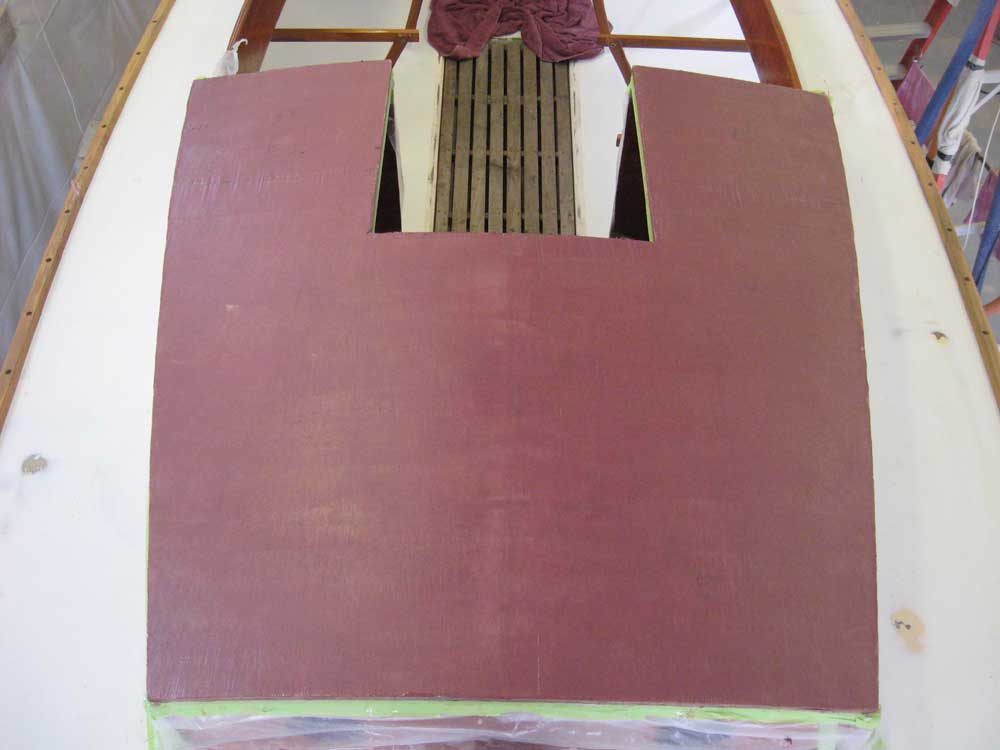
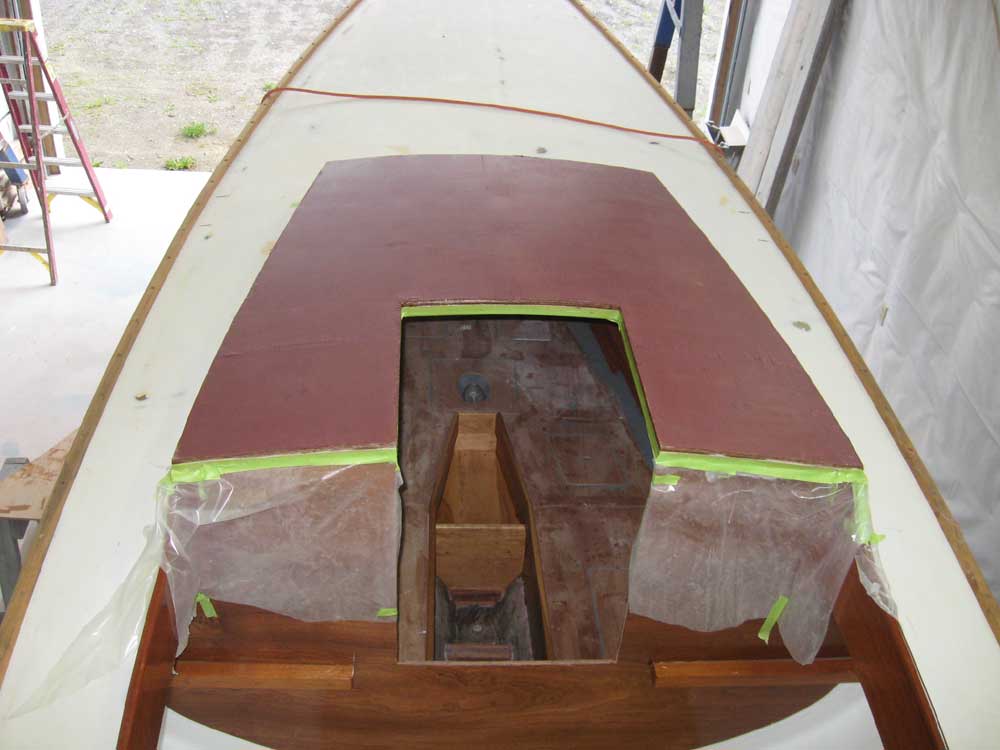
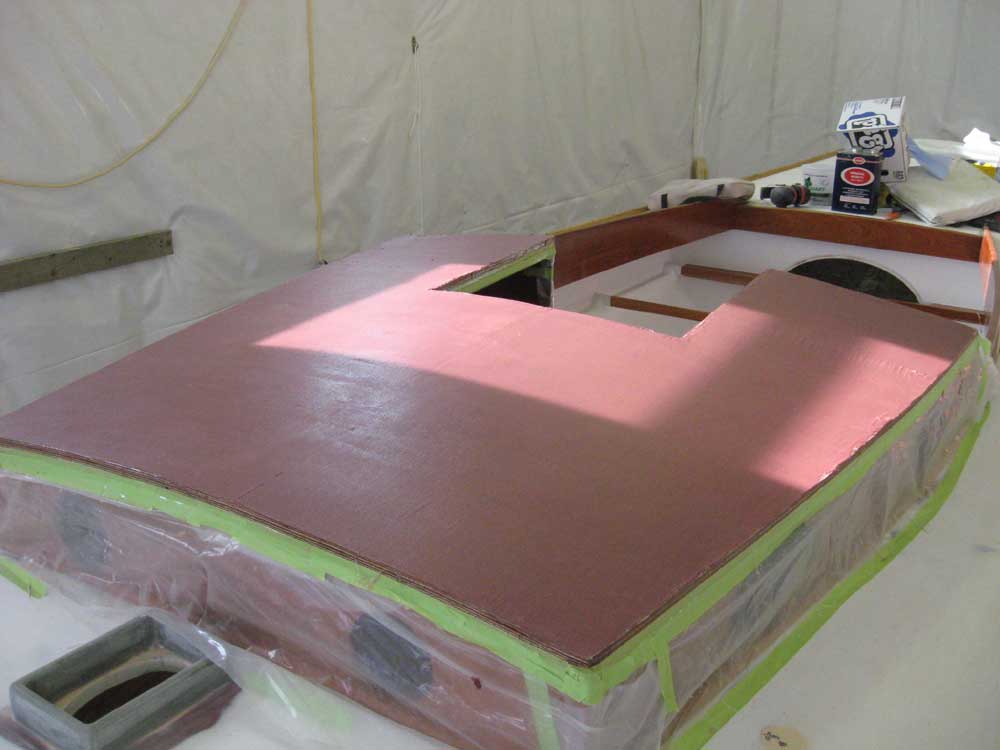
After cleaning up the router detritus, I prepared to laminate two layers of 10 oz. finishing cloth over the entire coachroof. I laid out and cut the pieces as needed, butting the seams on each layer and staggering the seam location with the second layer. Next, I applied more masking tape and then plastic over the cabin sides to protect them against epoxy drips and the like. Then, I rolled a coat of epoxy over the entire coachroof, and laminated the two layers in place with additional epoxy, leaving a bit of excess material hanging over the edges for later trimming. |
|
|
|
I had to leave the shop for a few hours in the afternoon, but when I returned it was the perfect time to trim the partially-cured fiberglass from the edges with a sharp knife. Then, I applied a first coat of fairing filler to the still-green coachroof to begin to fill the weave of the cloth, and applied some unthickened epoxy to the plywood edges. |
|
|
|
I wrapped up the day with a few small tasks stemming from a phone conference with the owner: a mockup of the bow stem fitting over the toerail to determine how best to integrate it with the new toerail; determining, as I'd suspected yesterday, that I'd mocked up the oarlock blocks in the wrong position (an easy fix); and preparation of two nonskid paint samples to send out west for final decision. It looked like there'd probably be sufficient material in the toerail to allow the stem piece to be recessed into the area, leaving a visually continuous profile from the outside. |
|
|
|
|
|