| Bolero
Project |
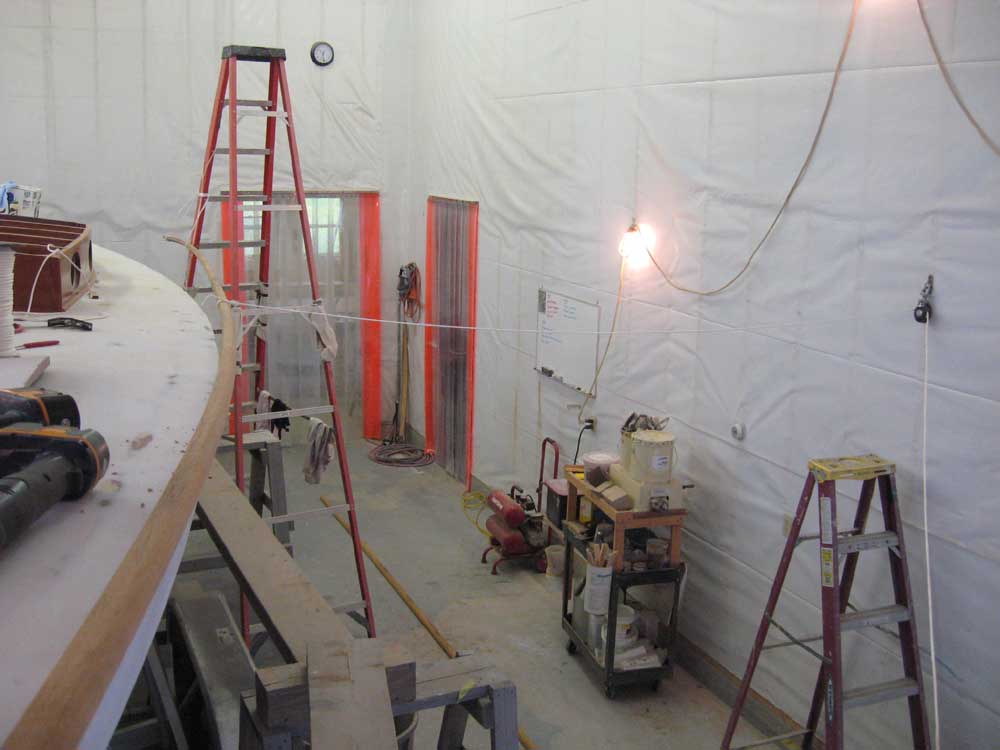
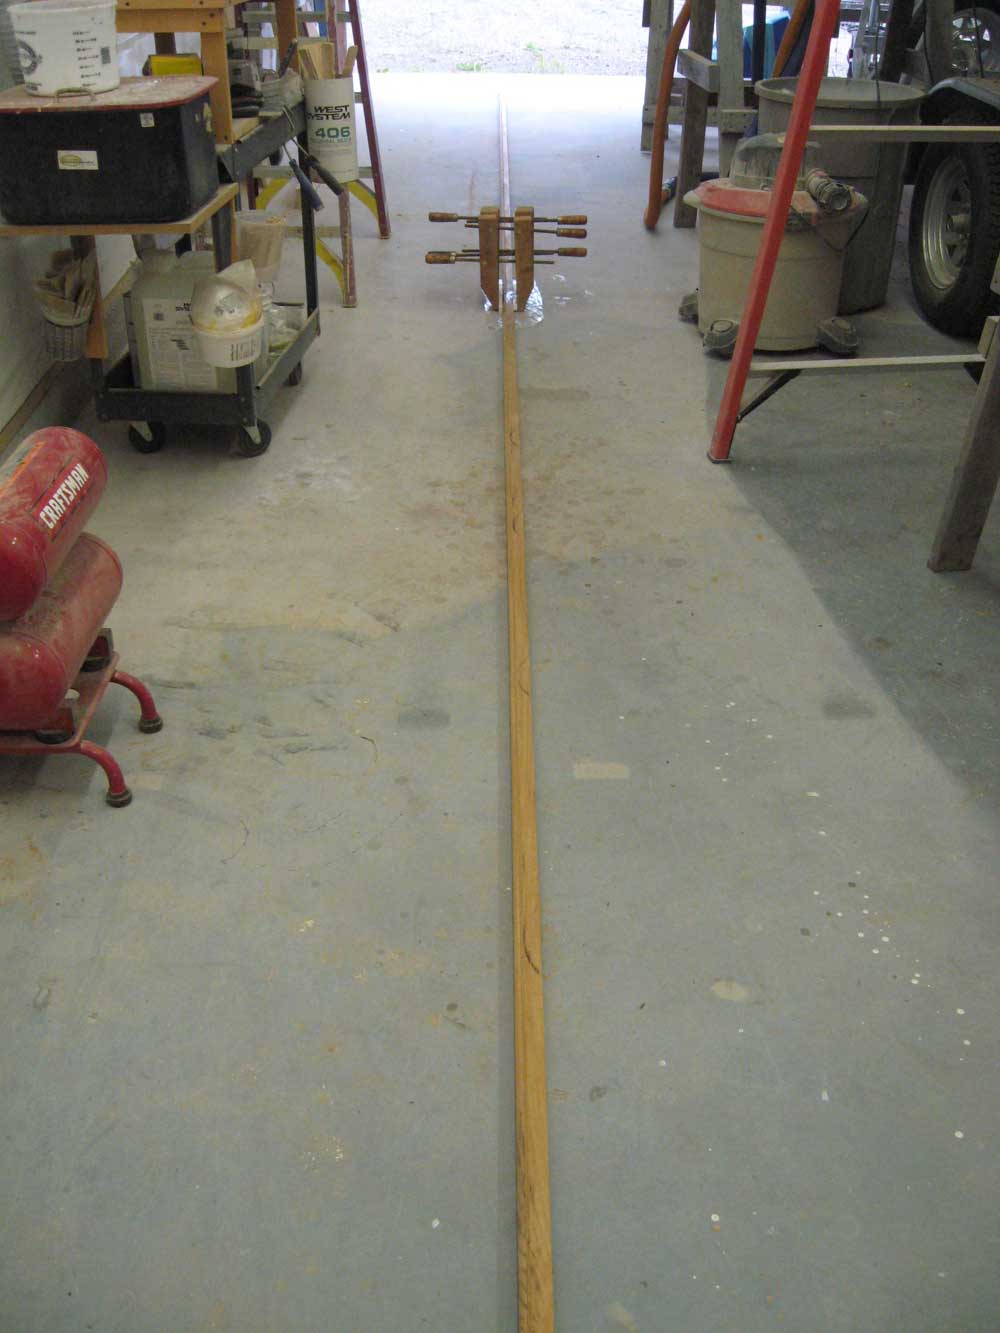
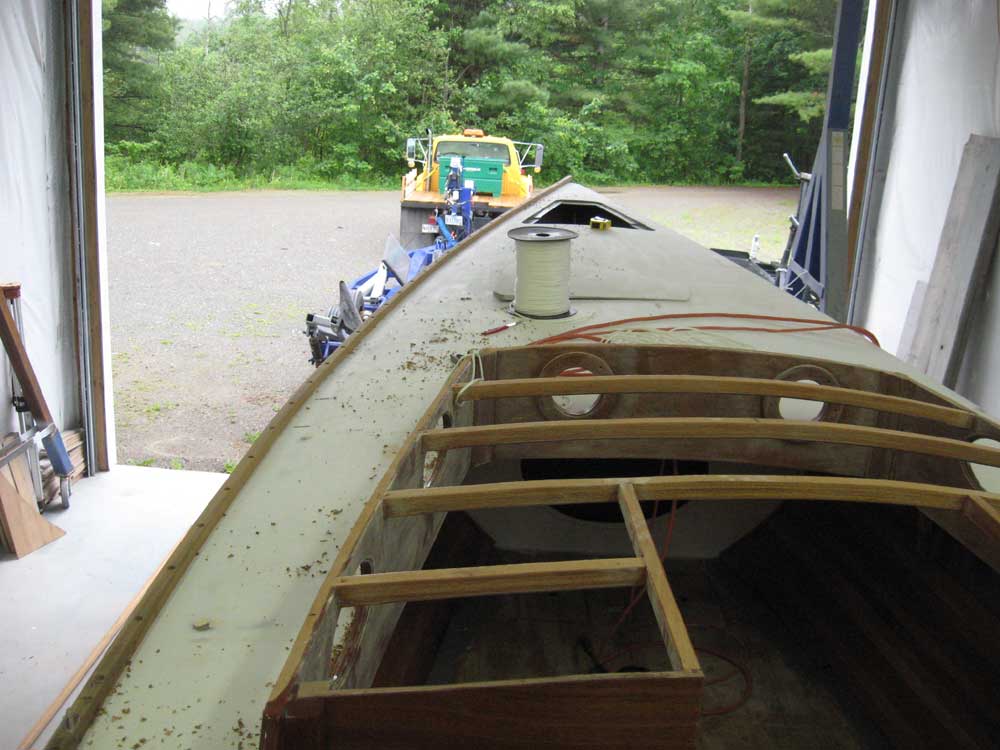
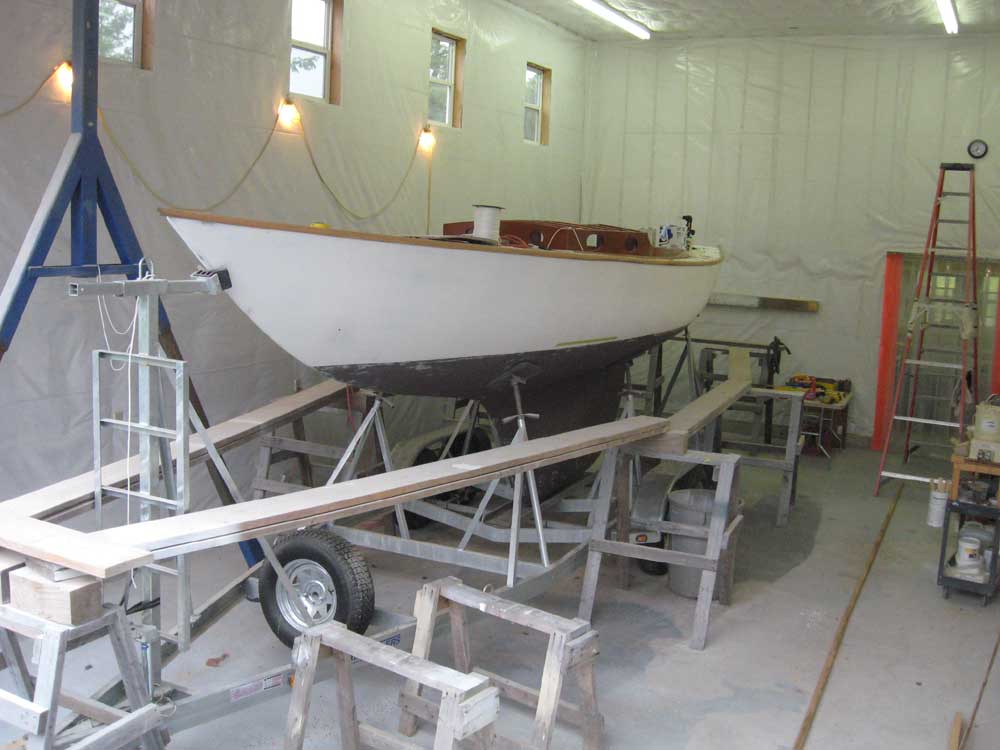
Monday, June 16, 2008 Before I could install the coachroof, I had one final step: sand and apply the final coat of varnish to the cabin beams (and, for that matter, all interior areas). Planning to varnish at the end of the day, I began this day by sanding all the interior varnish to prepare for the next coat later. Next, I turned to the toerail. The scarf joints had had ample time to cure during the weekend, as I'd intended, so I removed the clamps. Gingerly, I picked up the port toerail from the center, at the scarf, to see if the joint would hold; it did, and the piece was surprisingly movable despite its long, unwieldy, and bendy nature. I slid the piece up on the staging, and then up on the deck of the boat, where I left it while I rigged several lines hither and thither to help hold the rail in position during the early stages of the installation, and to help bend it into place as needed. |
|
|
|
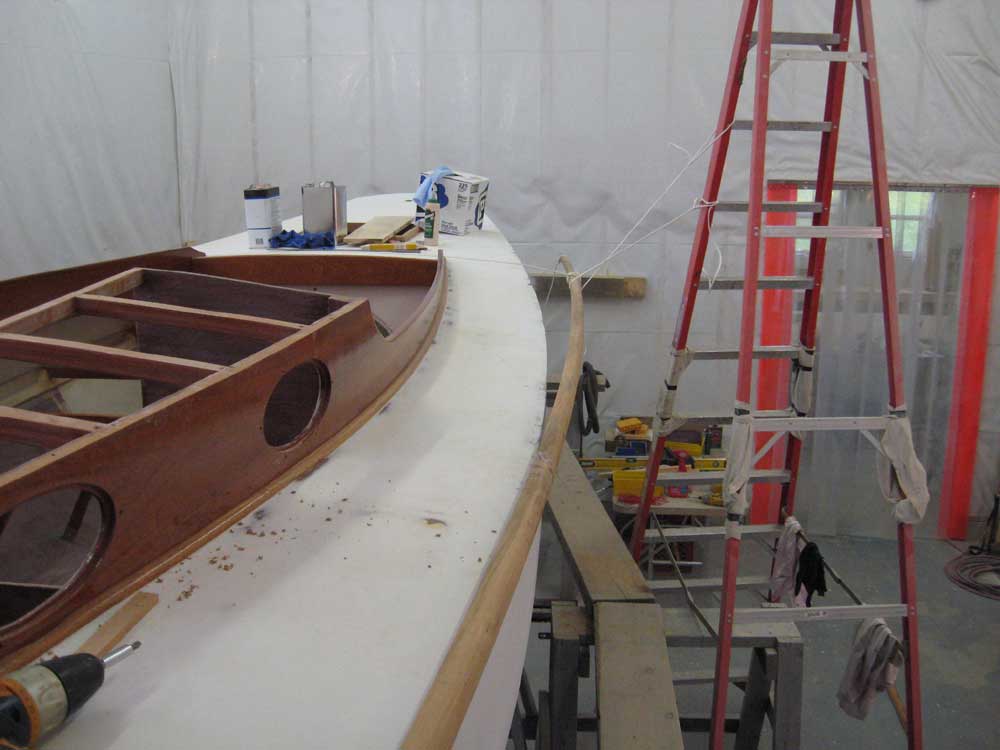
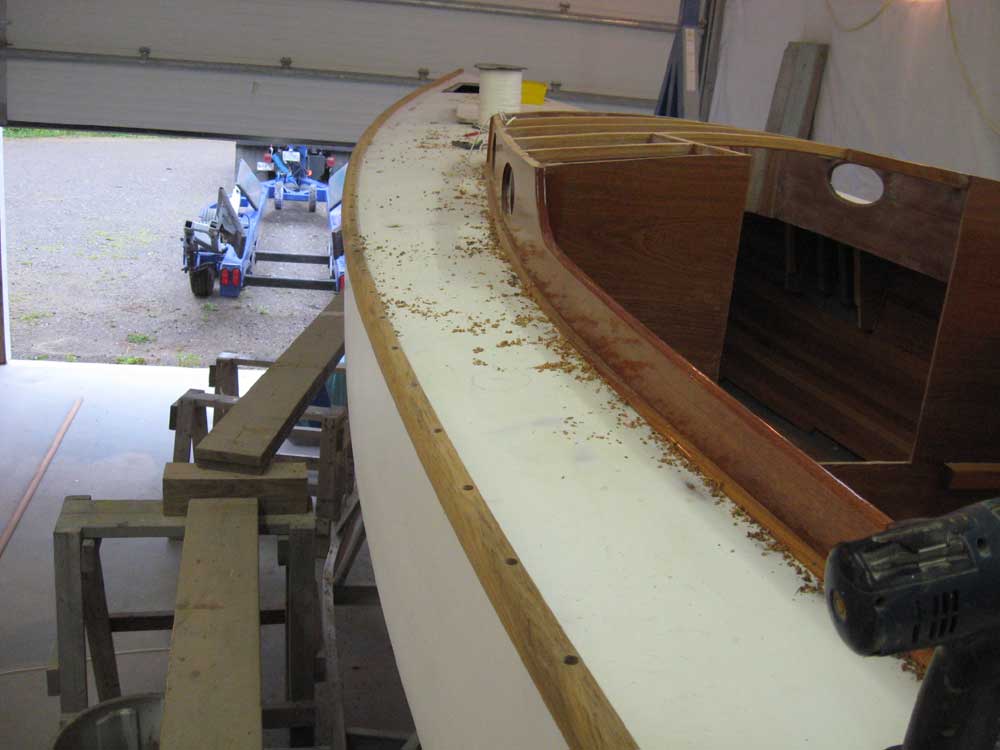
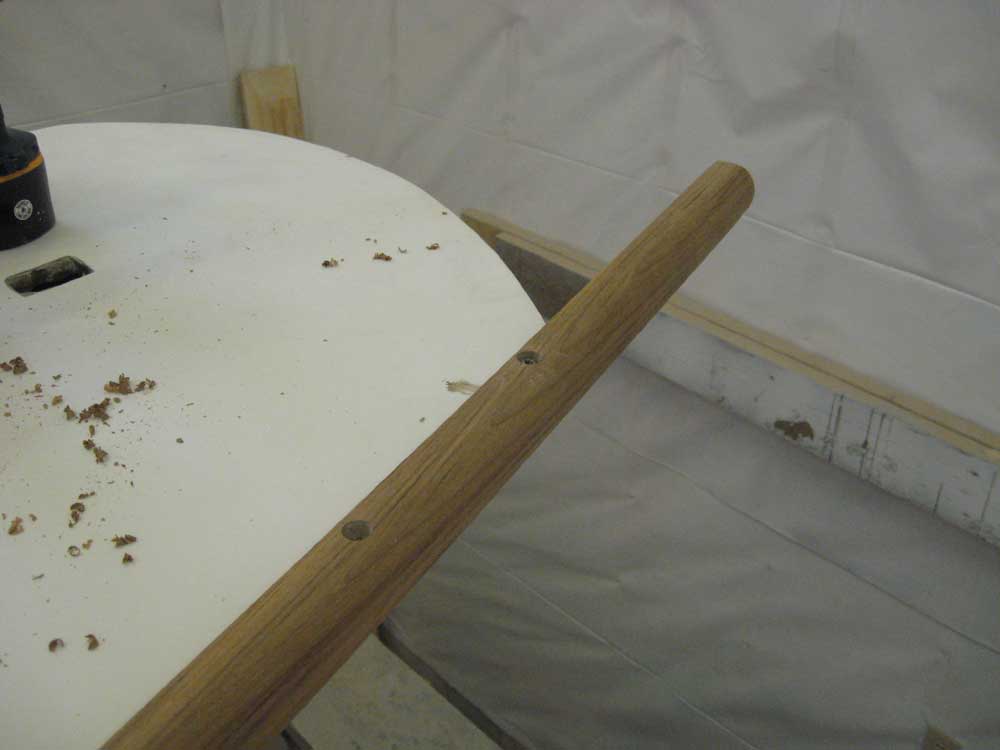
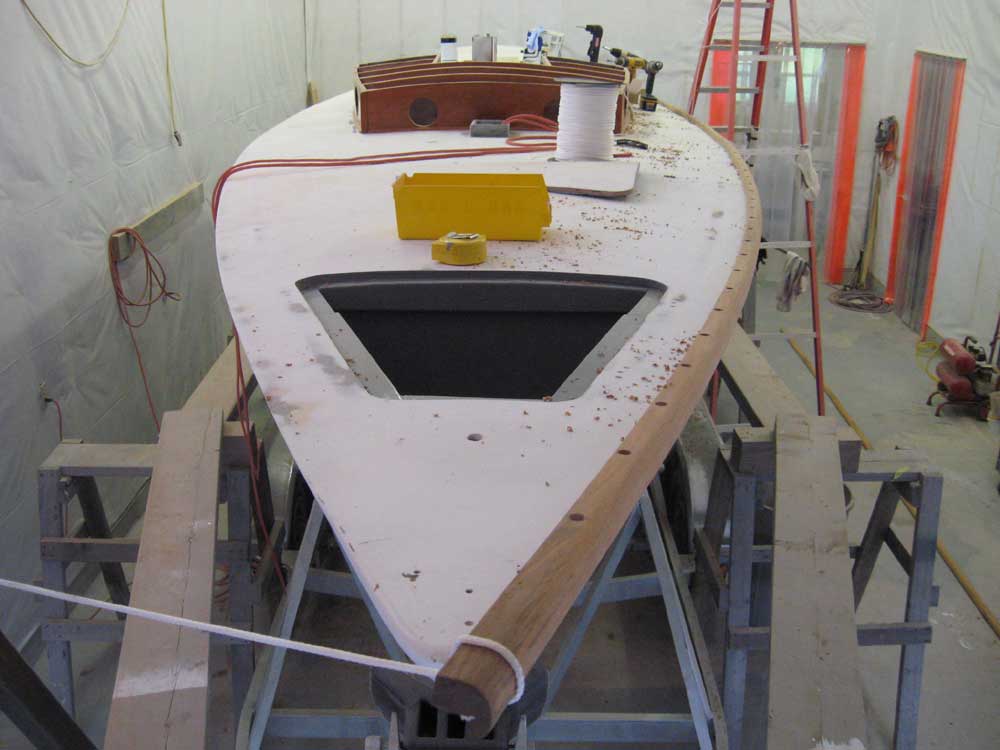
The hardest part of installing this sort of piece is always the first few screws. In this instance, the design of the rail as a one-piece section that overlapped both hull and deck caused it to want to twist as I bent it into position at the bow, so by running (and supporting with various lines) the rail straight past the bend at an angle approximating the angle of attack of the bow, I was able to get the first section pressed into place. I made a mark on the deck where I wanted the first screw to go (about 2" aft of the stem casting--which I'd removed for now), and, allowing for a few inches of overhang at the stem, I made a mark on the toerail for the first screw location. I then made marks 6" apart down the first 1/3 or so of the rail to locate the other screws, keeping them as close as practicable to the inner face of the toerail to ensure that the screws would penetrate the deck properly. With the various lines secured as needed to help me pull the rail into place, I drilled for and installed the first screw--a four-step process: drill 1/2" counterbore for the bung; drill larger pilothole through the wood for the screw shank; drill smaller pilothole in the deck for the screw threads; install the screw (#12 pan head). With one screw in place, I quickly moved down the rail several screw holes and installed a second. This secured the rail well enough that I could relax a bit, and I drilled and screwed the several locations between the first two. |
|
|
|
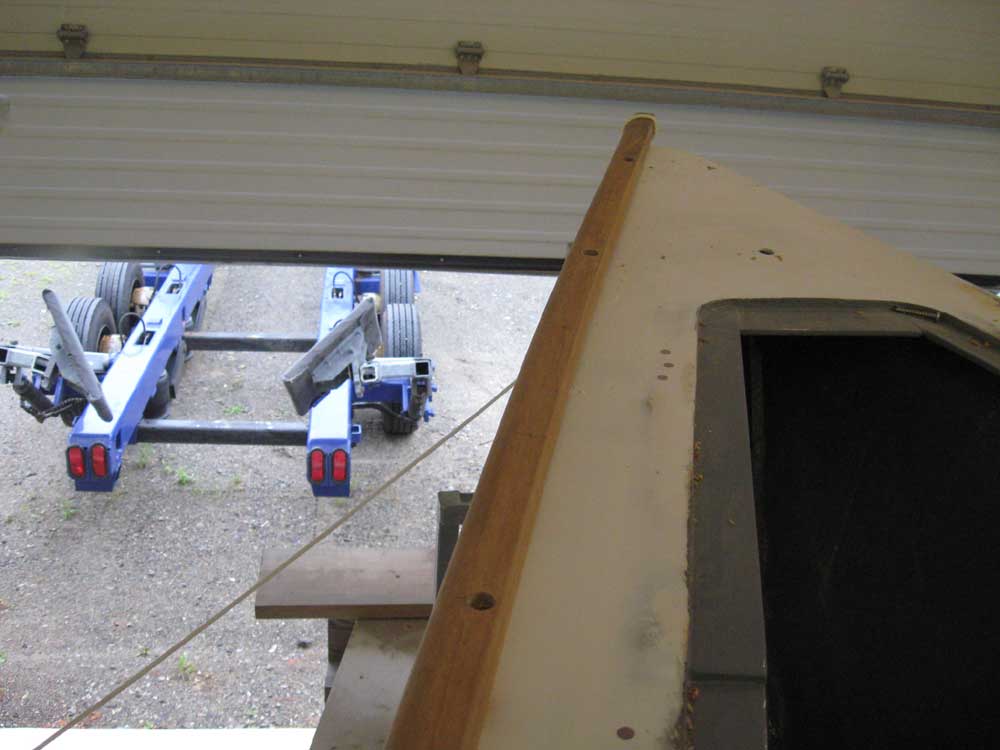
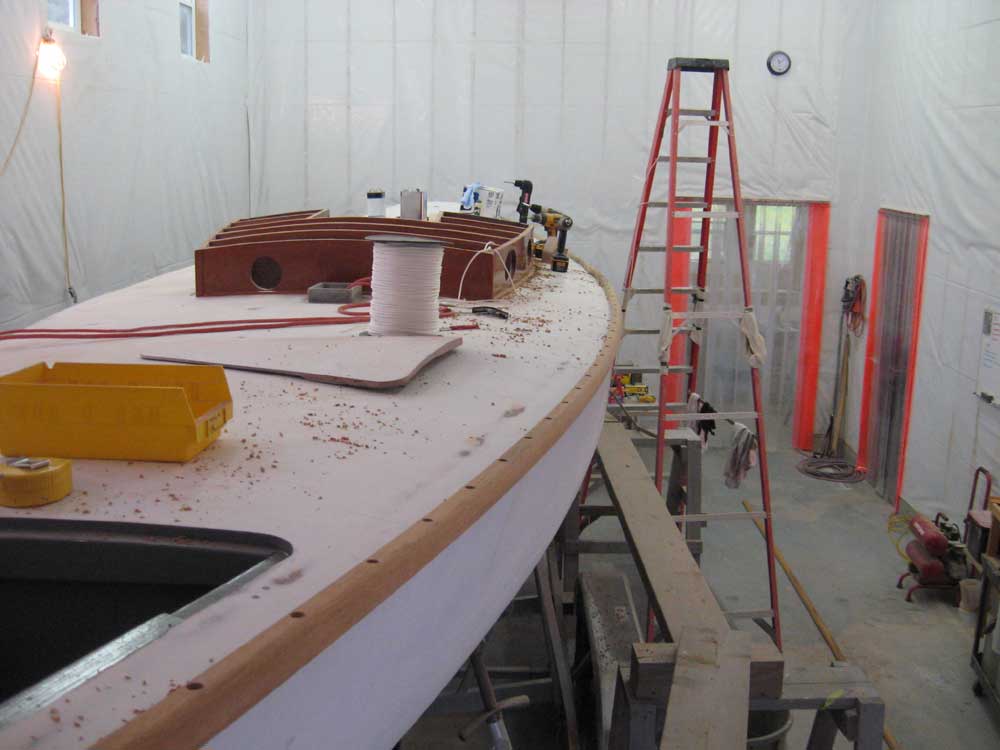
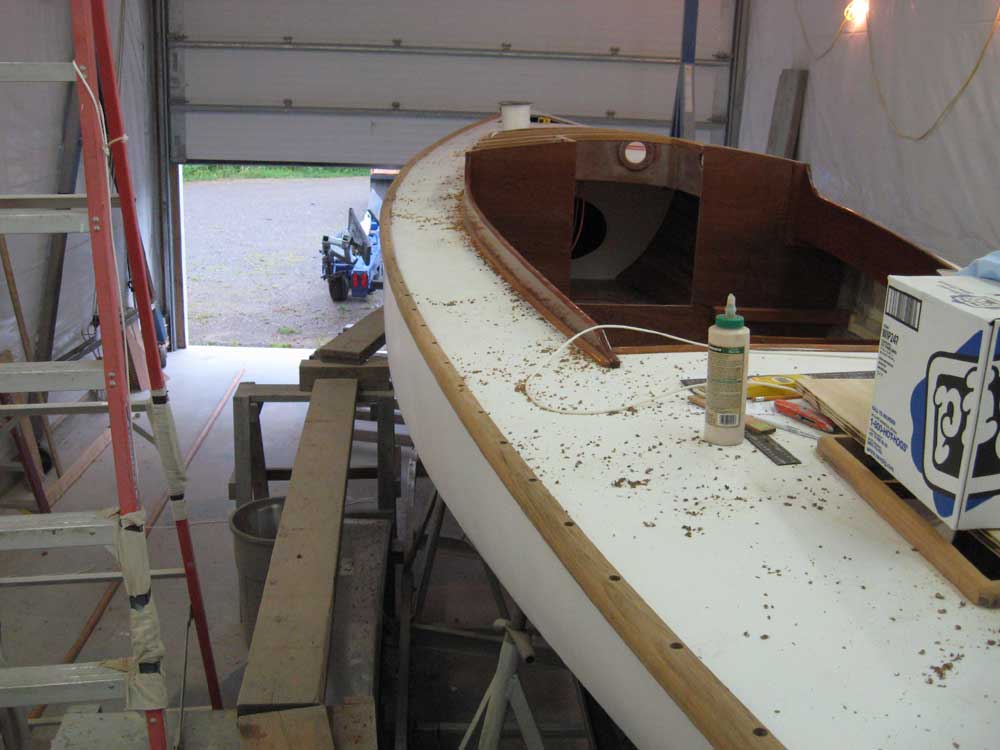
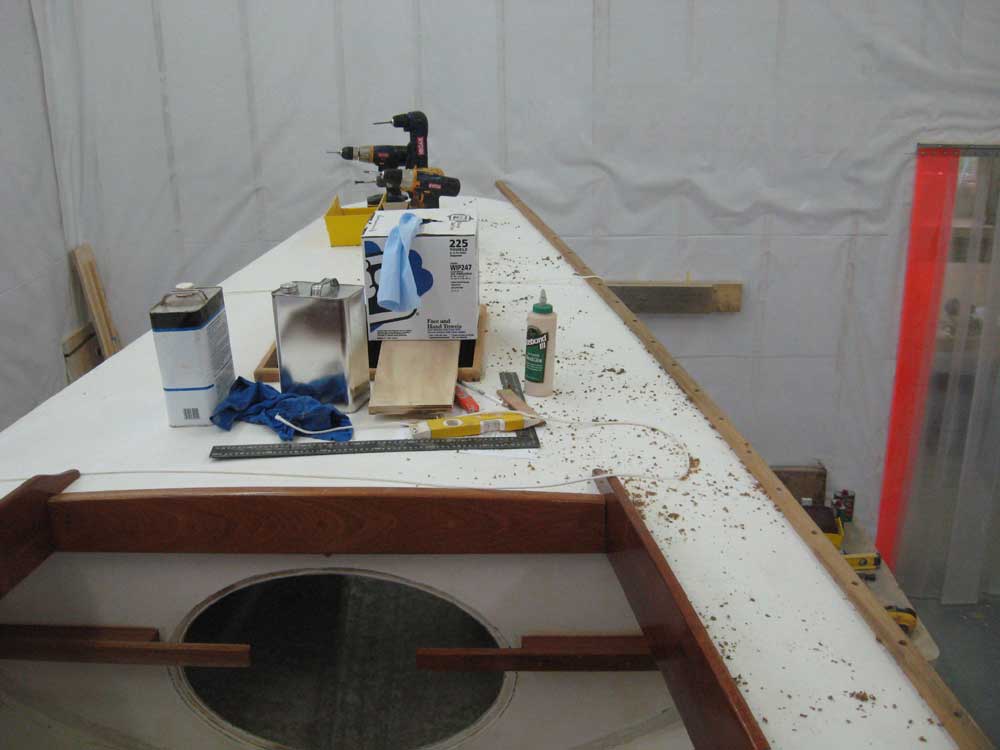
In this manner, I moved down the length of the boat, pressing the rail tightly into place, adjusting lines as needed, and securing the screws as I went. Once I had the initial installation and bending out of the way, the remainder of the job went fairly quickly, all the more so as the length of unsupported rail became shorter and shorter towards the stern. For now, I let the rail run wild off both the bow and stern, as I'd need the extra length to help remove the rail and reinstall it permanently with sealant later on. |
|
|
|
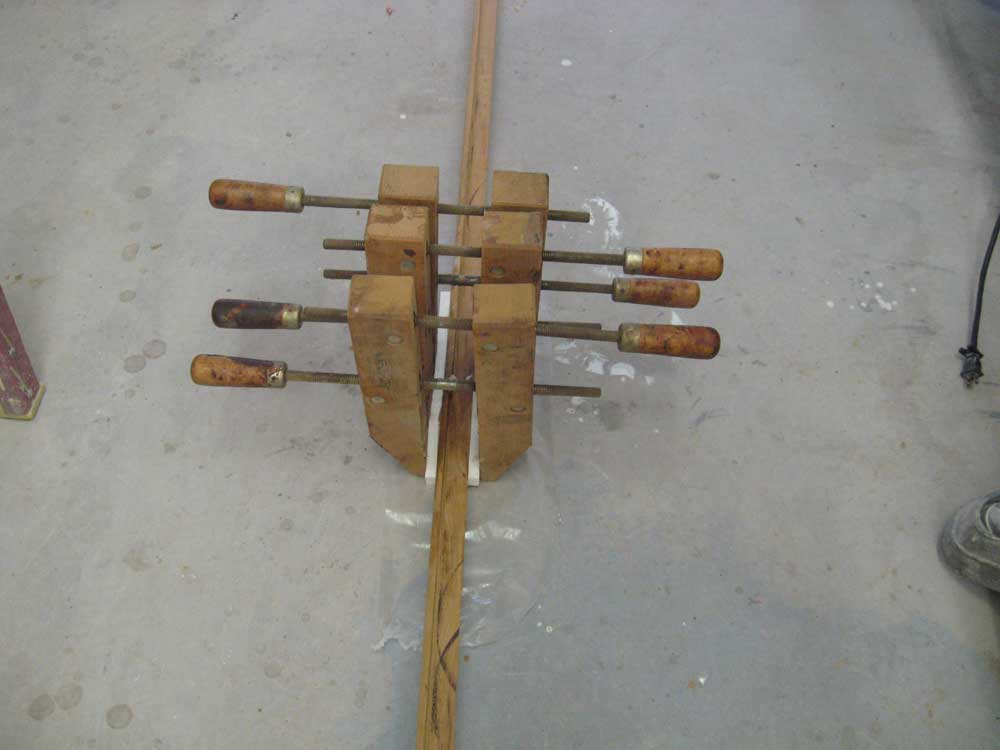
With the port side complete, I prepared to repeat the process on the starboard side. However, as soon as I picked up the scarfed section, it failed right at the scarf joint--the glue simply let go, having not (apparently) been properly clamped and secured during the initial application. It was clear from inspecting the failed joint that the glue bond had left much to be desired; clearly, from the success with the port rail, the scarf joint and epoxy should have held adequately, but in this case the clamping pressure must not have been sufficient. With the benefit of hindsight, I remembered that I'd had more trouble clamping and securing one of the pieces last week--this one. As much as I'd wanted to get both rail pieces dry fit today, I found that this was a minor setback, particularly since the failure mechanism was so clearly the result not of an inadequately built joint, but of improper gluing and clamping pressure. The rail was not damaged at all, and I vastly preferred the failure to occur 1' above the shop floor before installation than at any other time. So I trimmed 1/8" off each scarfed end to expose clean material, carefully cleaned the joint, and re-epoxied it, this time using some wooden clamps to really press the angled joint together properly. I planned to leave this piece clamped up for a couple days, as before. |
|
|
|
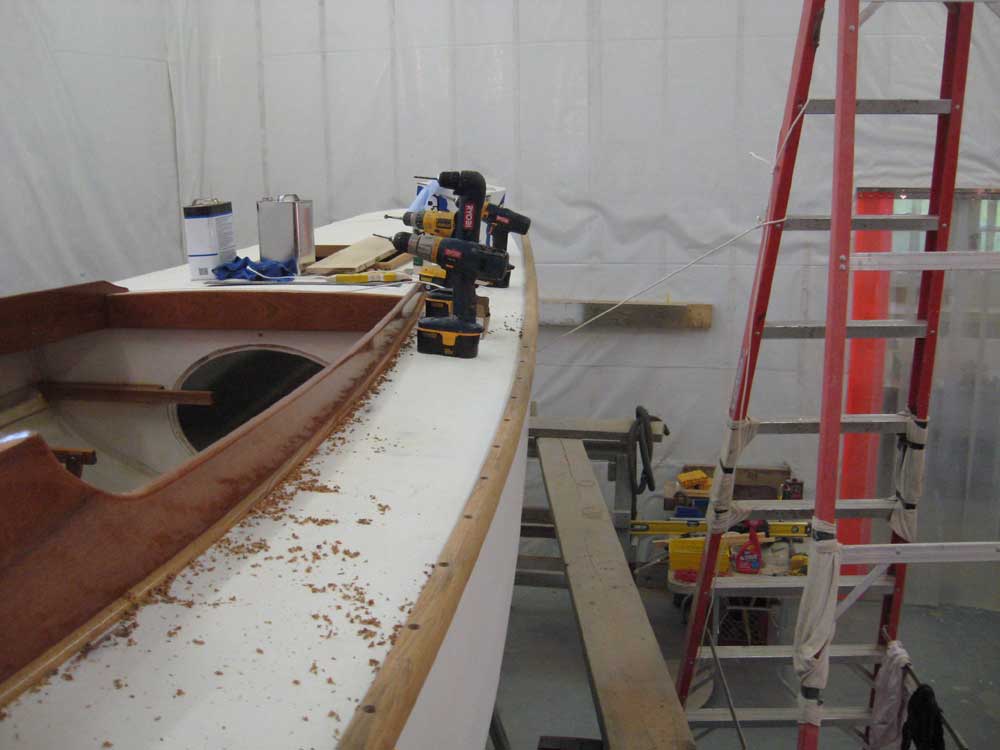
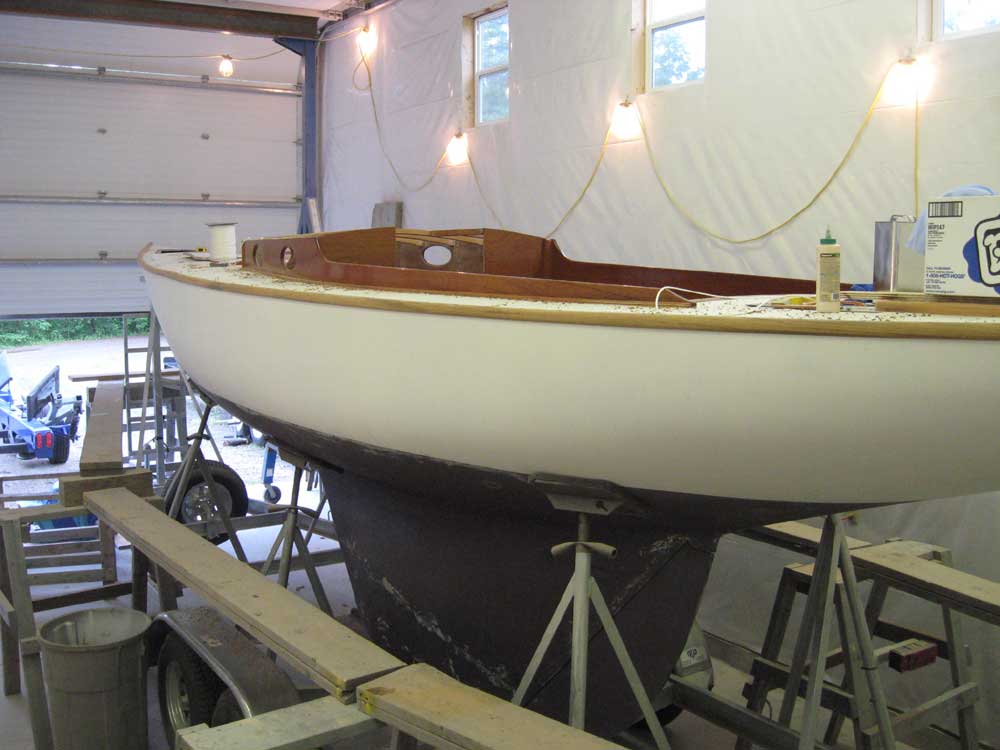
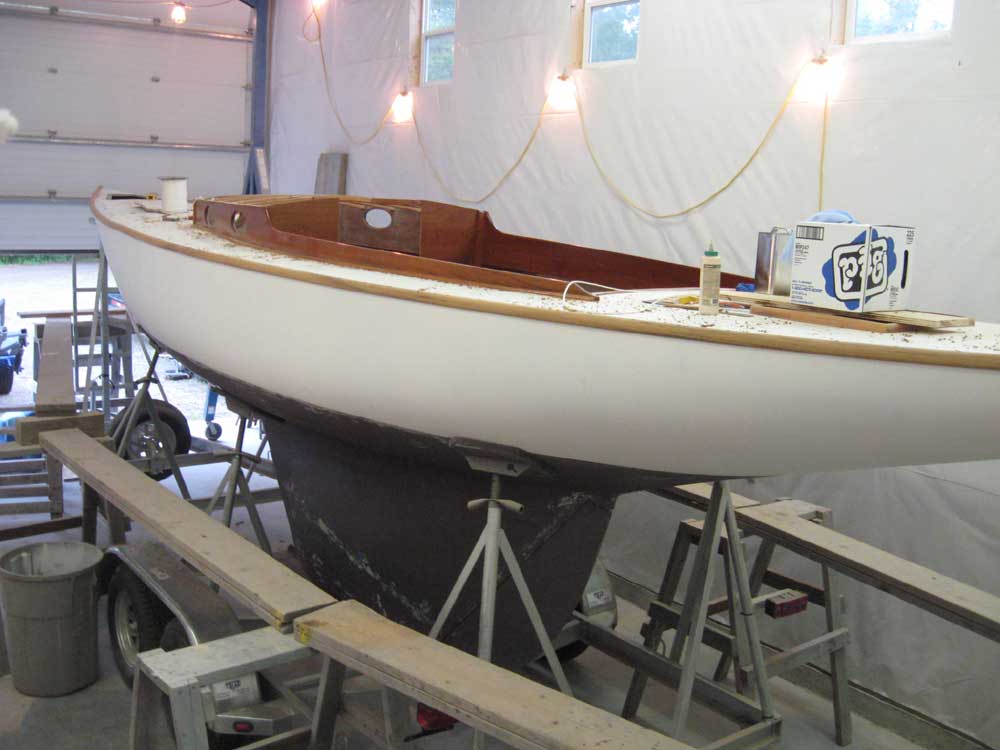
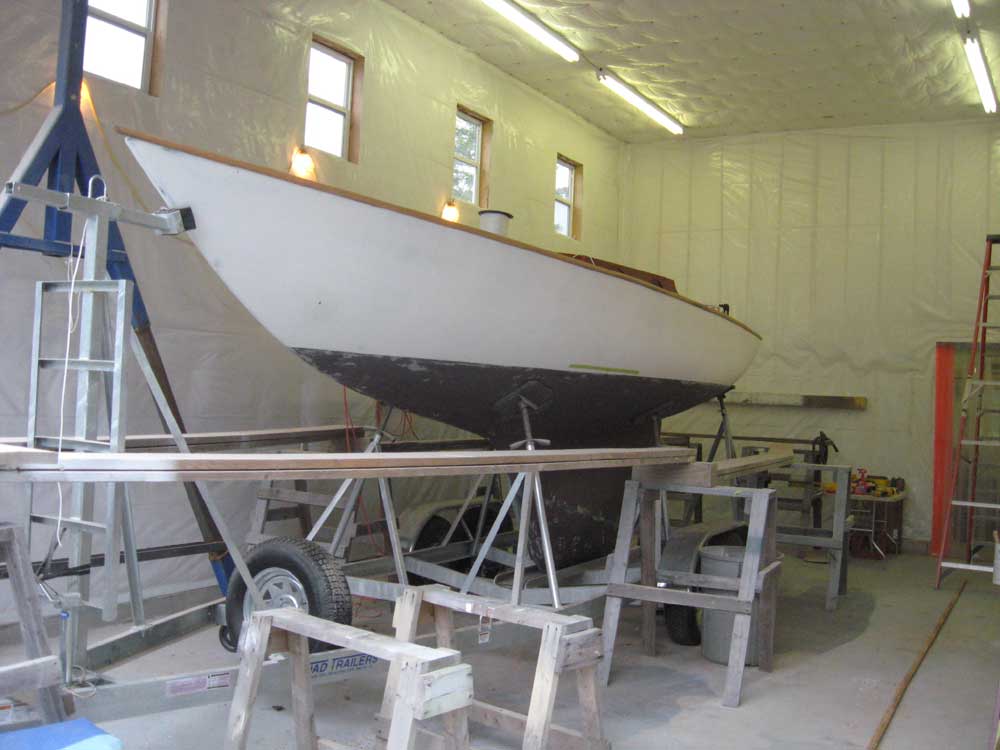
After lunch, I cleaned up the port side scarf joint: I'd chosen to leave the excess epoxy squeezeout on the exterior of the seam during installation, figuring that it'd be easier to clean it up and sand it once the rail was secured to the boat. It was. I lightly sanded the entire rail once more with 220, though still leaving (for now) the sharp corner at the inner top corner, which I'd ease a little later after another minor construction step involving pads for the planned oarlock sockets. More on this later. I thought the toerail looked great, and further thought that it really seemed to draw out the lines of the boat, particularly from the after sections; the forward views of this hull design don't seem to be the most flattering, whether this boat or any other Shields class, but for the moment were the only truly distant views I could get. |
|
|
|
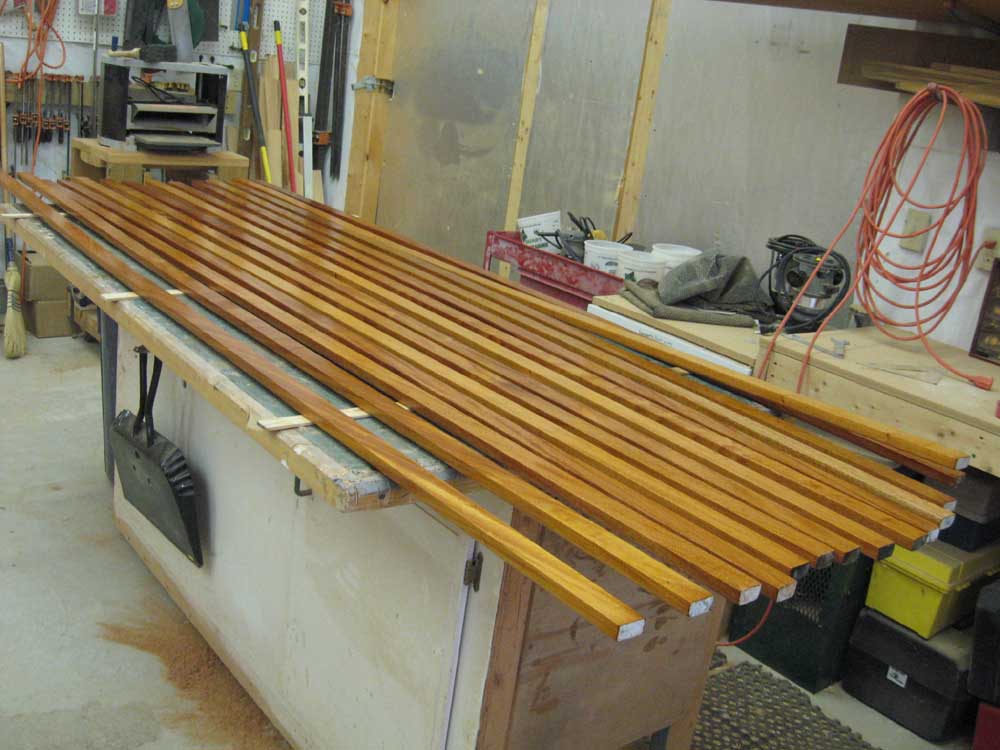
I allowed myself 2 hours at the end of the day to complete the varnish work required on the interior and cockpit seat slats, so this left me with an hour or so to work on the chainplate covers again--one of those rather insignificant projects that is best left to slack times like these. With the top edge and one side of each piece cut to fit during the last steps, and cleats installed within the chainplate area to which the cherry covers could be installed, I secured the pieces temporarily with screws to the forward side so that I could properly mark the aft side and the angle cut at the bottoms of the pieces. For some reason, each time I worked on the chainplate covers I seemed to leave my camera elsewhere, so again there are no pictures of this basic process. Afterwards, I removed the pieces and returned them to the bench for the next round of cuts and shaping as required. Finally, I vacuumed, solvent-washed, and tacked off the interior varnish, and applied a coat of rubbed-effect satin varnish to all areas. Then, I wrapped up the day with more varnish on the bottoms and sides of the cockpit slats. |
|
|
|
|
|