| Bolero
Project |
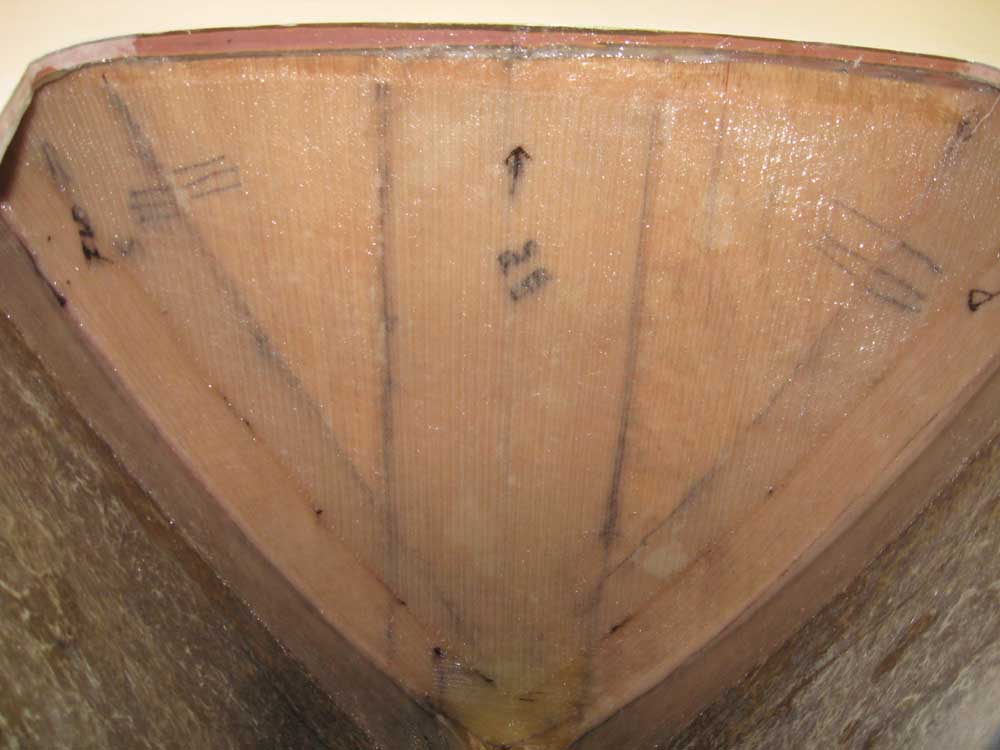
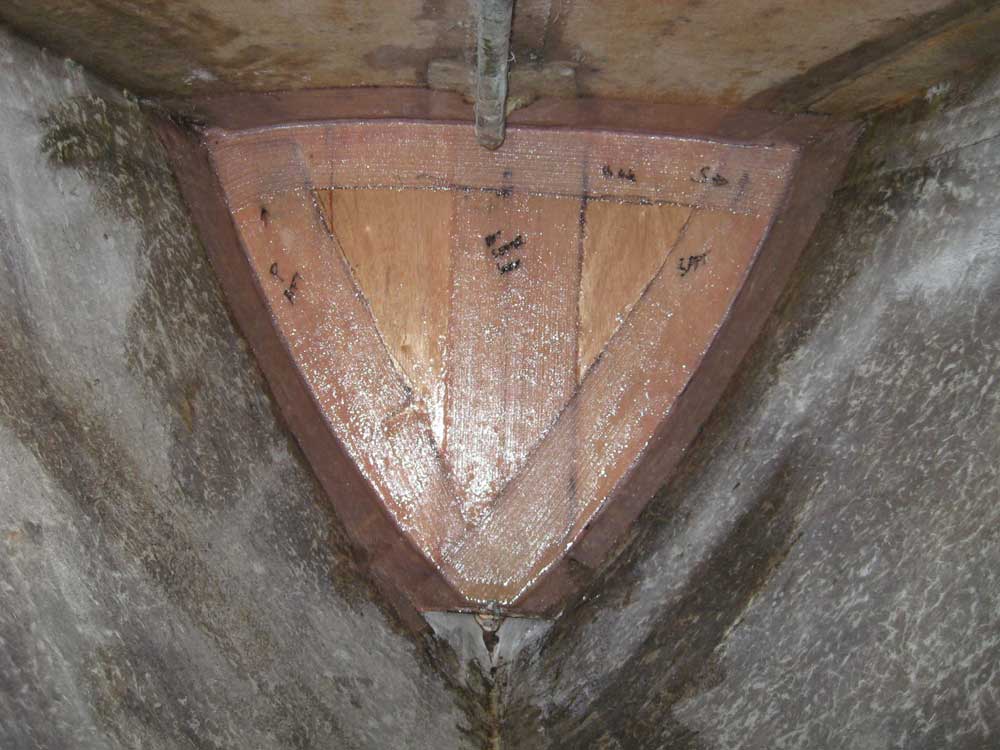
Thursday, February 28, 2008 I spent the morning permanently affixing the new anchor locker bulkhead in place. I began by dry-fitting the fiberglass to mark it for length and make any cuts and darts required in order to fit. I used a single layer of 1708 8" wide tape on both sides of the bulkhead (fore and aft), including on the center seam of the plywood. With all the pieces cut and labeled, I installed thickened epoxy fillets along the bulkhead edges to fill small gaps and provide a transitional surface for the tabbing. Then, I applied the wet-out tape, first on the after side, from within the bow compartment, and then from the forward side. To finish, I applied a section of 1708 cloth over the entire forward side of the bulkhead for impact resistance and added water protection inside the anchor well. |
|
|
|
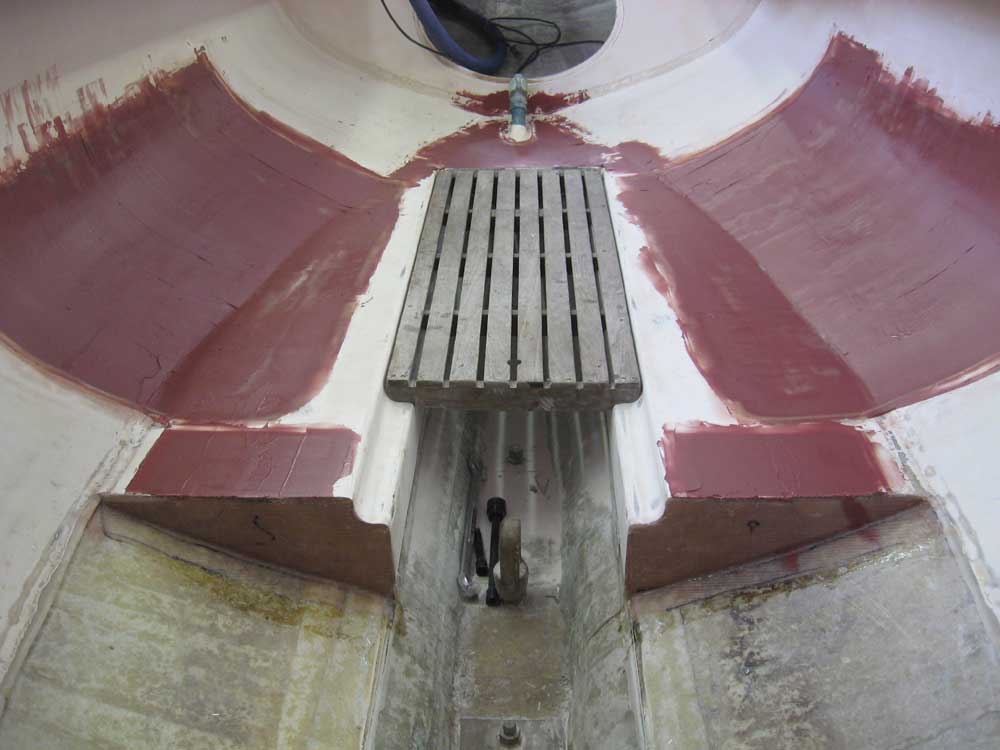
Later, I took care of some fiberglassing odds and ends in the cockpit. I applied 6" diameter circles of fiberglass over the bottom side of the now-filled deck compass holes in the sidedeck, which I'd patched from the top side before priming, and also installed a layer of fiberglass over the forward sides of the cockpit area, which I'd blocked off previously with plywood and epoxy filler. I extended the fiberglass onto the hull at the bottom side to begin tying everything together; later, when I install the main cabin bulkhead, I planned to tab in the remainder of the cockpit sole for strength and watertight integrity at the bulkhead. I also began the filling/fairing process at the locations of the old cockpit air tank/seat units, which I'd removed and patched previously, and also began additional fairing of some of the cockpit areas, including two small patches of recessed nonskid at the forward end and smoothing out the ugly stock transitions at the aft end of the cockpit around the rudder post, purely for appearance's sake because I couldn't stand how the original arrangement looked. |
|
|
|
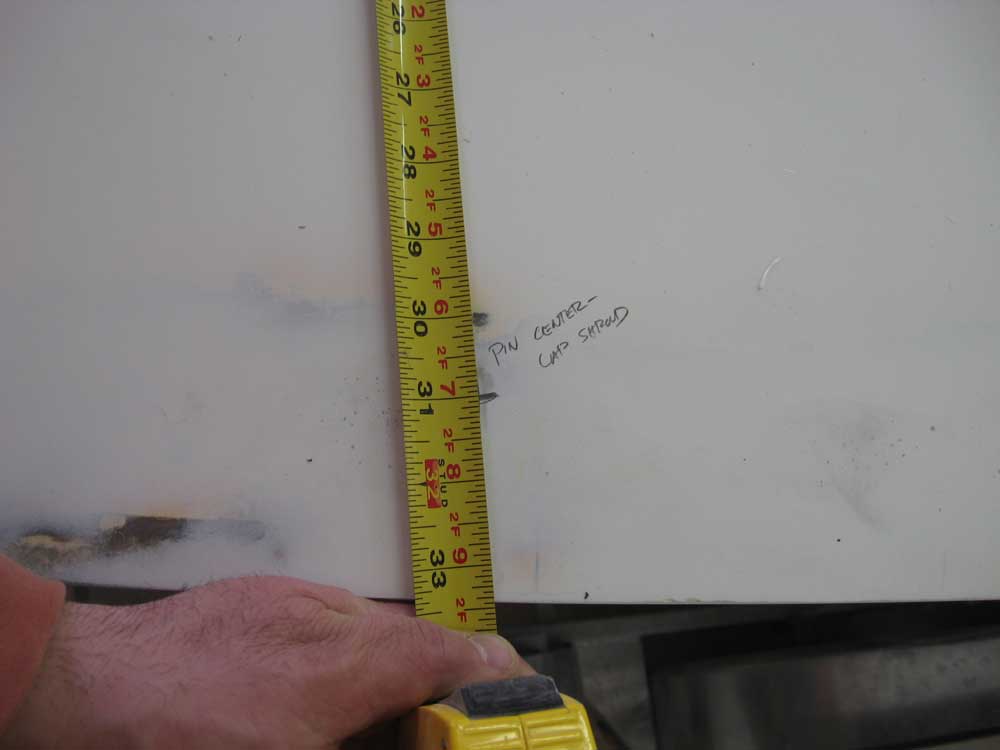
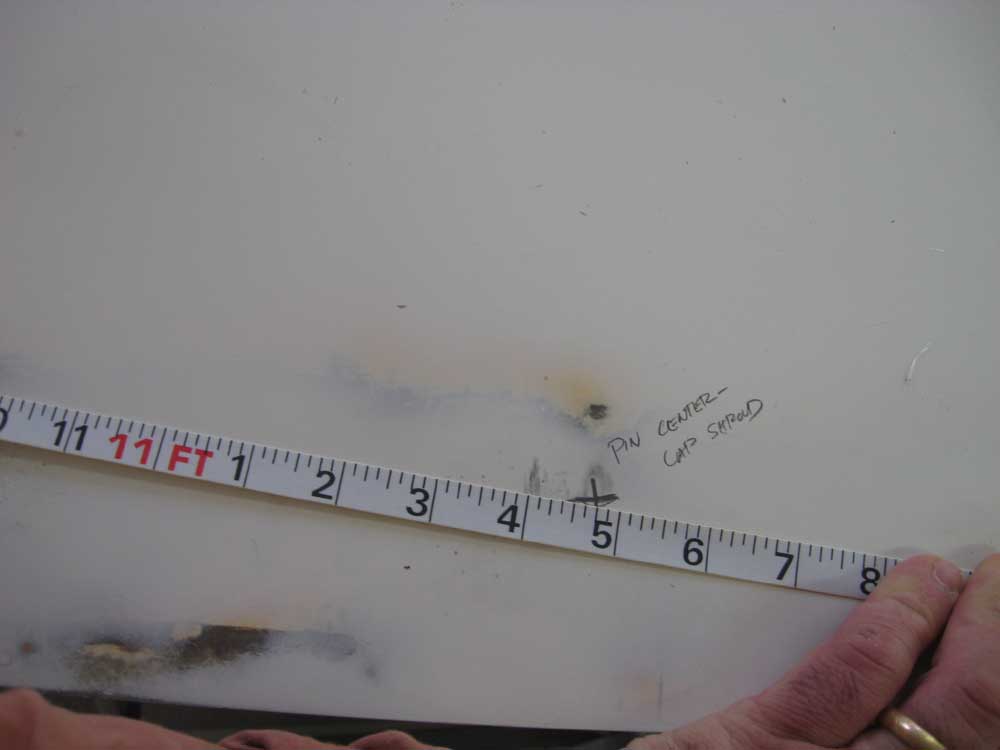
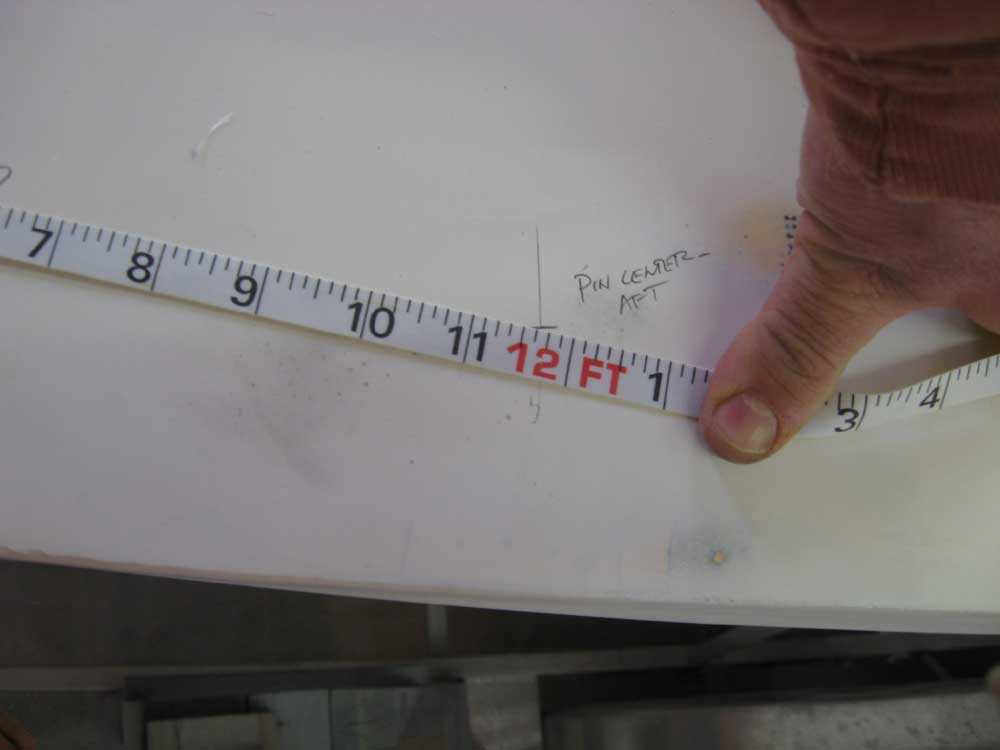
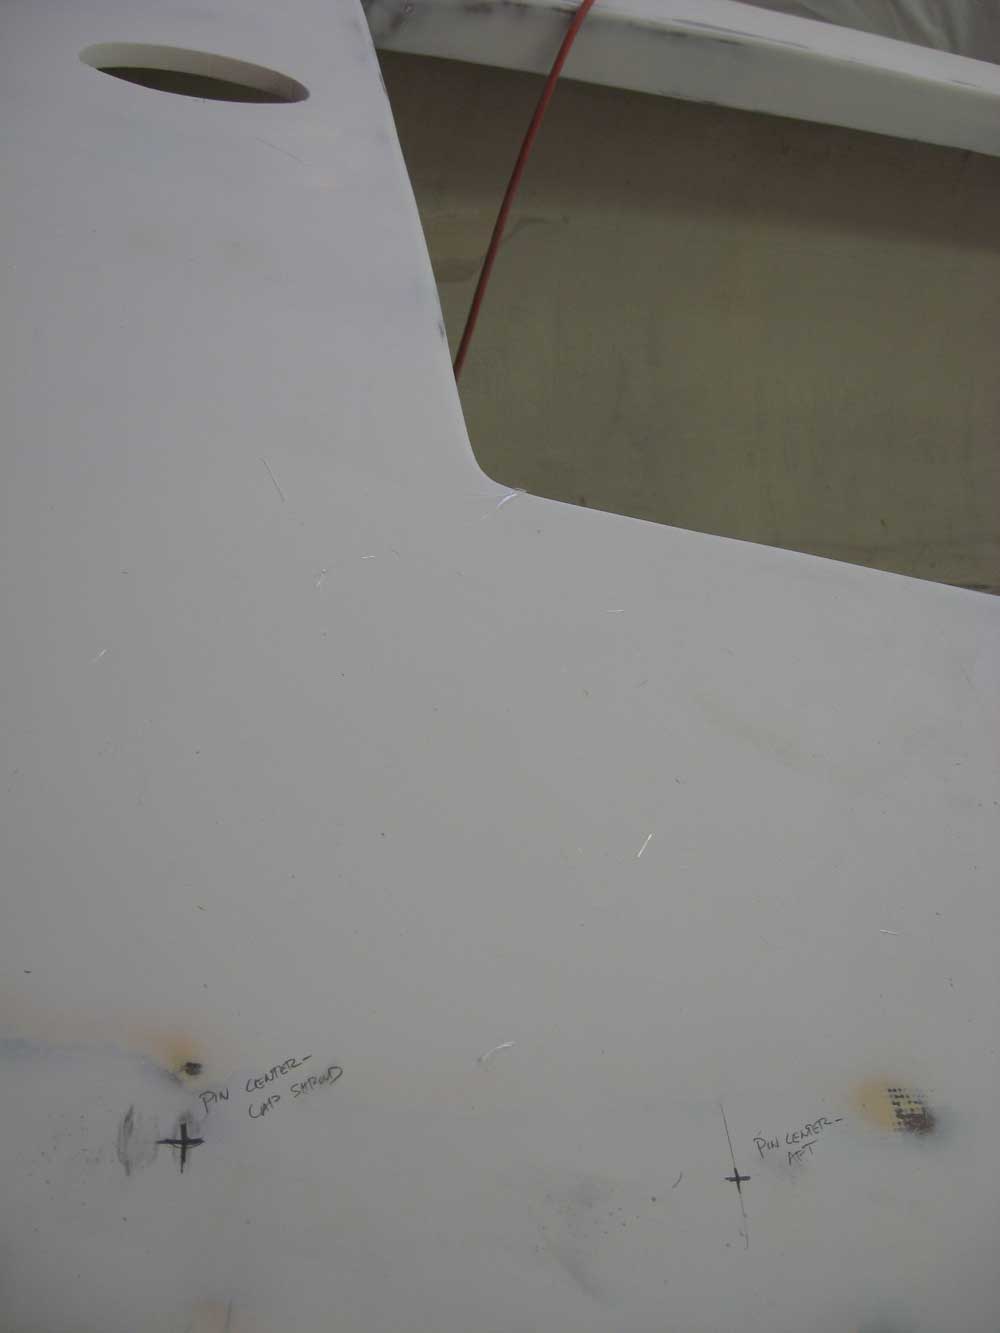
With a bit of time left in the day, I decided to get a start on the new chainplate knees and related work. Reconfiguring the lousy deck-mounted stock chainplates into typical through-deck plates with reinforced knees would provide a stronger rigging attachment as well as thoroughly tie the hull and deck together at this critical load point. To begin, I made up a blank from some 12mm marine Meranti plywood. Using part of a sheet that I had on hand, I cut the section in half and joined the two pieces together with epoxy adhesive, after first coating the wood with raw epoxy, forming a blank an inch thick and large enough to fabricate all four chainplate knees. I "clamped" the pieces together with drywall screws until the epoxy cured. Using a technical drawing that I made when I removed the old chainplates in November 2007, and after temporarily re-installing the stem casting as required for an anchor spot for my measurements, I marked the deck on each side for the chainplate pin centers according to the drawing. I'd use these marks to help lay out the locations for the new knees inside the boat. |
|
|
|
|
|