
110 Cookson Lane | Whitefield, ME 04353 | 207-232-7600 | tim@lackeysailing.com
Blue Teal | Tuesday, July 30, 2013
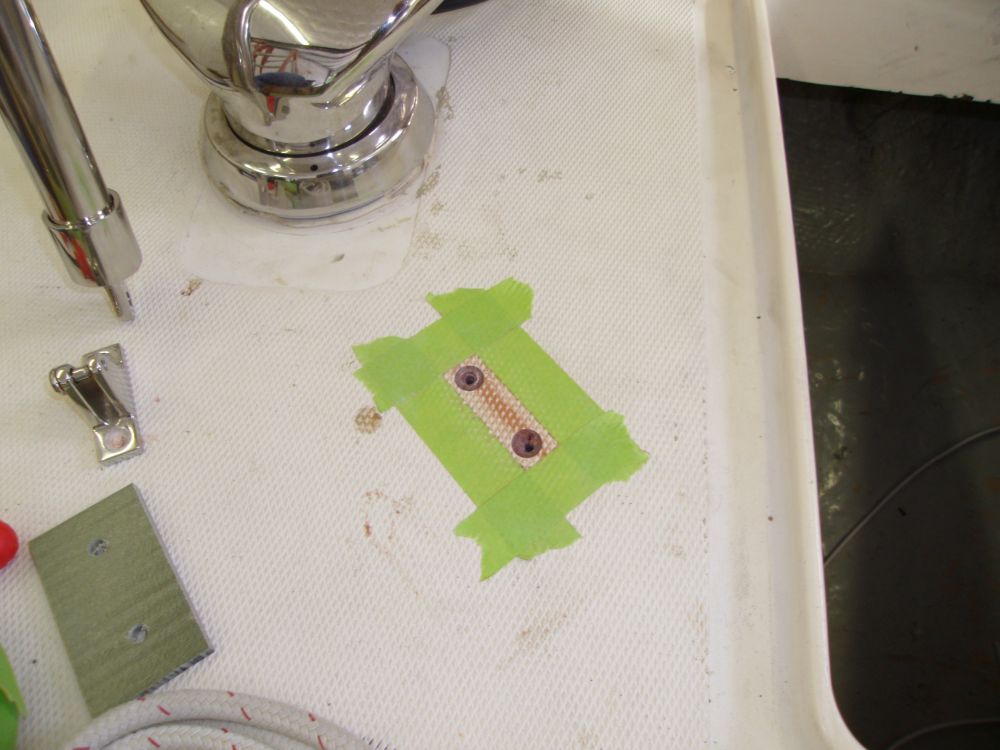
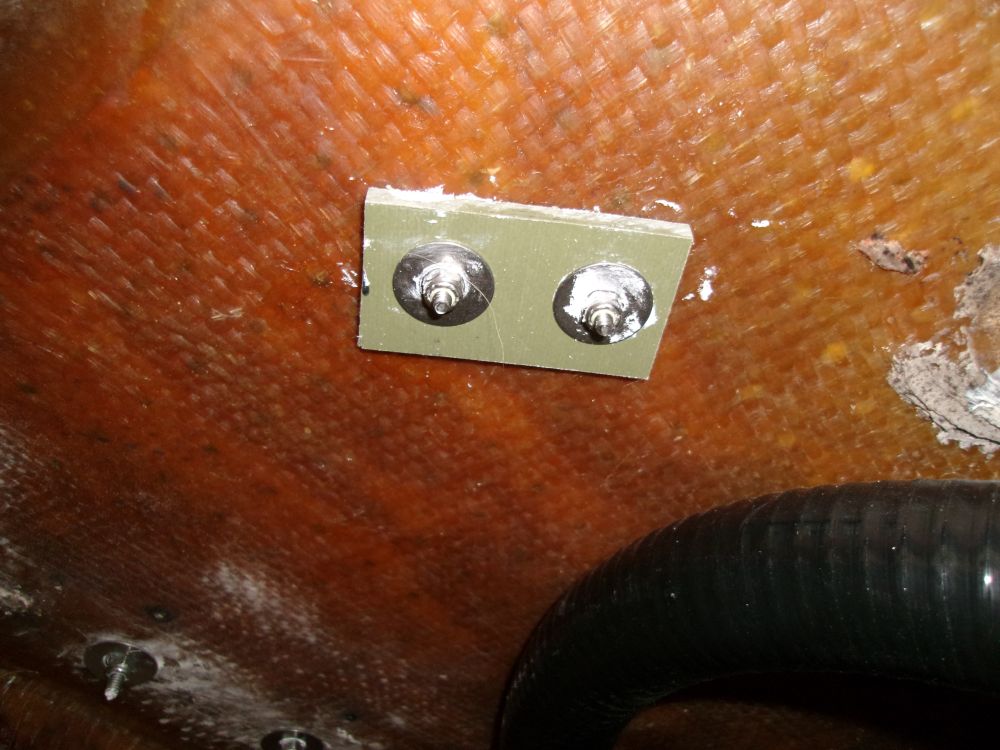
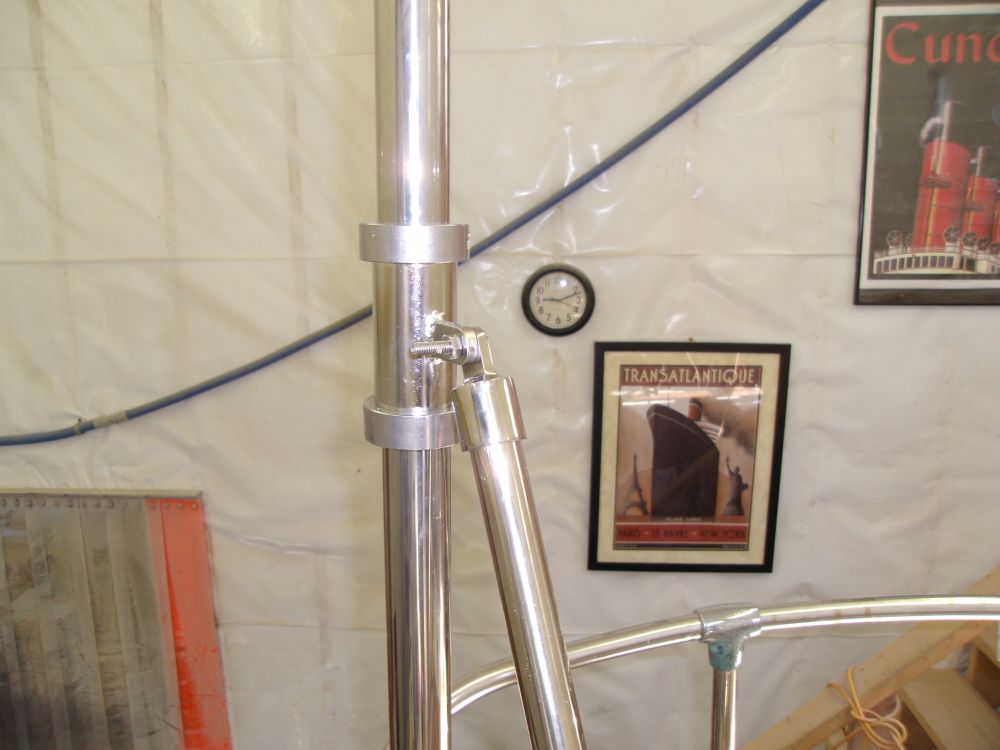
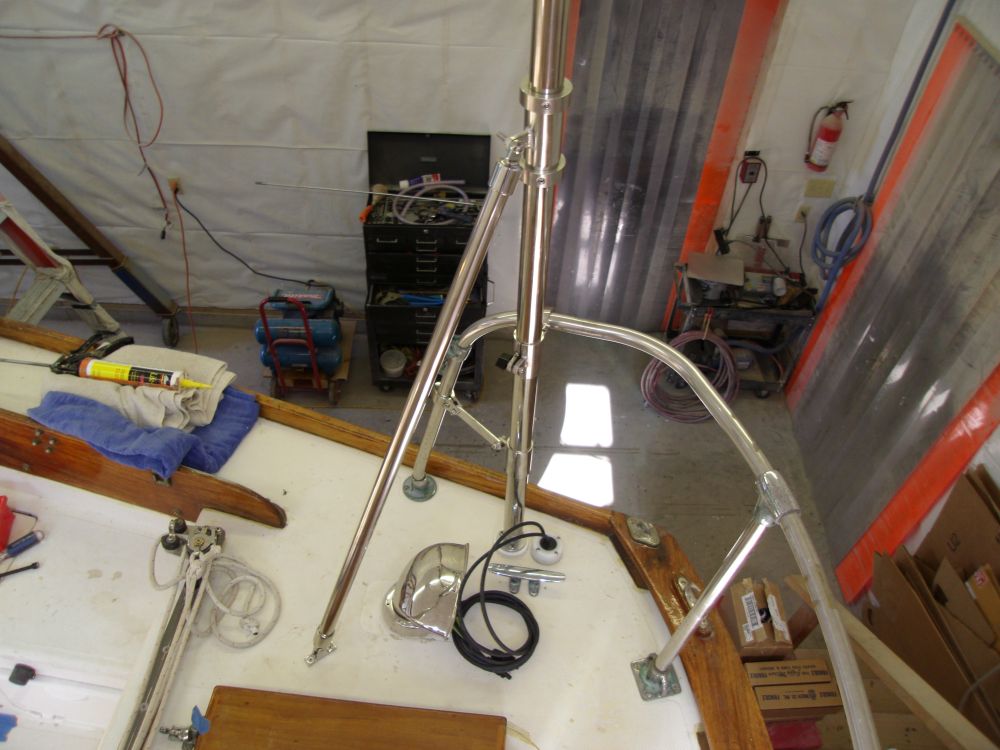
In my habitual way, I drilled and tapped the newly epoxy-filled holes in the poop deck to accept the #10 fasteners required to secure the deck base for the new solar pole brace, then installed the fitting with sealant, backing plate, and bolts.

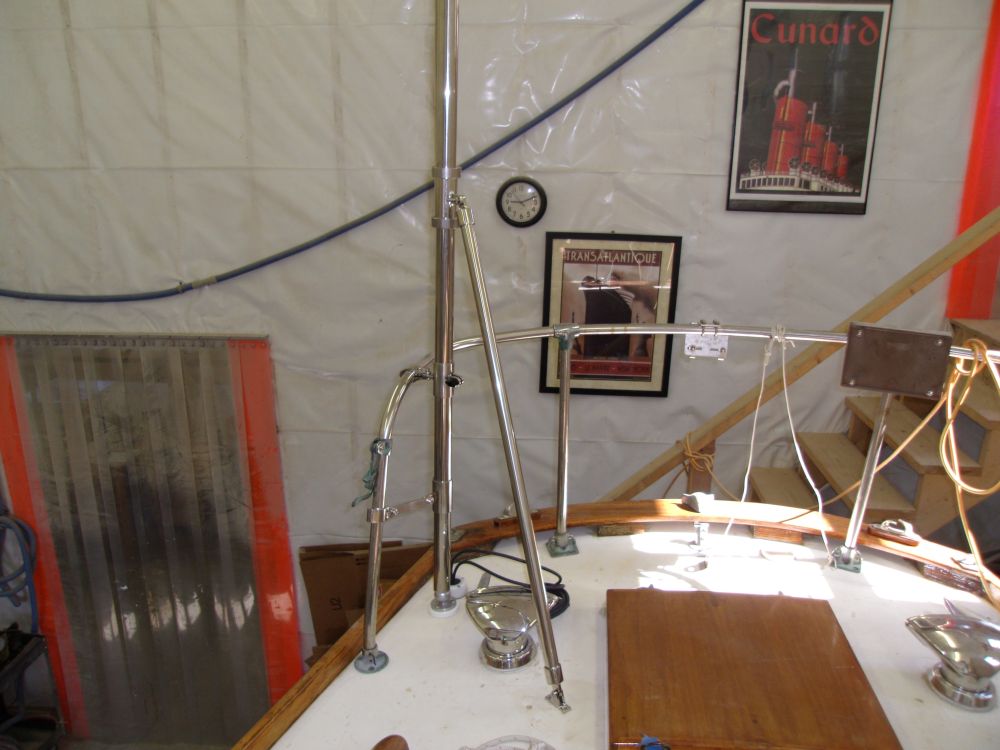
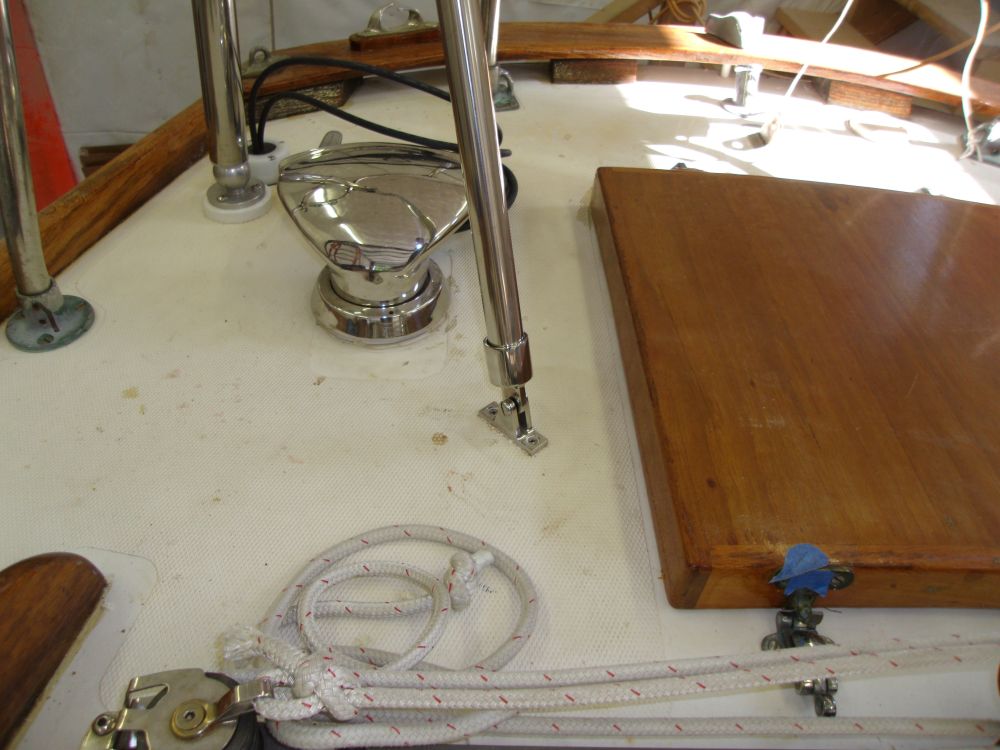
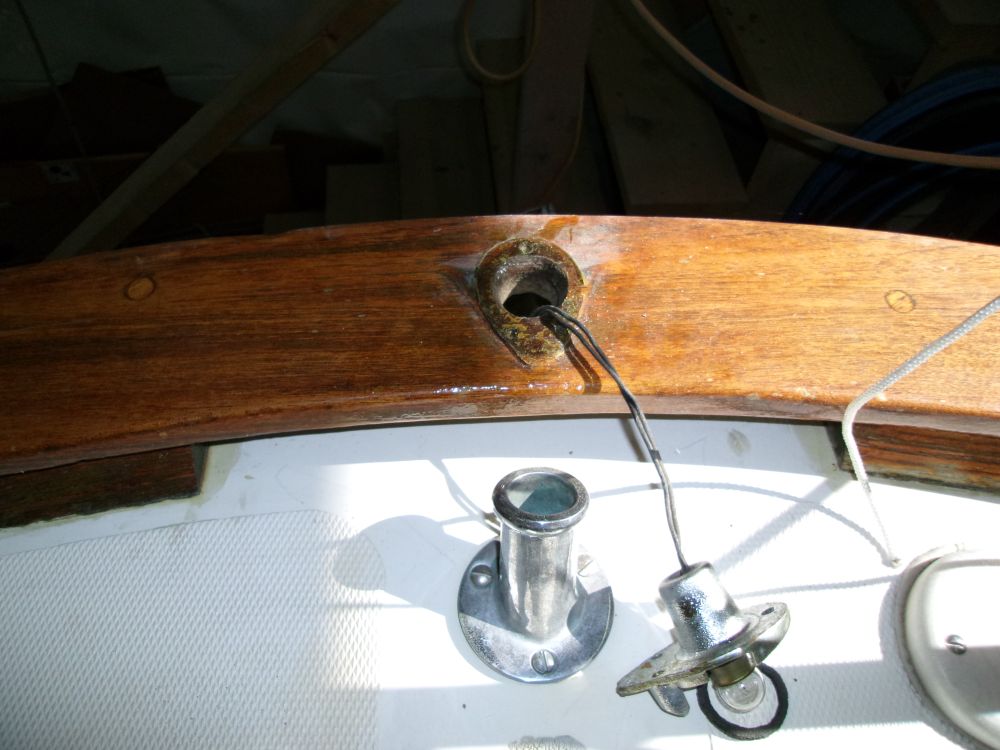
I installed the brace, which made a significant difference in the stiffness of the pole and stern pulpit. These photos show a temporary bolt at the top end of the brace, later replaced with a shorter version.
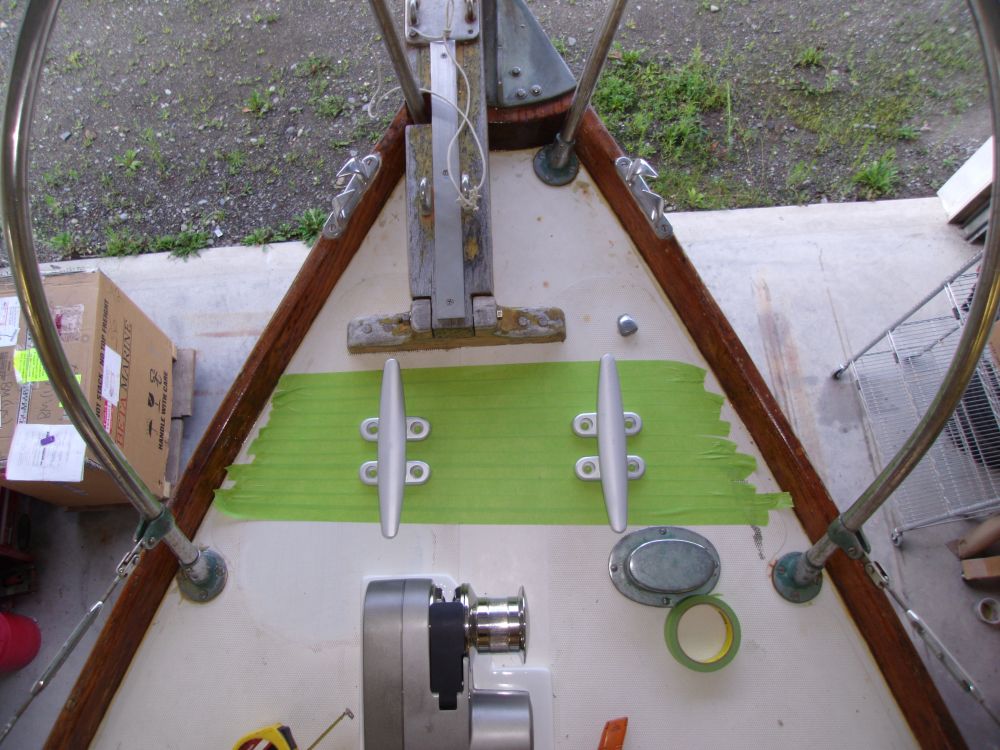
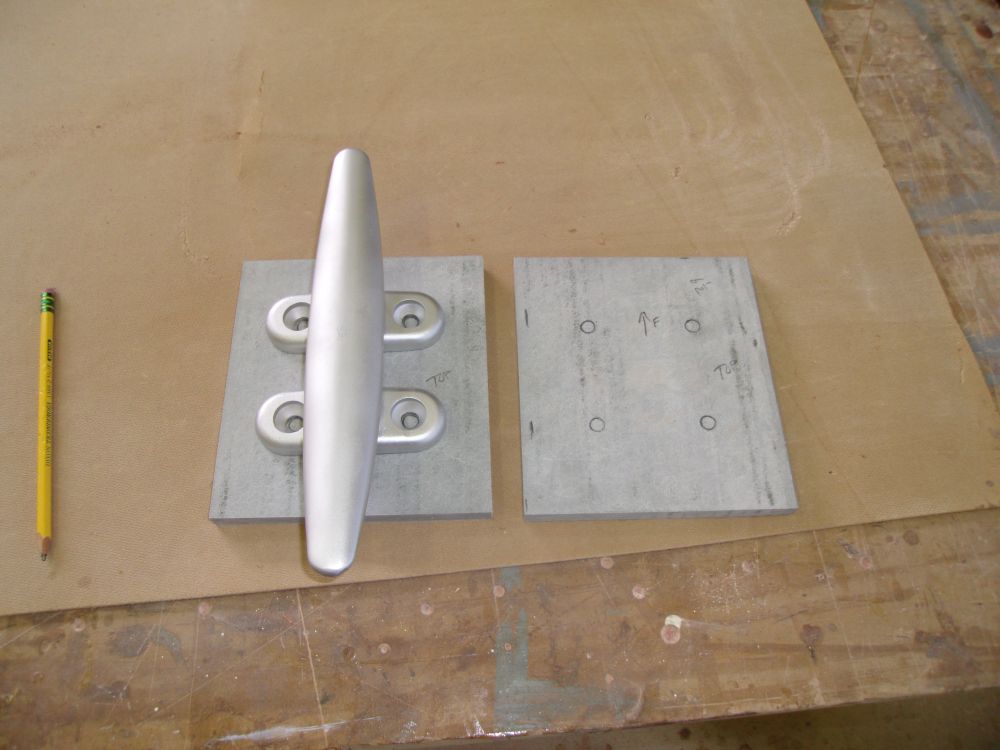
I prepared to install two new 10" mooring cleats on the foredeck. After trialing a few positions, we settled on the position shown, and after masking around the cleats to protect the deck, I marked the fastener locations and drilled 5/8" holes through the deck and core, leaving the inner skin intact. Then, I filled these voids with thickened epoxy in the usual way. Meanwhile, from 1/2" fiberglass sheet, I prepared a pair of backing plates for the cleats.


I continued the paint work on the engine box cover/companionway ladder and shelf, applying the second coat of semi-gloss enamel (I'd applied the first coat a day earlier before departing to attend to another job offsite).
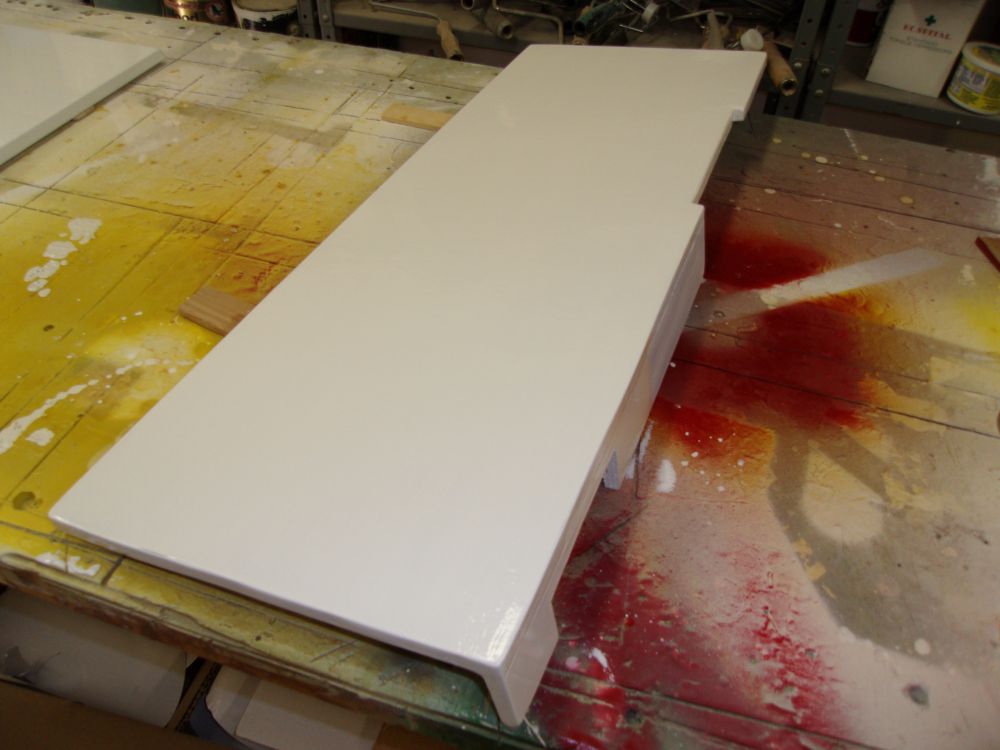
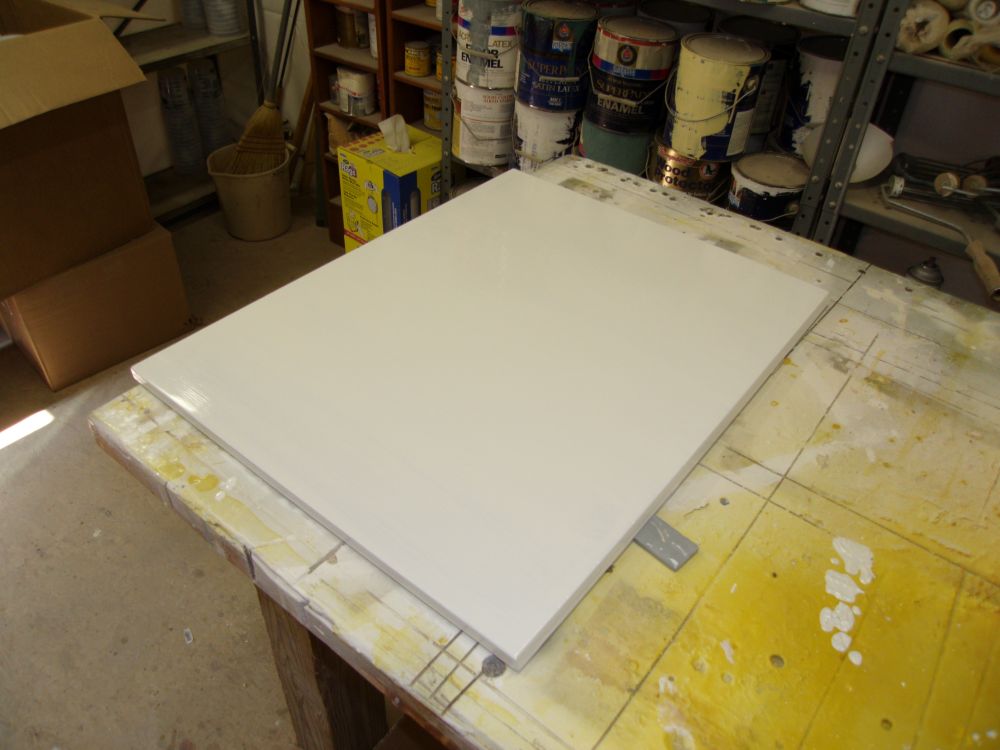
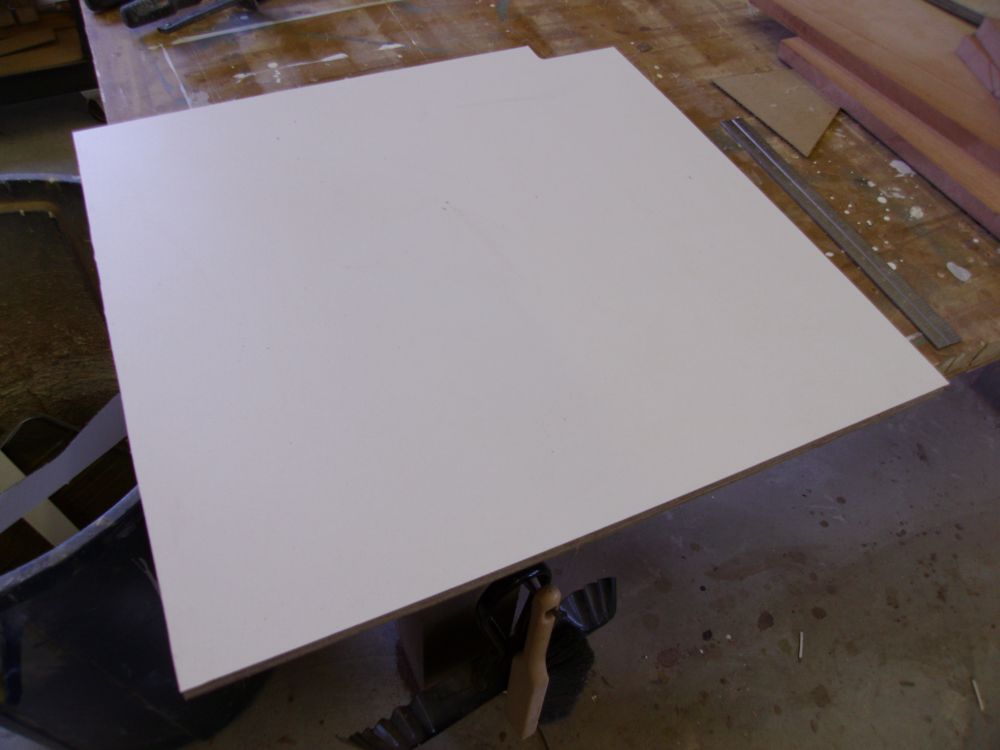
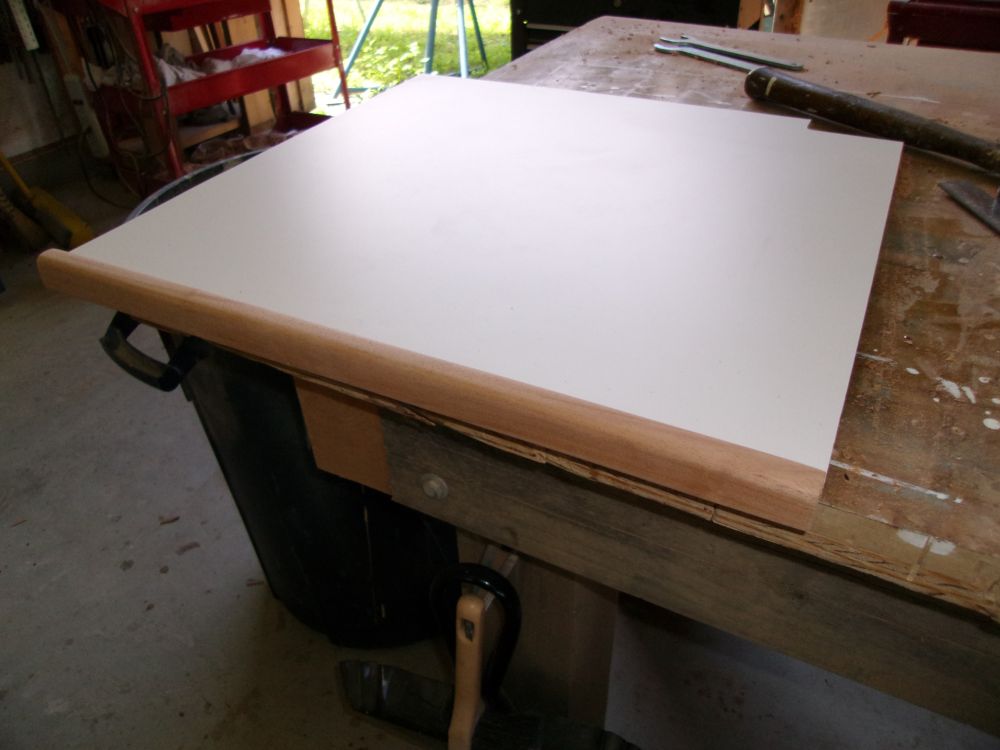
With some white countertop material on hand, I applied a sheet to the top surface of the engine box.
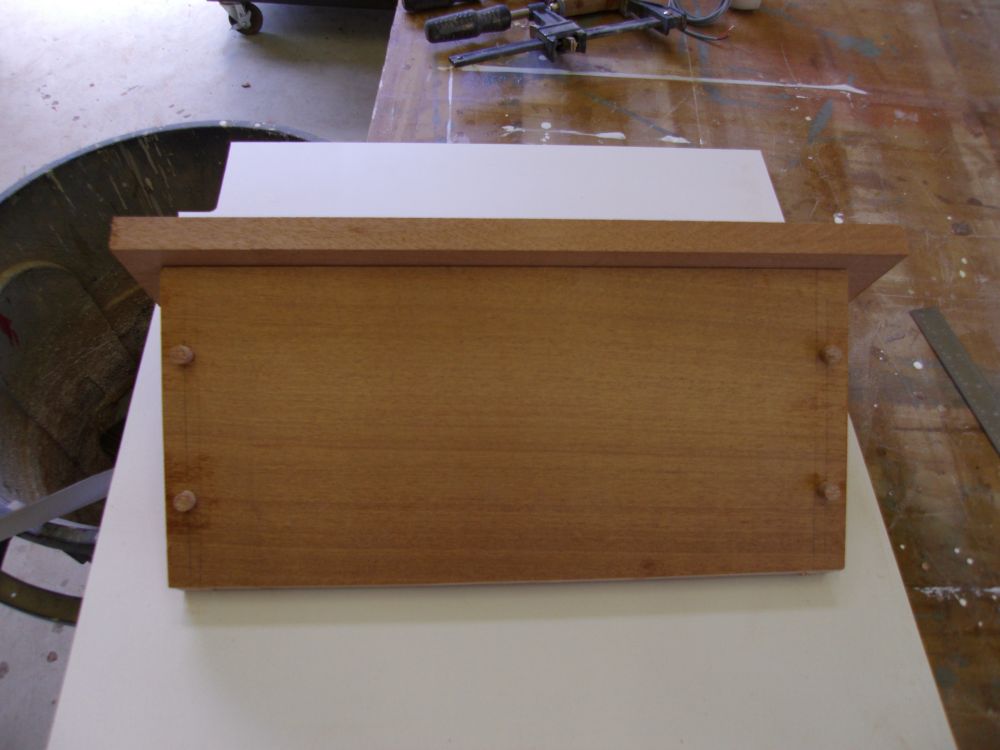
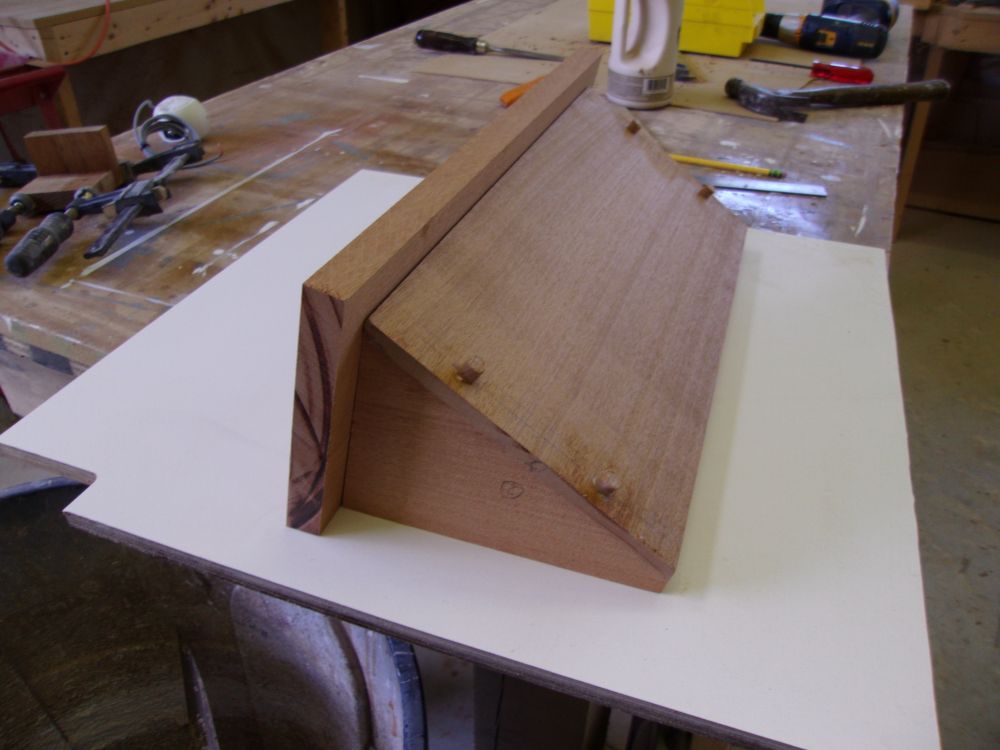
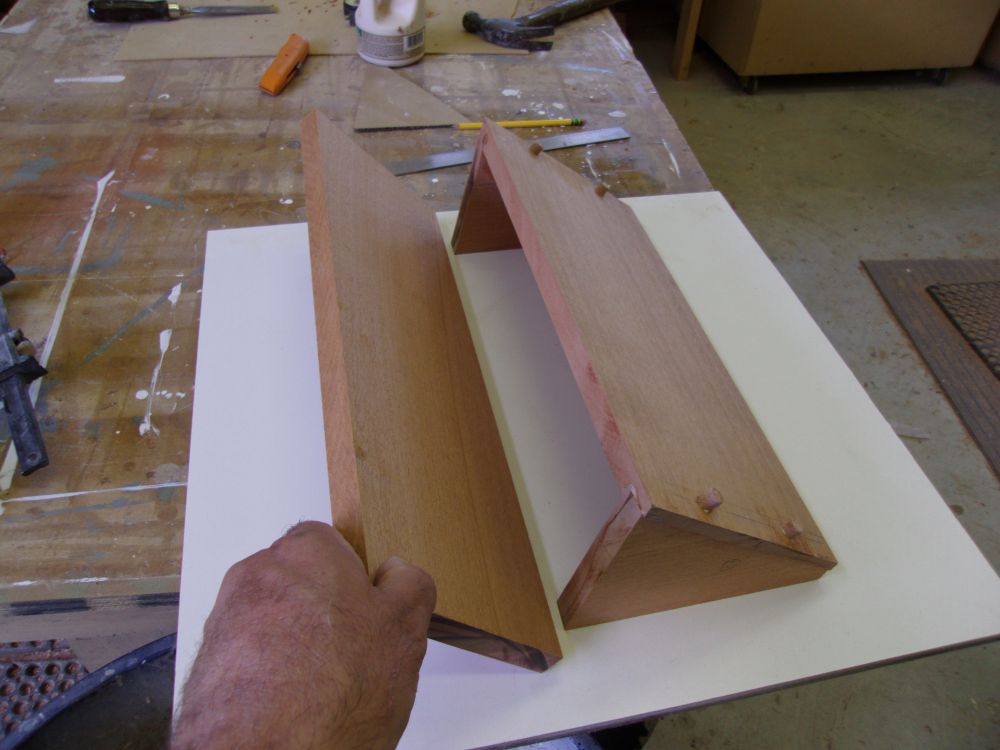
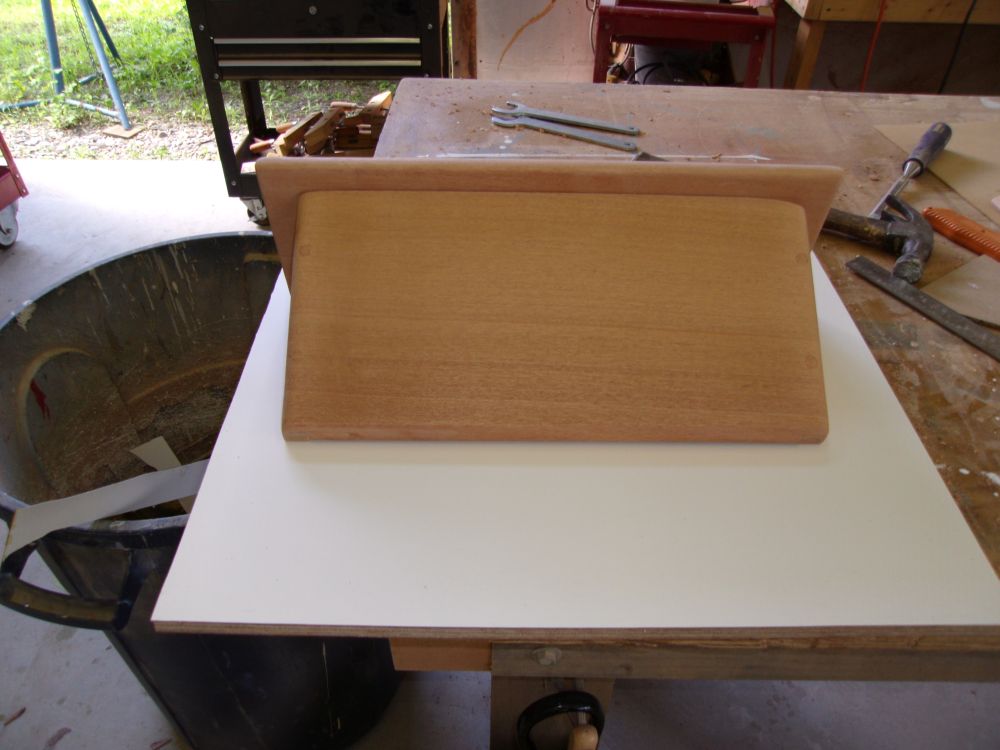
The original engine box front and companionway ladder featured two steps, with the lower one incorporating an added-on storage area below a hinged step that the owner liked. While the new design featured room for only one step, I wanted to emulate the basic design of the step, so from new mahogany I prepared the various pieces required for the new version, and glued and screwed the base together. I also milled a length of trim to cover the end of the engine box top.
For display purposes, I mocked these pieces up on the engine box top, since the actual piece to which they'd be later fitted was in the paint room.
The Original
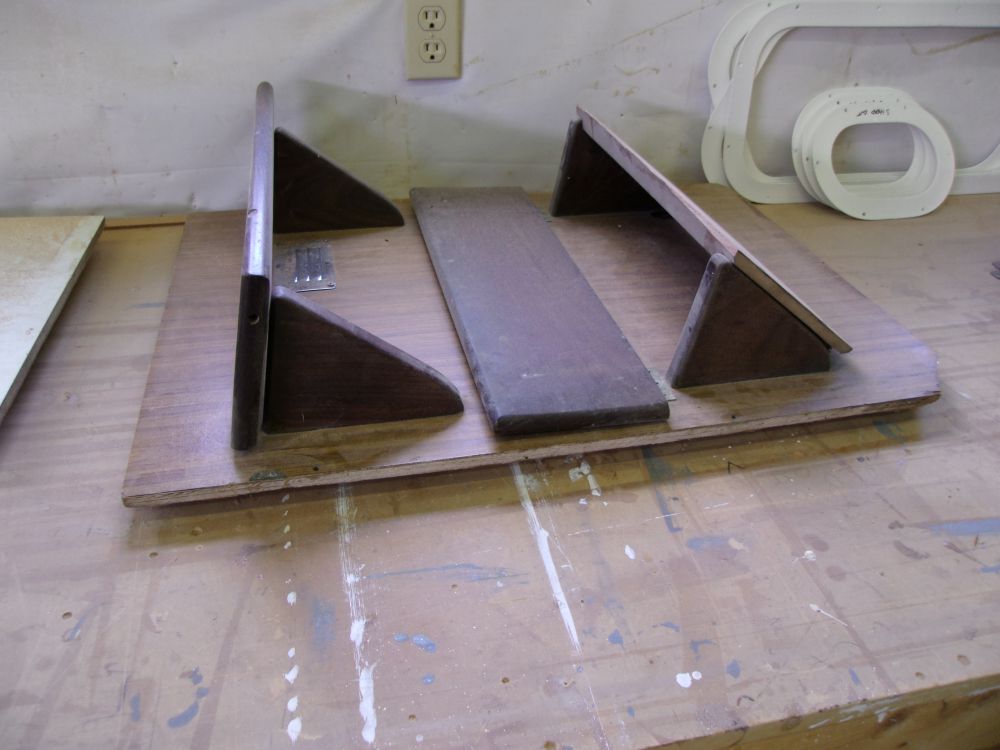
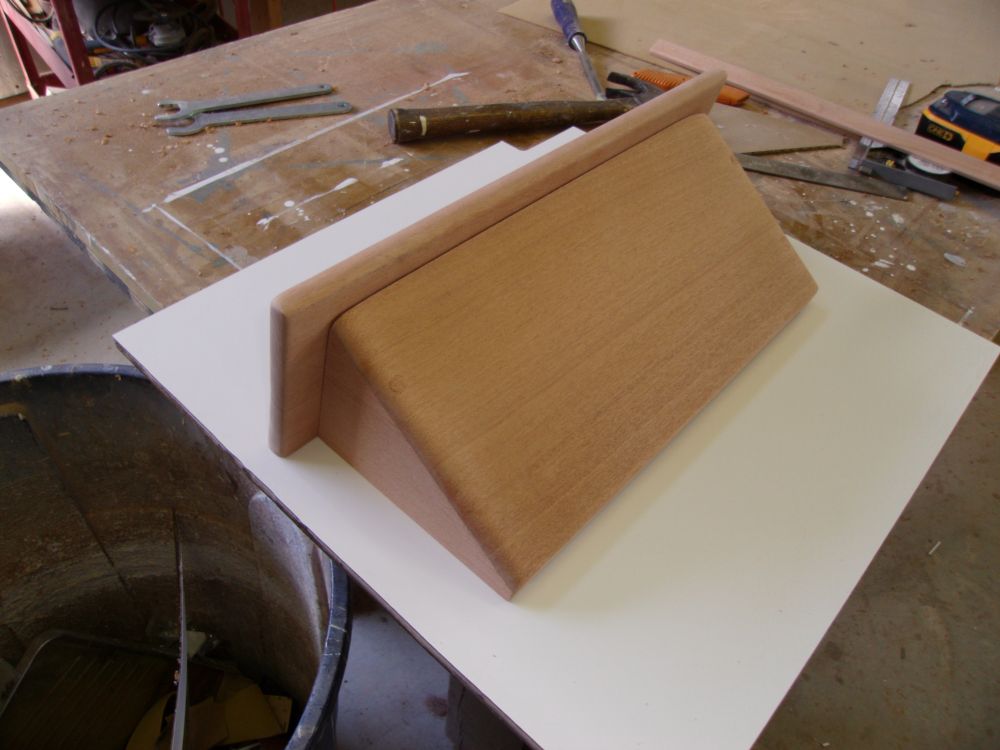
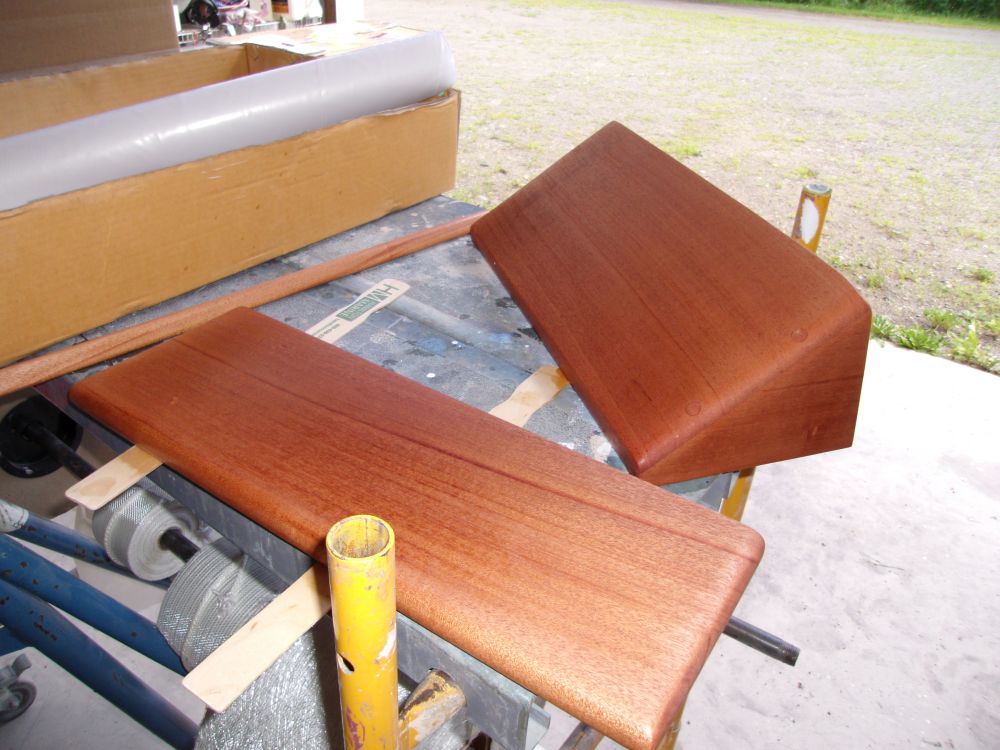
Later, after the glue cured, I milled rounded edge details and sanded the new parts smooth before applying a sealer coat of varnish to all areas. I'd continue the varnish work and install the step once complete.
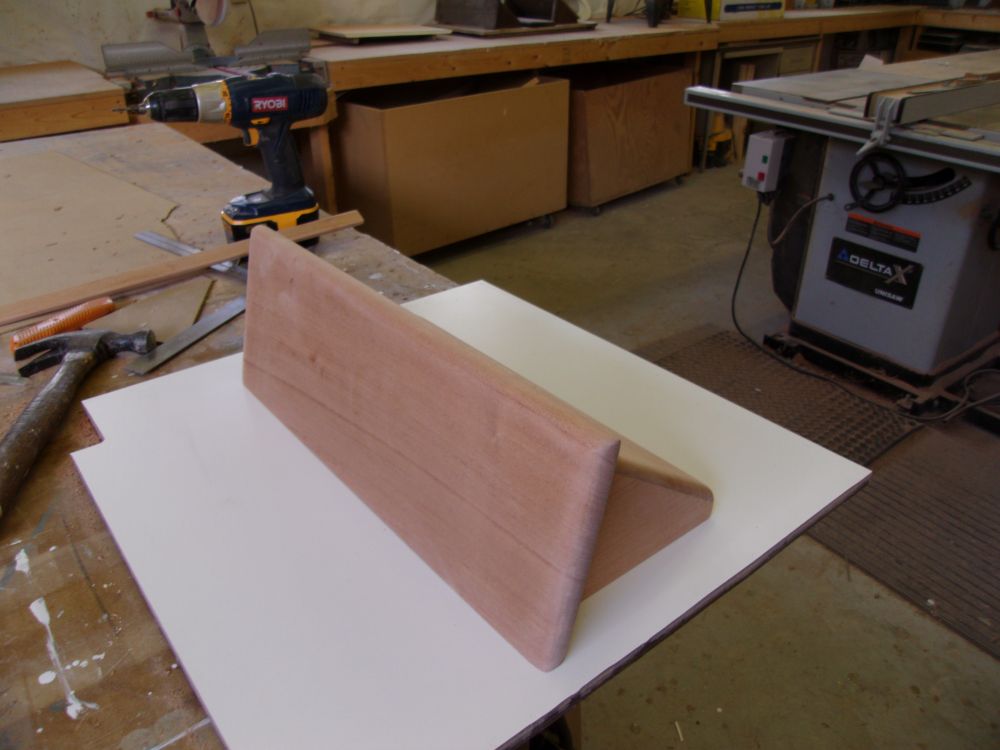
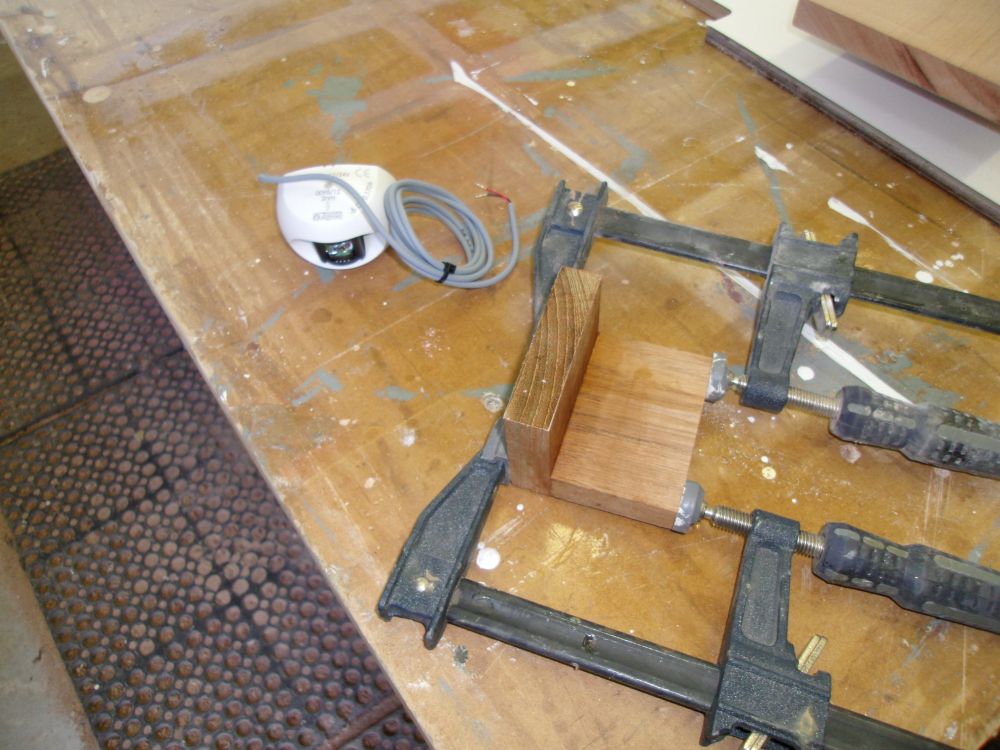
The new LED sternlight required a vertical mount--none seem to allow mounting to a horizontal surface--so with the owner's approval I built a simple L-shaped wooden bracket that would accept the light housing and allow mounting to the taffrail, instead of the original conventional stern light fixture. After epoxying the pieces together, I set it aside to cure.
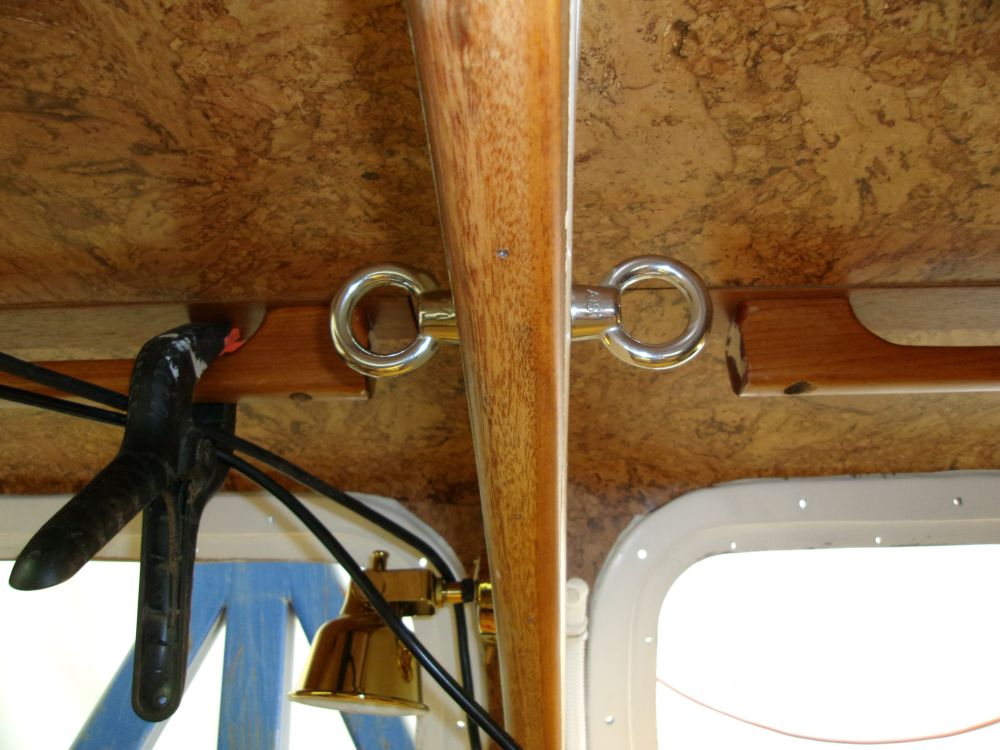
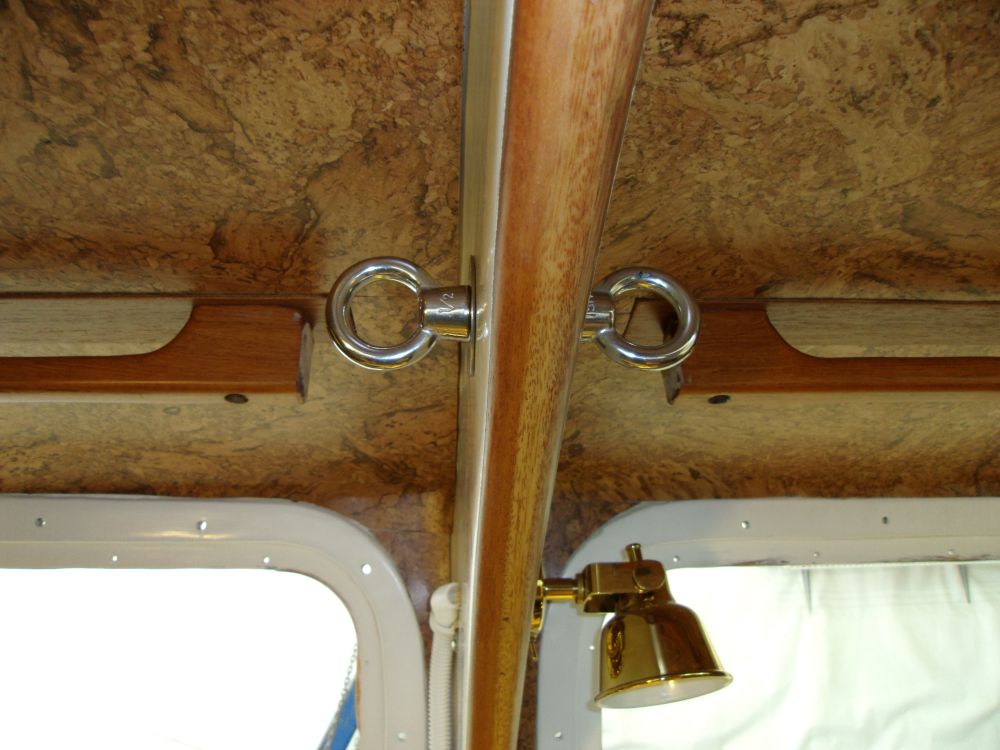
The owner had previously installed a large eyebolt through the center cabin archway, and wanted a second eye on the opposite end of the bolt, so after determining the correct stud length, I cut off the excess length and secured the eyes in place.
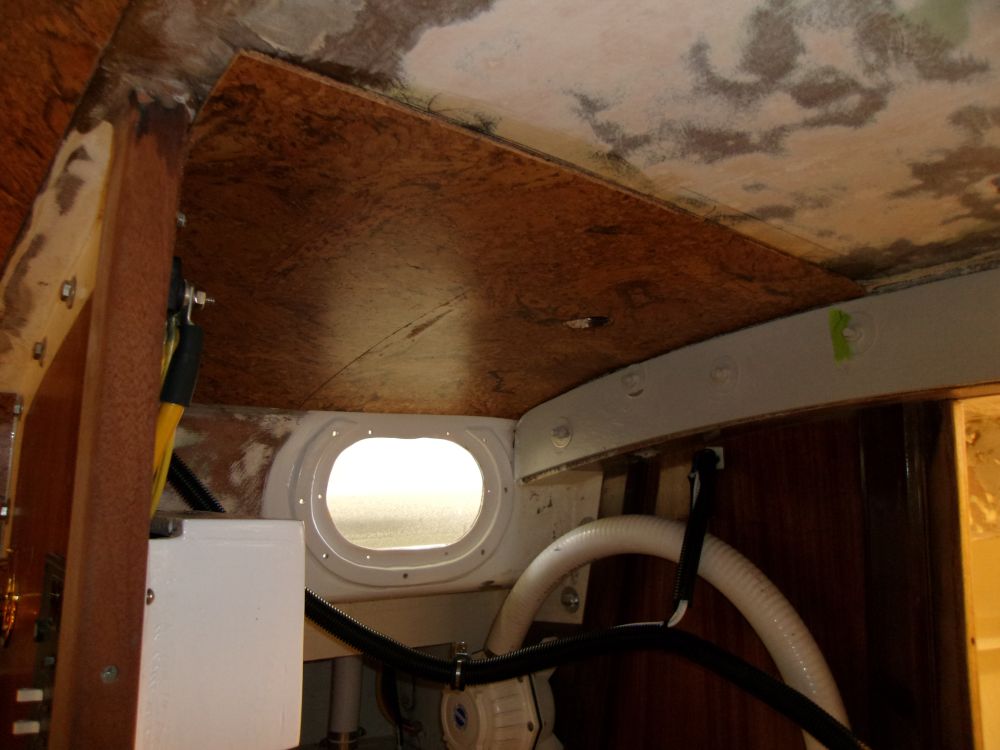
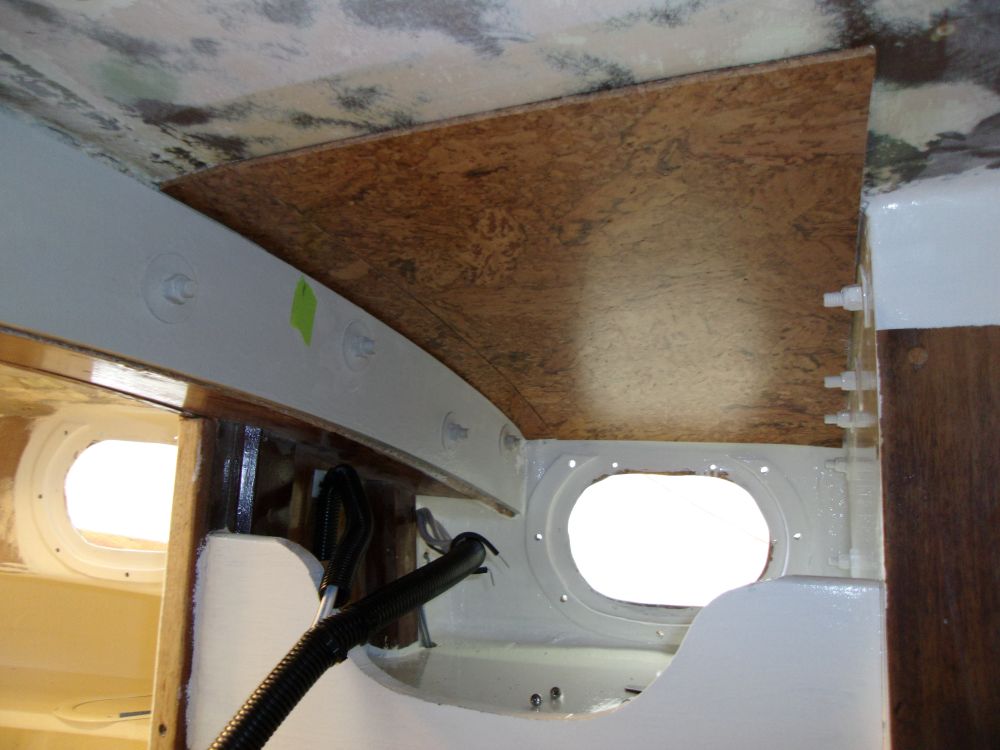
I had enough time remaining in the day to continue with the interior cork work, this time on the head overhead. Beginning from the two outboard edges, I worked my way in towards center, leaving just the centerline strip for later completion.
Total Time on This Job Today: 8 hours
