
110 Cookson Lane | Whitefield, ME 04353 | 207-232-7600 | tim@lackeysailing.com
Blue Teal | Period Leading up to, and Including, Thursday, April 10, 2014
Seasonal time constraints and schedule issues last summer left a few things aboard Blue Teal undone or otherwise incomplete, despite a fairly significant series of jobs on board at that time.
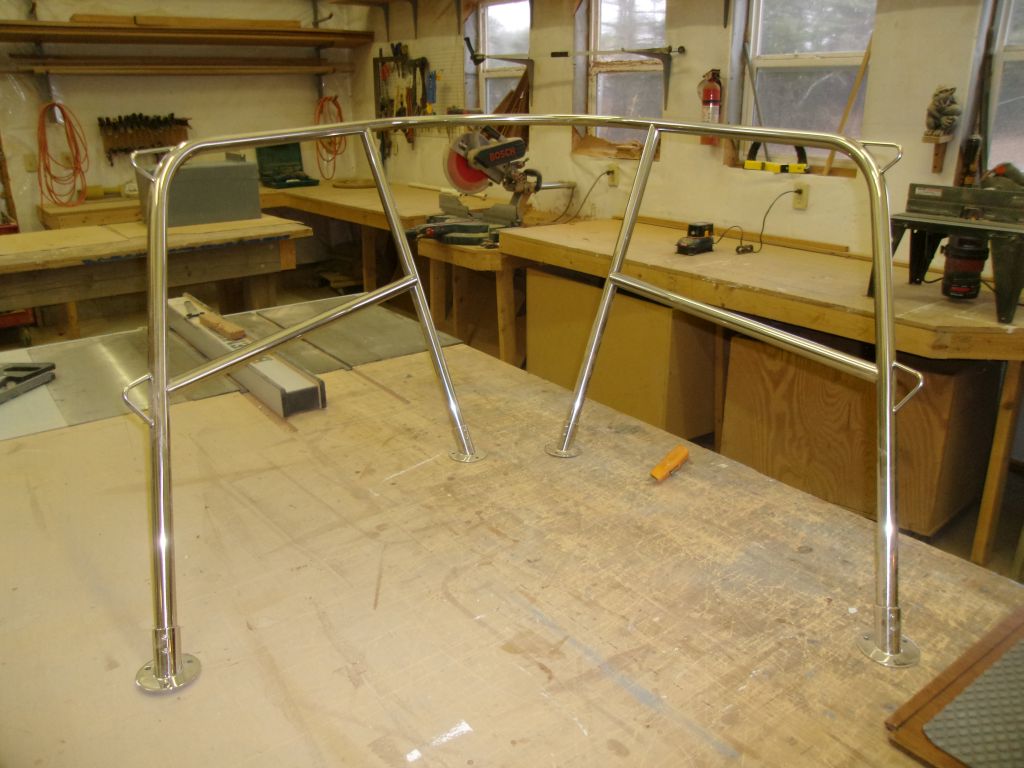
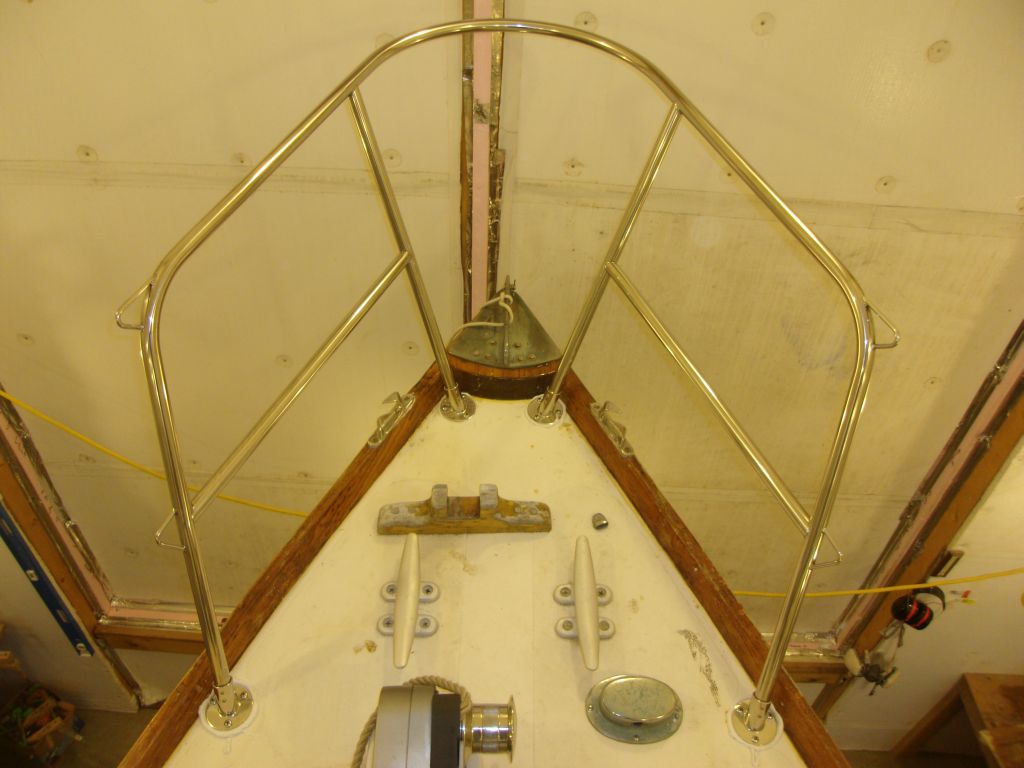
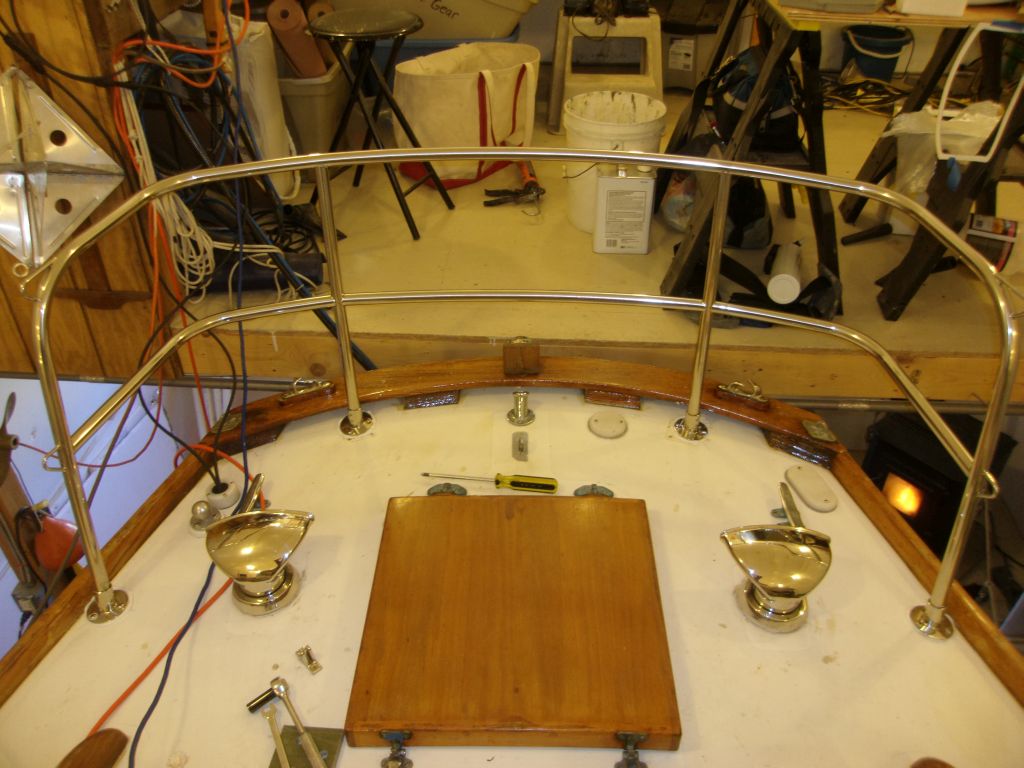
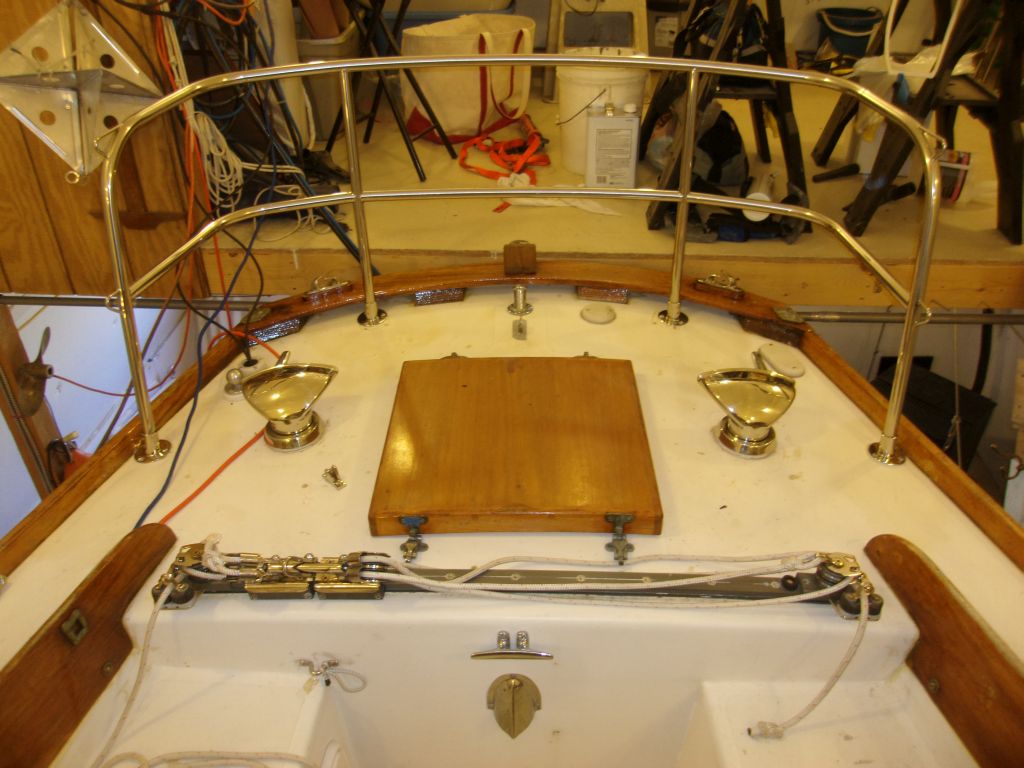
Some of the final upgrades the owner wanted to make included replacing the old, mechanically-connected bow and stern pulpits with new, double-rail, welded units, as well as changing the original stanchions from single to double lifelines. In addition, he wanted to replace the chainplates and their fasteners, plus a short punch list of items left over from the idealized work list from summer of 2013.
I started work in the fall of 2013, once the boat had been hauled from the water and back to her comfortable shop at the owner's home. At that time, I traveled to the boat and removed the old pulpits so I could order and have fabricated replacements during the fall and winter. Unfortunately, I lost the photos I took for that day's work in a computer crash during the winter. The owner would be traveling away from home during the winter, and in my ideal scenario I'd hoped to install the new pulpits before winter to remove any seasonal pressure come spring.
I used the old pulpits to measure for the new ones, though this was challenging since the old mechanical joints were so loose that the pulpits' stanchions were flopping hither and thither, making ultimate accuracy a passing fancy. But things turned out OK despite it all.
I received the new pulpits in November, but winter had other ideas and set in completely and unforgivably before I had a chance to return to the boat, and with the owner's property closed down and unheated for the winter, there was little I could do but wait till spring.

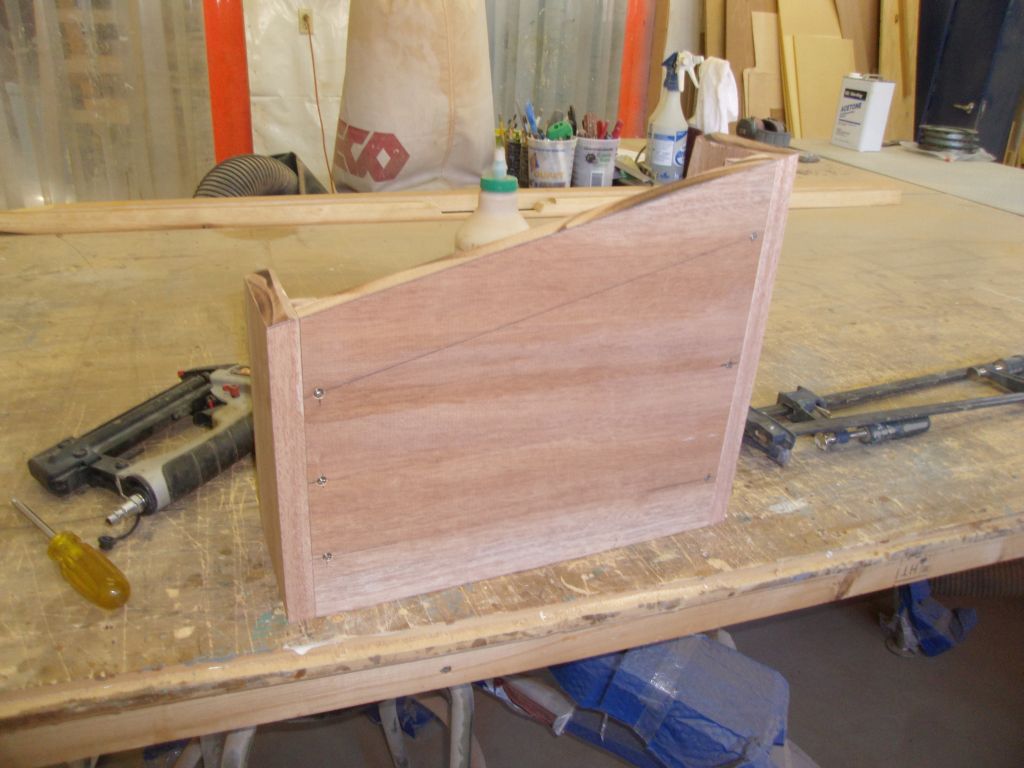
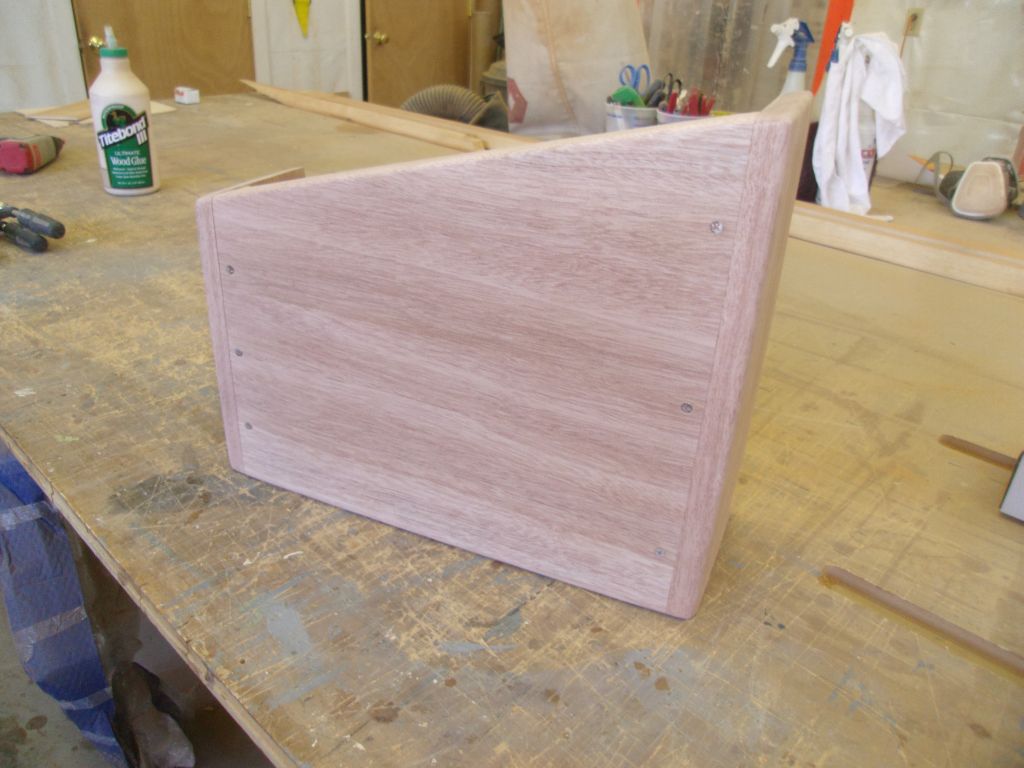
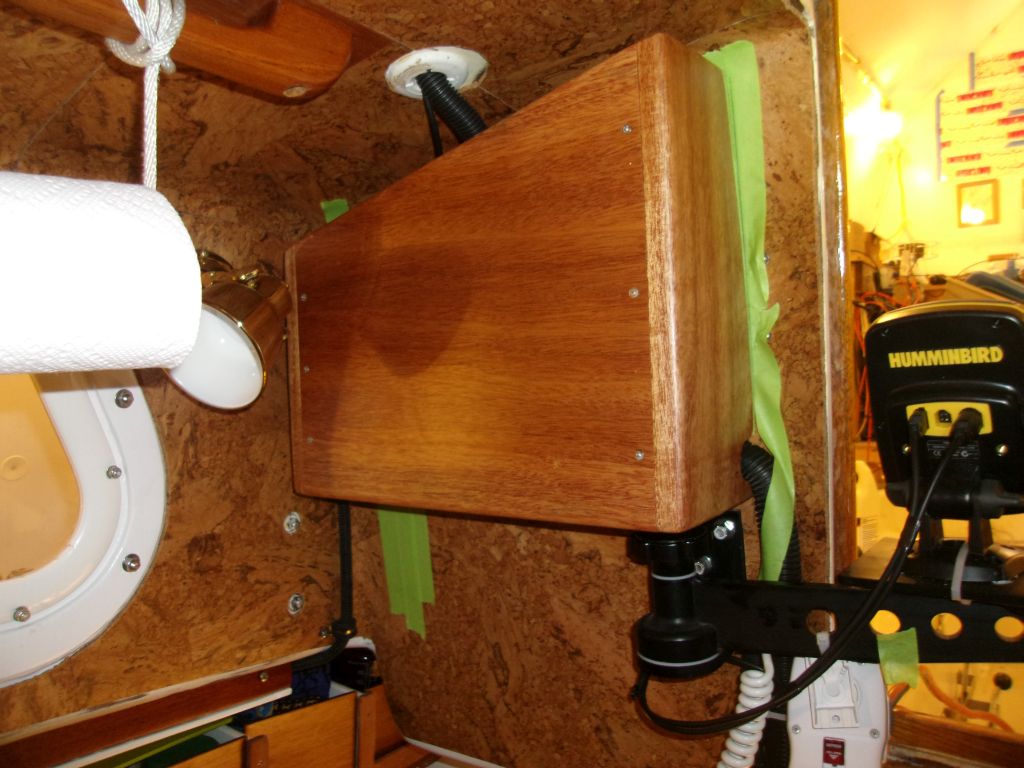
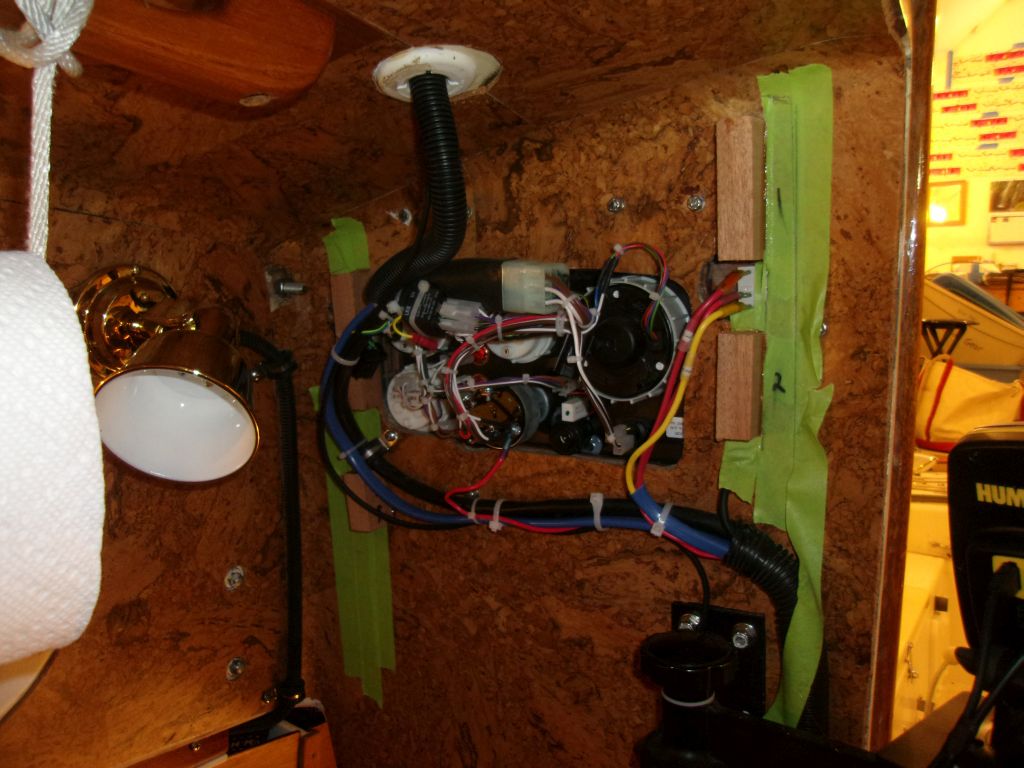
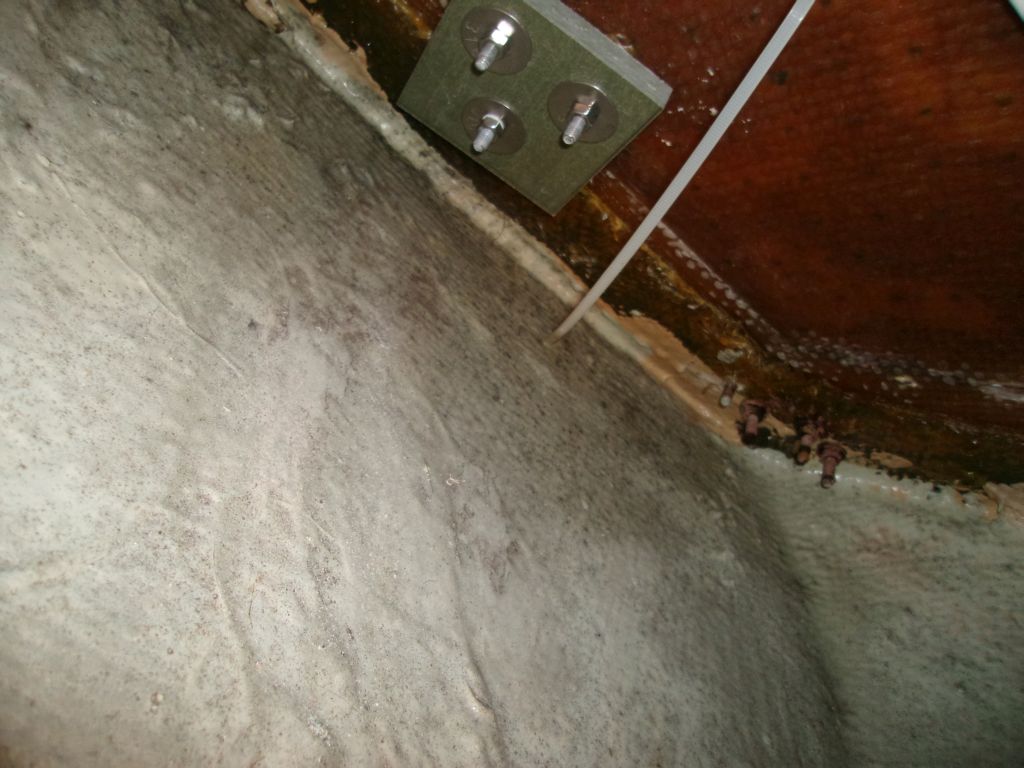
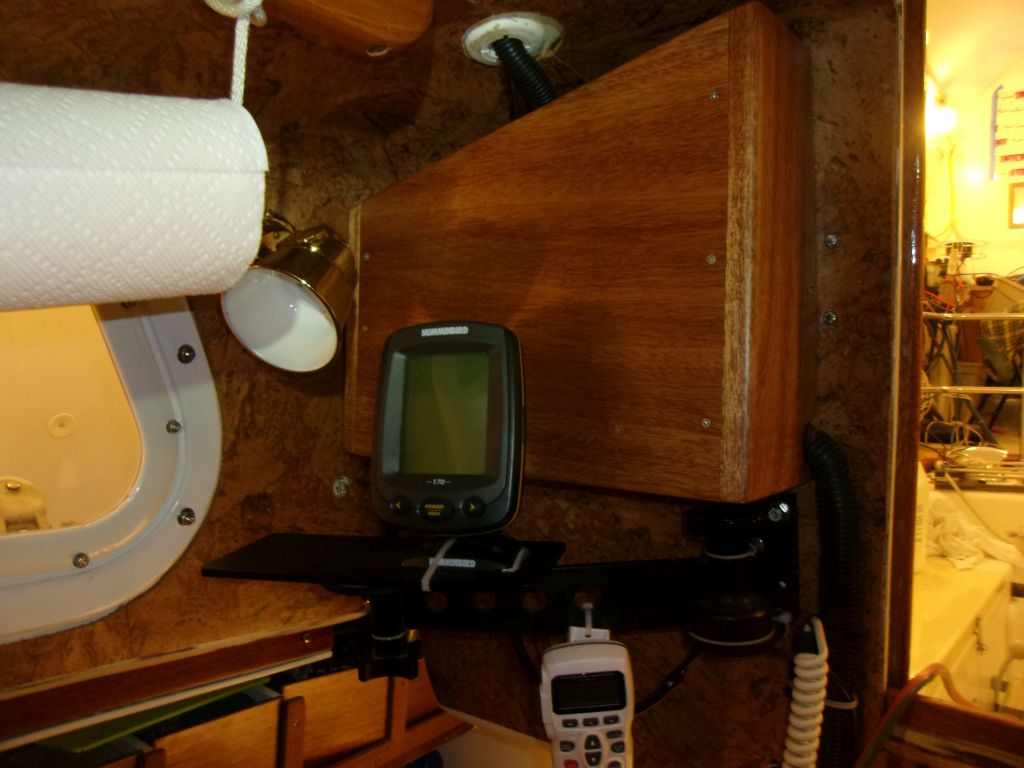
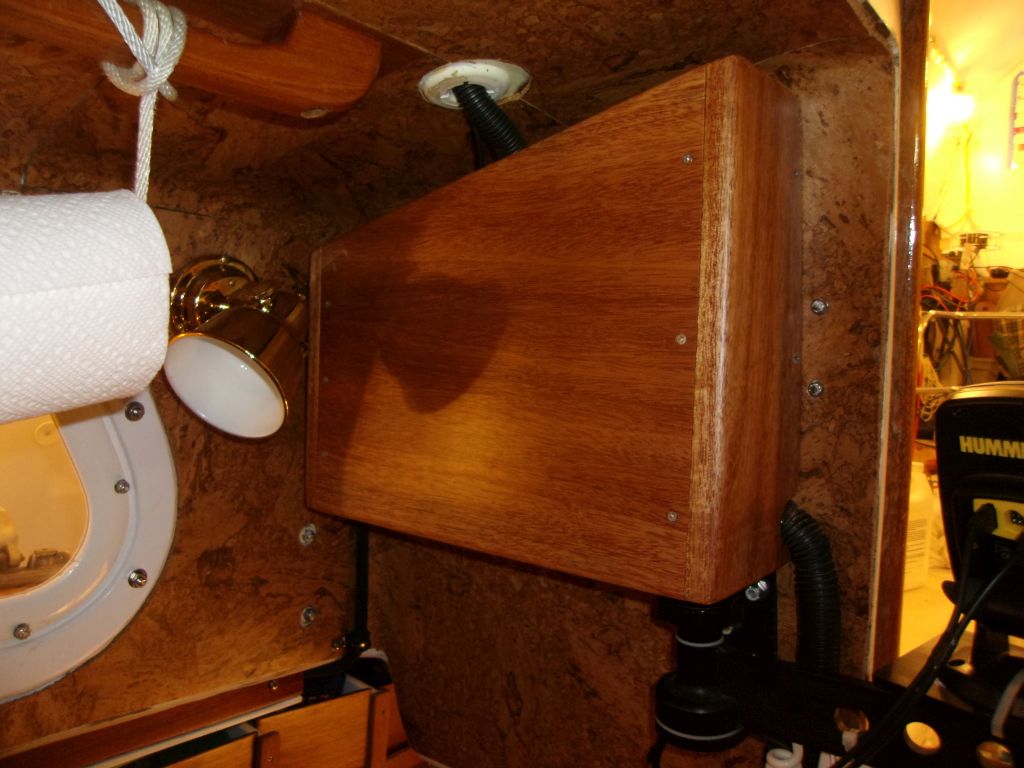
Meanwhile, however, there were a few things I could get ready back at the shop, away from the boat. To start, there was a back cover for the exposed innards of the engine instrument panel in the starboard aft cabin bulkhead. During my fall visit, I'd made various measurements and templates of the space, and during a lull in other shop activity in February I spent a few hours building the box from some Khaya mahogany. A simple design, the box was intended to allow easy access within should it be necessary, so I built it with simple joints, cleats, and screws, then applied several coats of varnish to complete the job.

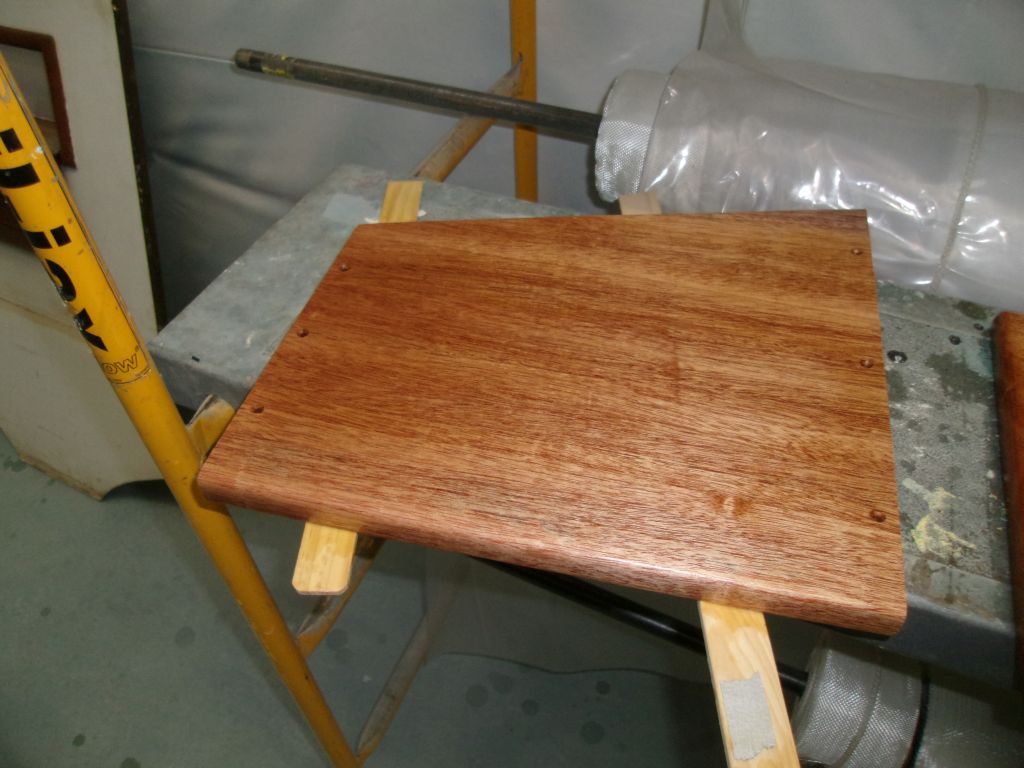
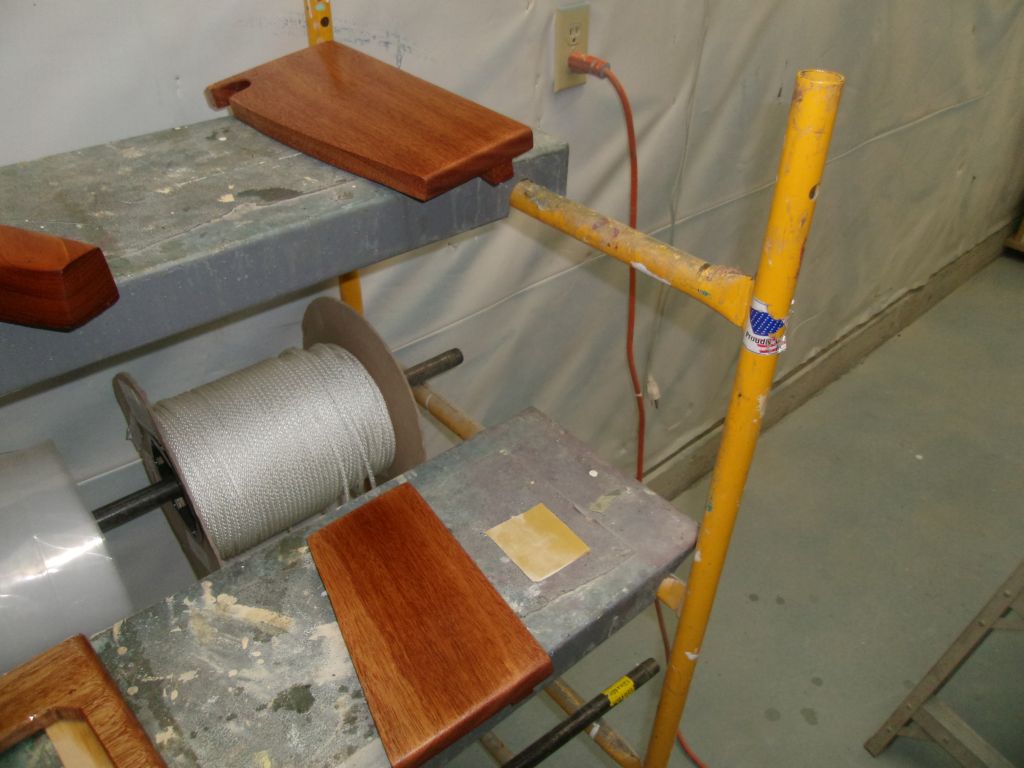
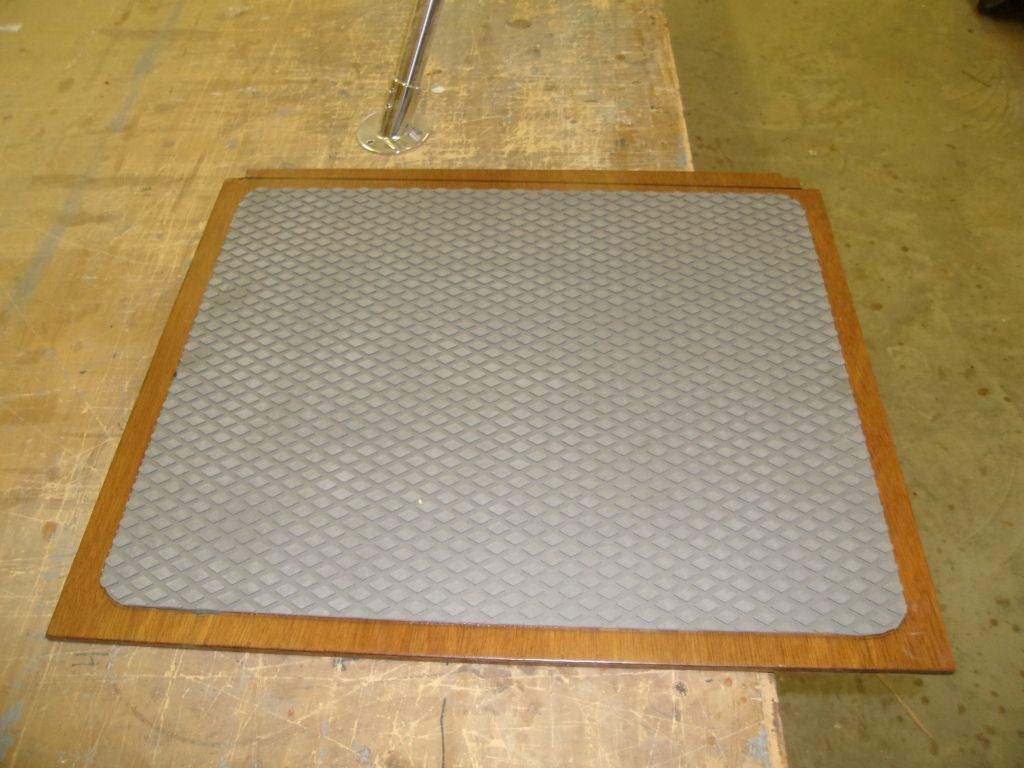
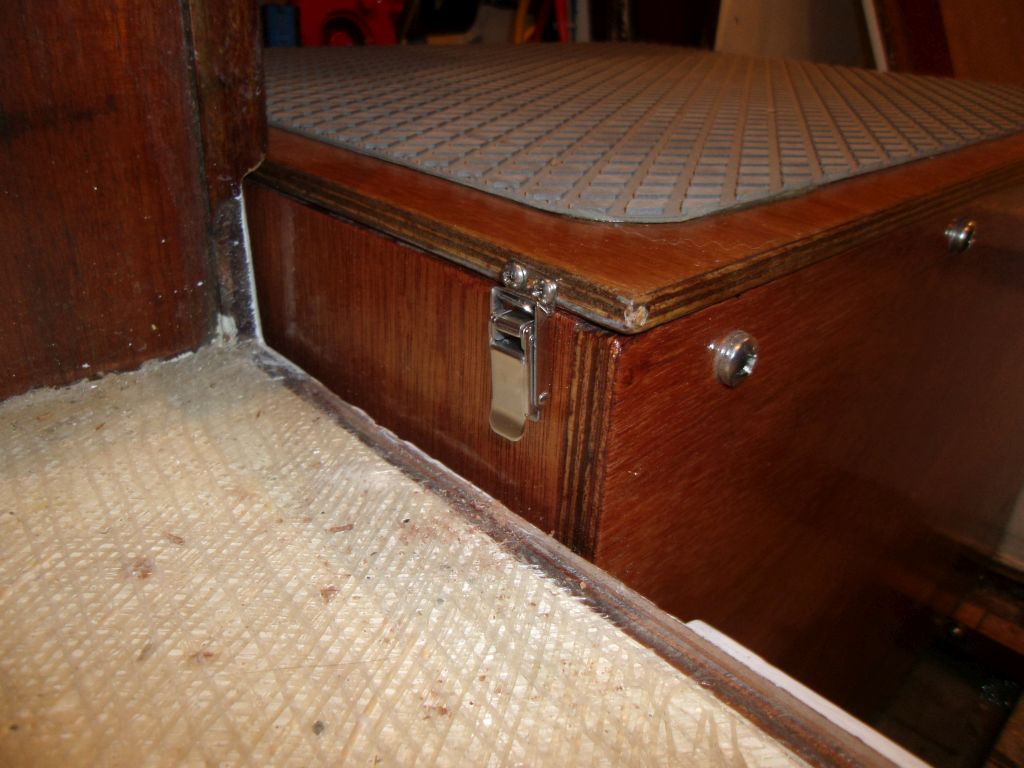
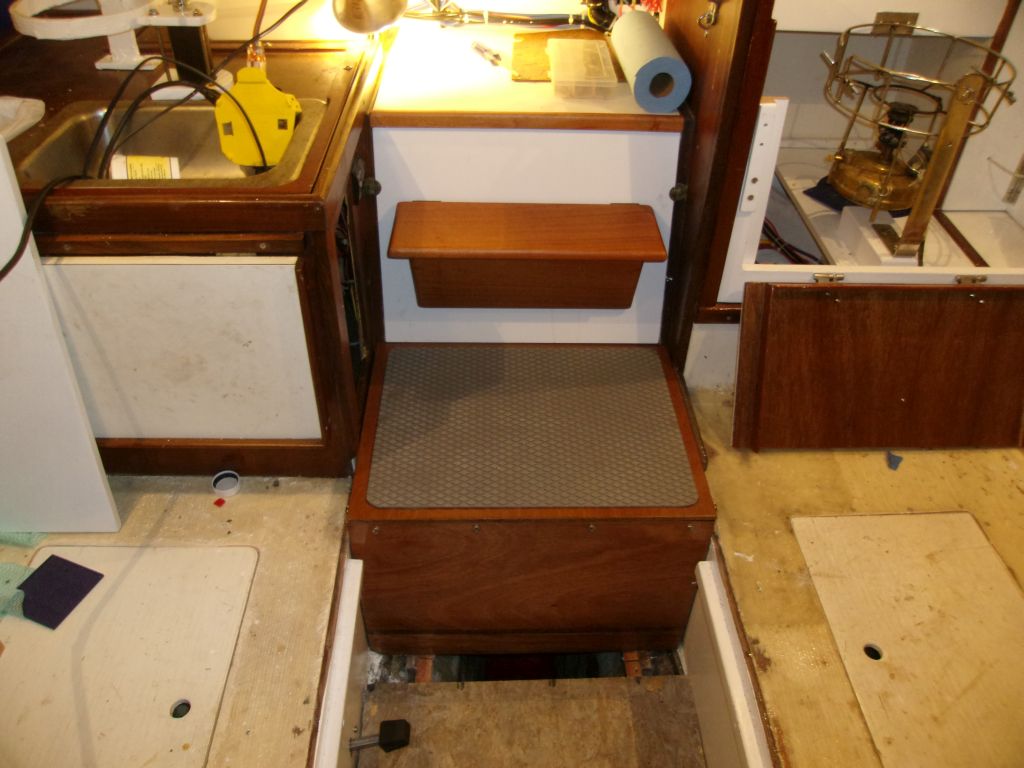
Also on the punch list left over from last year's work was the top cover for the battery box, which doubled as a step. I'd actually cut the plywood piece for this during the last work session, but we hadn't had time to bring it through the final stages of completion. To match the owner's choices elsewhere in the boat, I installed a piece of Treadmaster nonskid to the top of the box, with satin varnished borders. Meanwhile, I found some little latches that I could use to secure the cover.
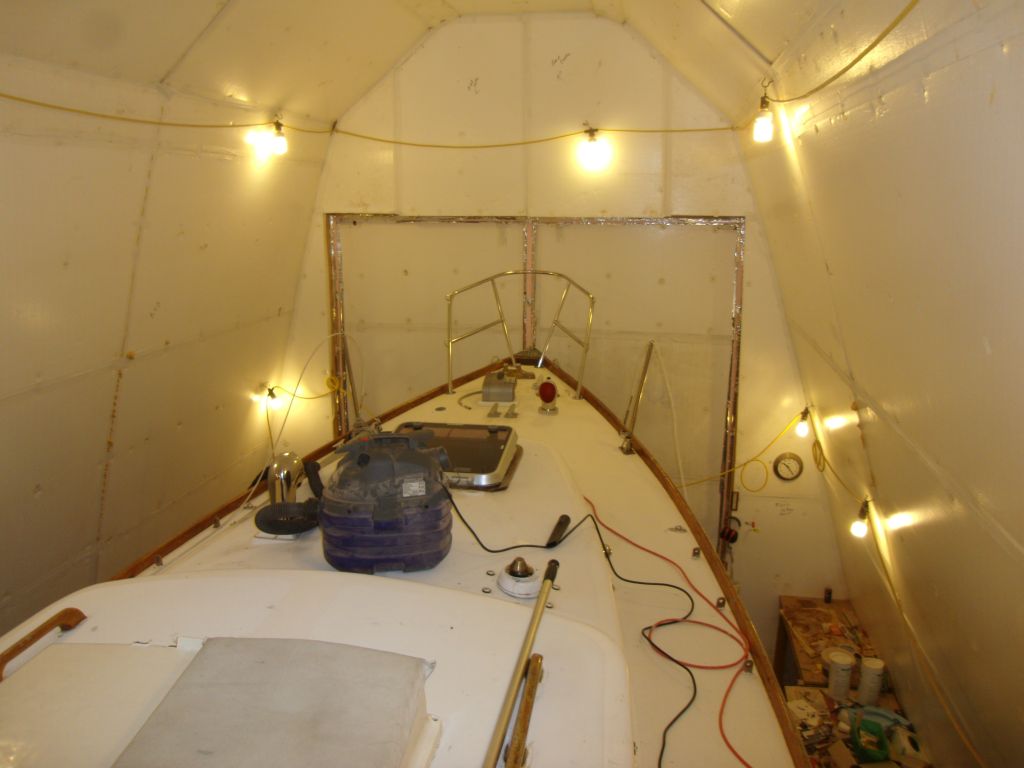
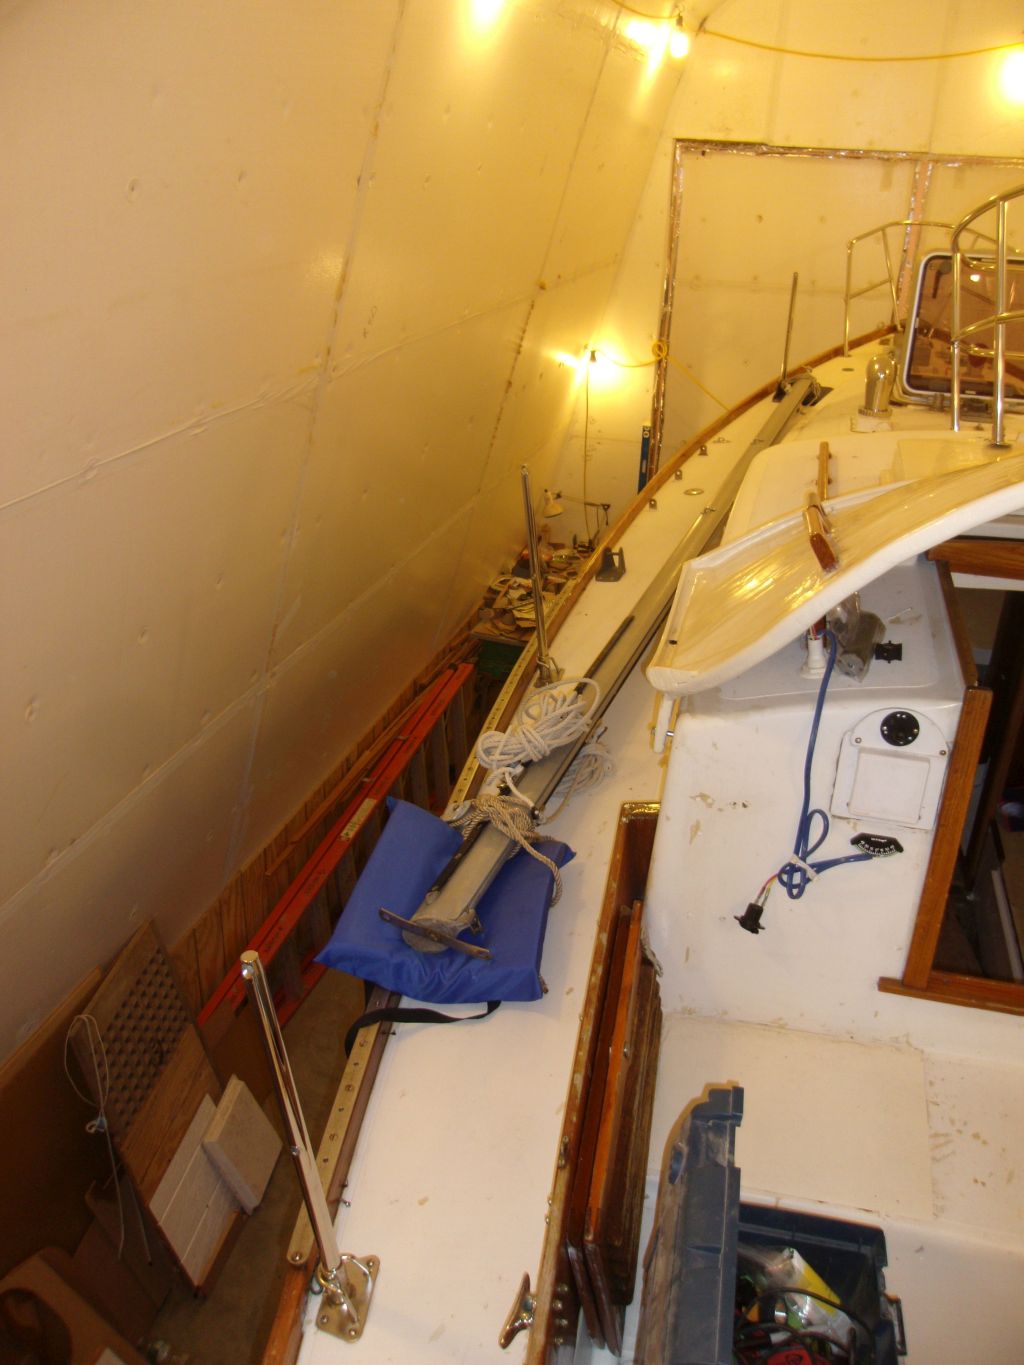
After an extended winter of below-normal cold, the weather finally started to improve in early April, and before long I thought I could get to work on the boat. The first order of business was to get the pulpits installed, so that I could have my rigger measure for, and build, the new lifelines before the crazy seasonal rush. I worked on the boat over a period of two consecutive days to complete this, and other, work.
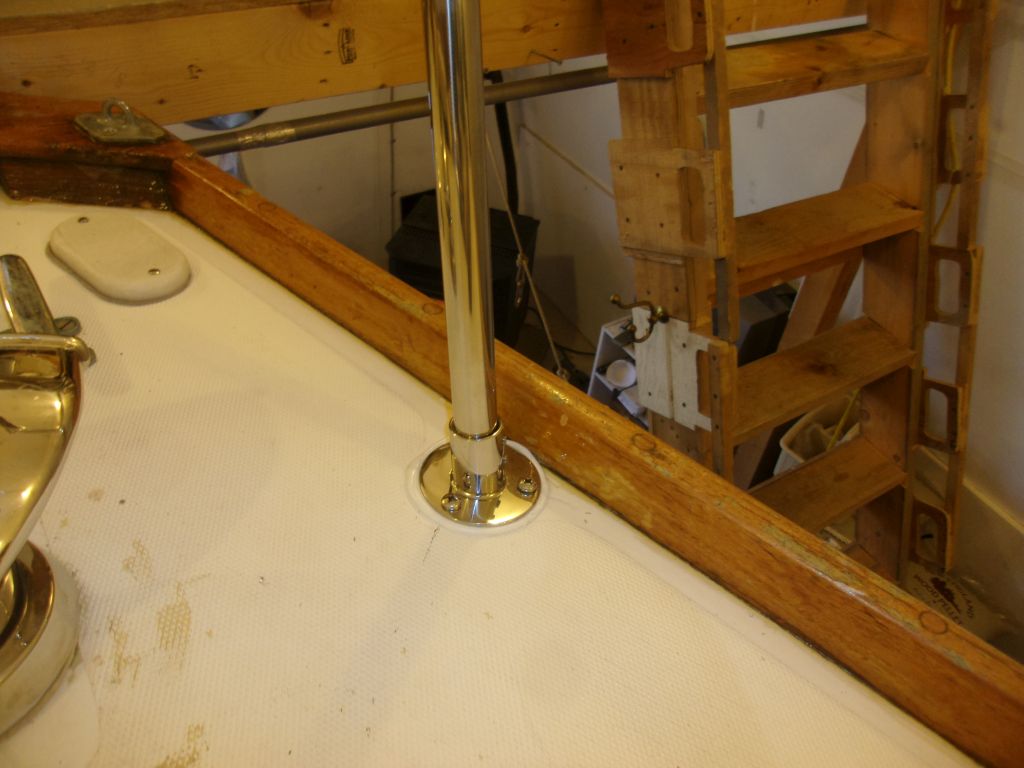
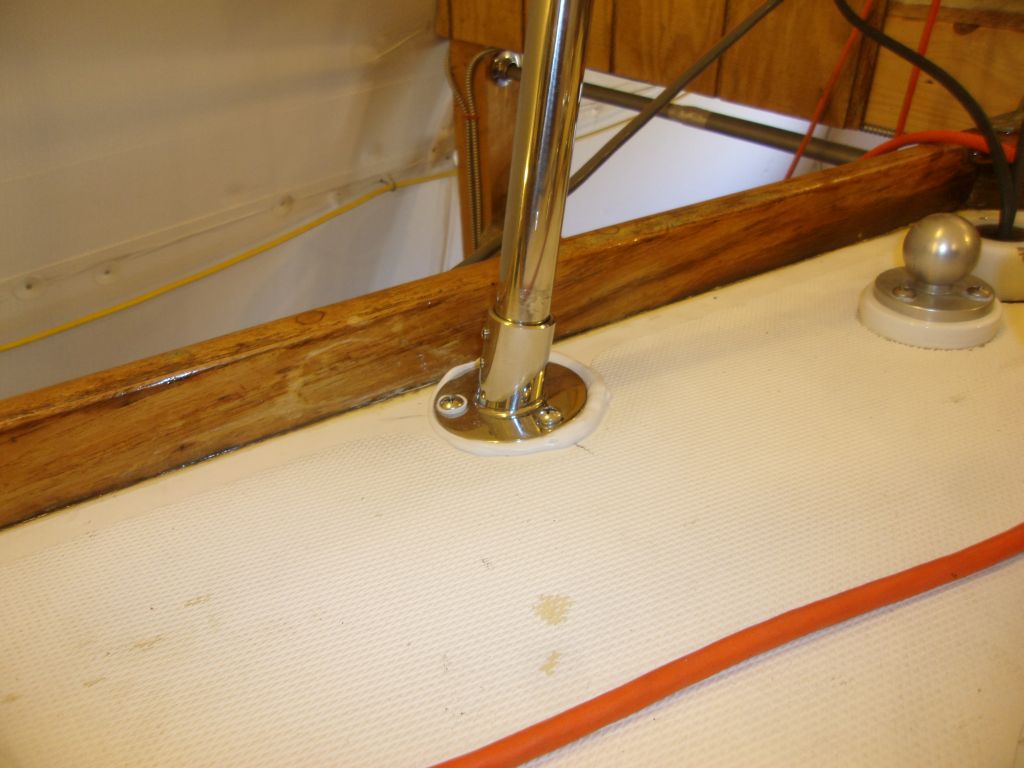
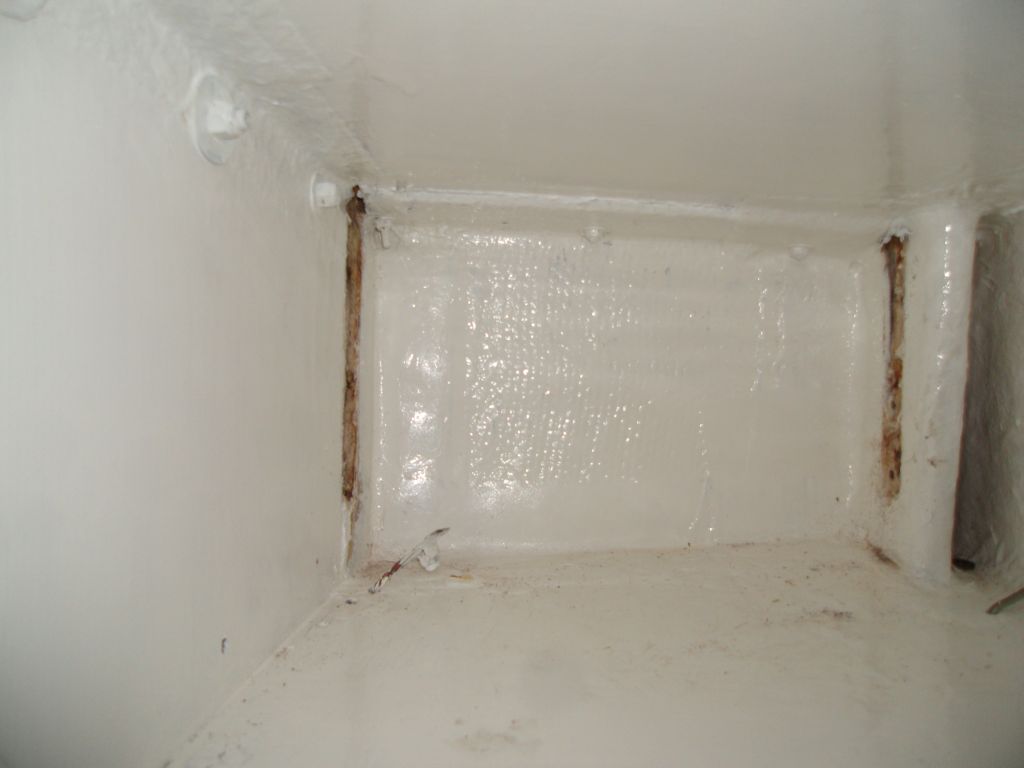
I found that the bow pulpit bases fell outside of any cored areas of the deck, so this streamlined the installation process, as I could forego the usual step of overboring and epoxy-filling cored deck holes for the fastener locations. Instead, I could simply drill and tap the deck for the fixing bolts, and then proceed directly with installation with sealant, fiberglass backing plates, and stainless fasteners.
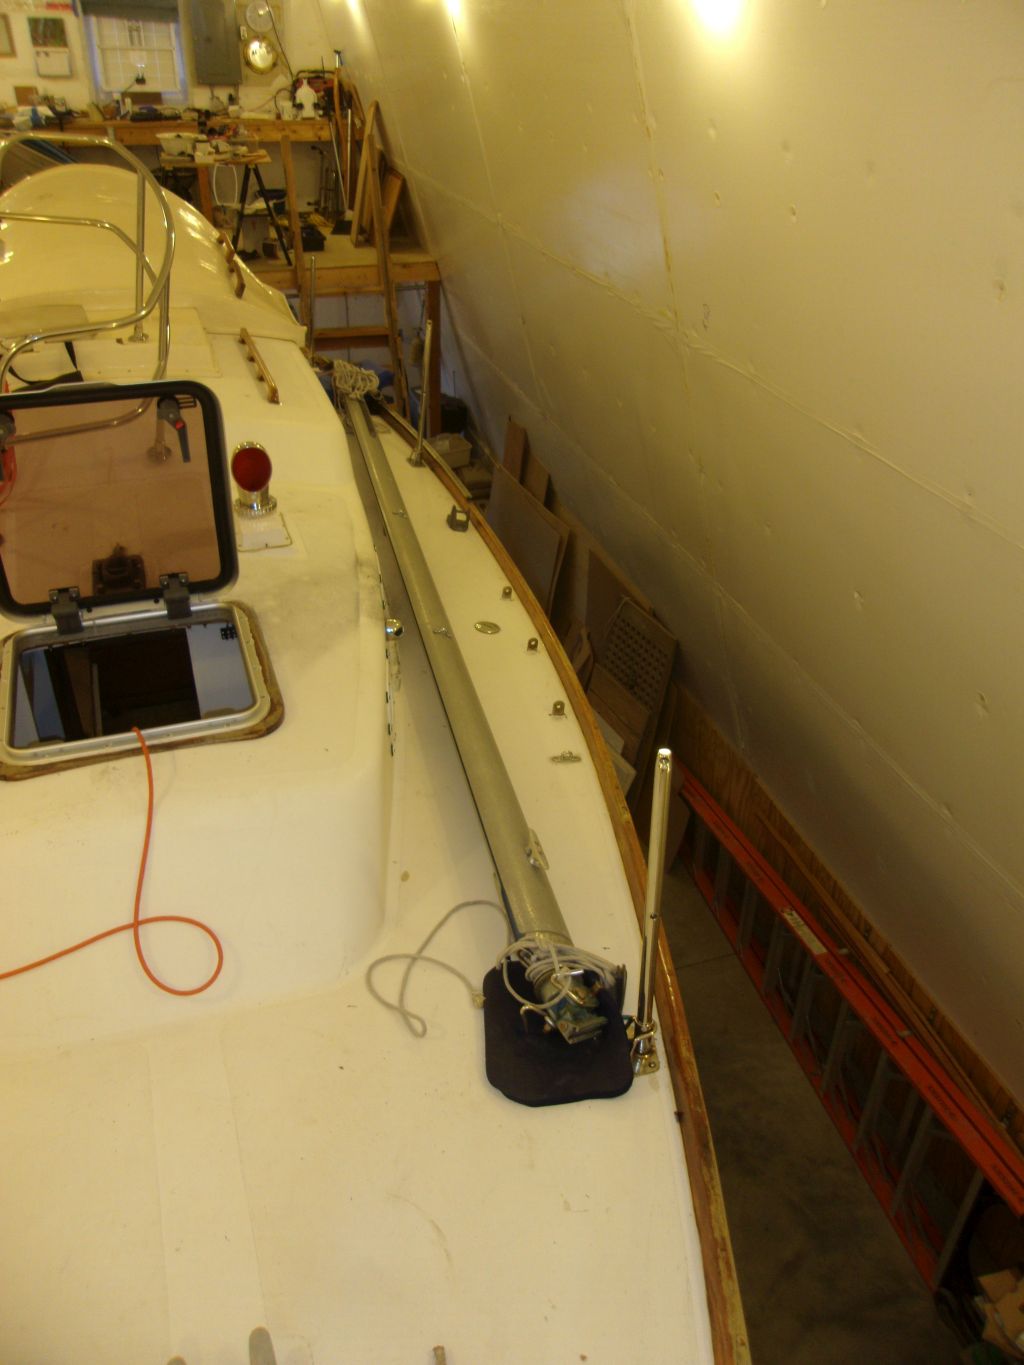
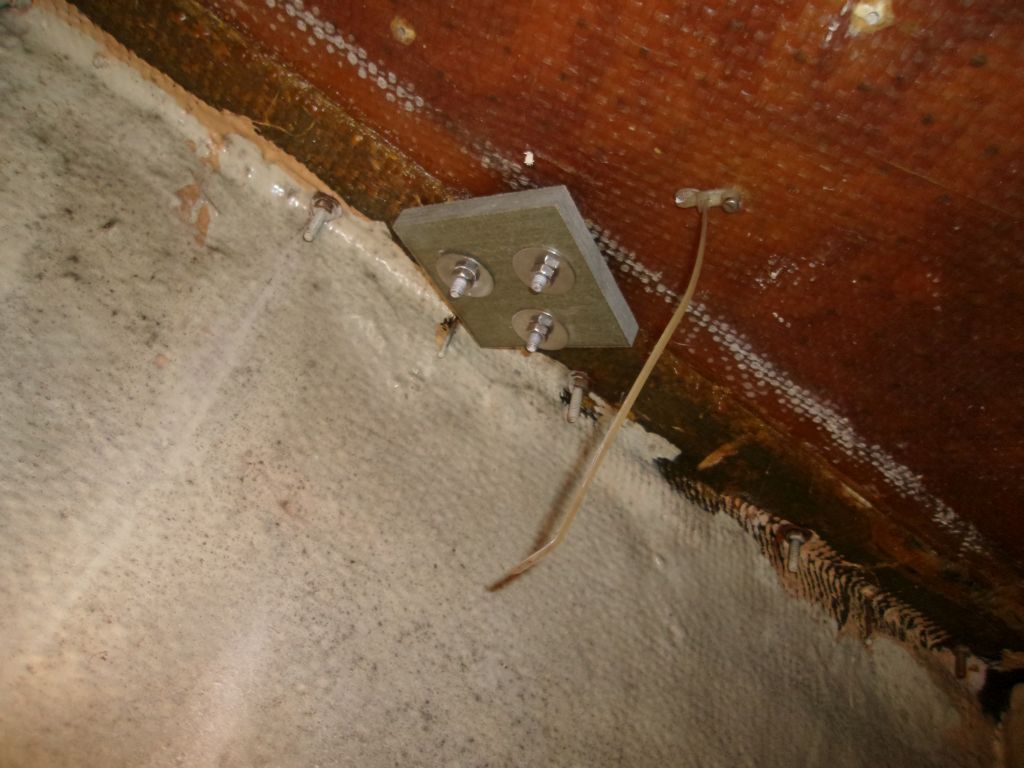
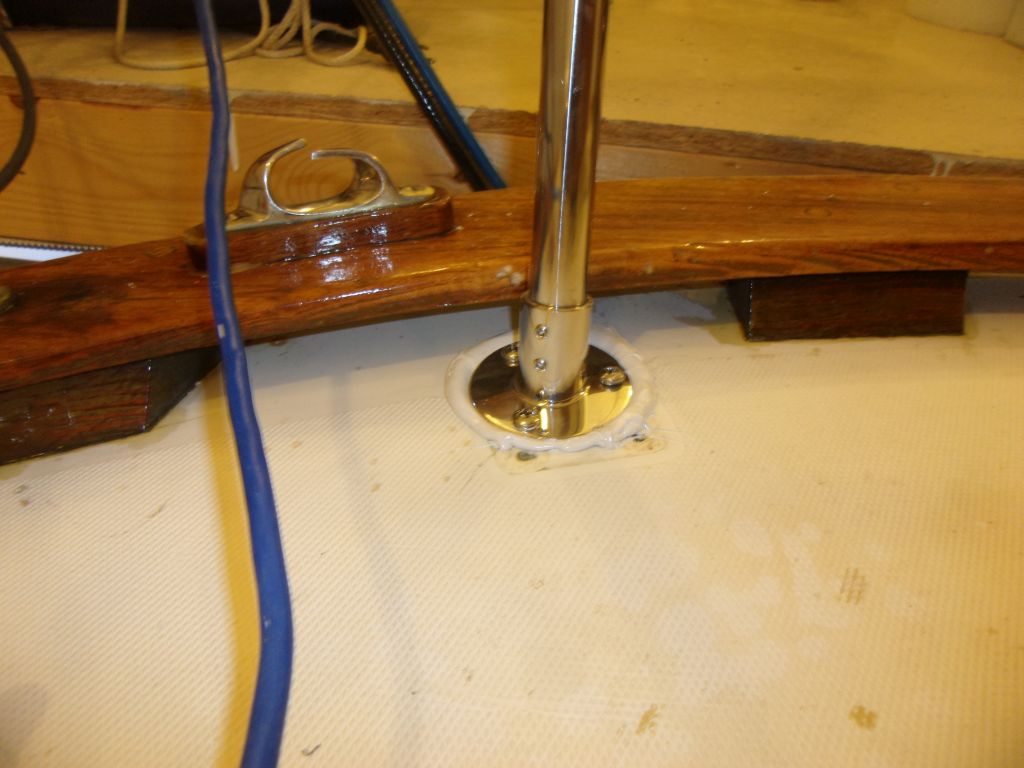
I dry-fit the stern pulpit and, where needed, prepared the fastener locations by boring 1/2" holes through the top skin and core before filling the voids with thickened epoxy. Many of the stern pulpit fasteners--but not all--were outside of the cored area and did not require this treatment. I had to leave the remainder of the stern pulpit installation for the next day, to give the epoxy a chance to cure overnight.
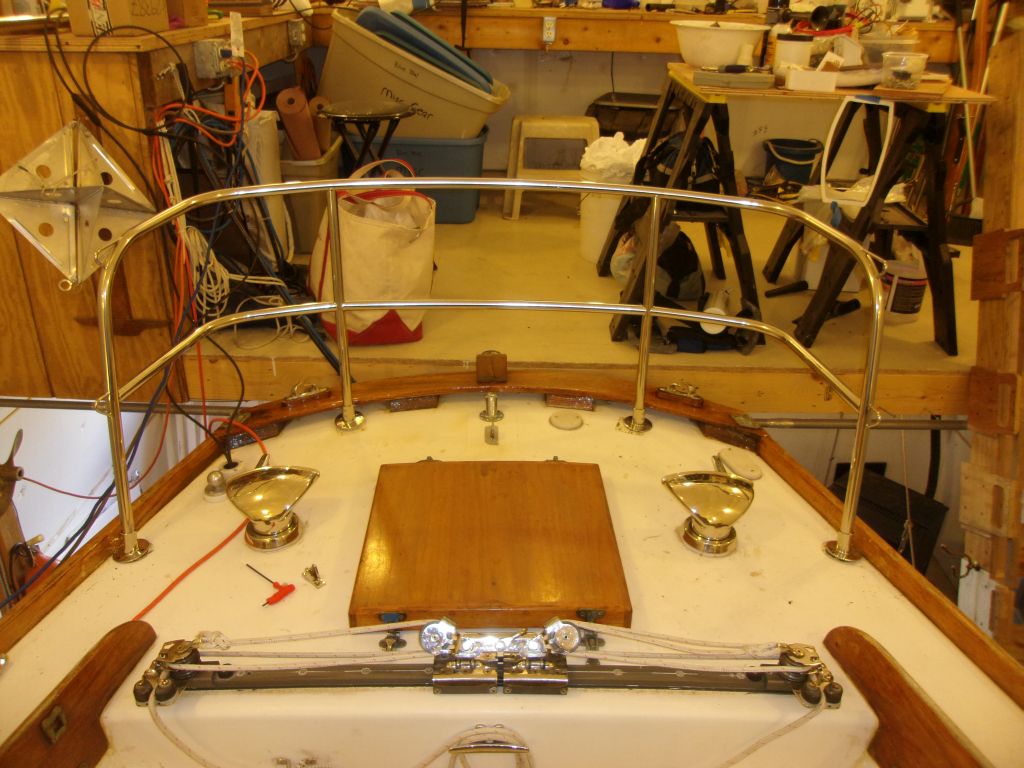
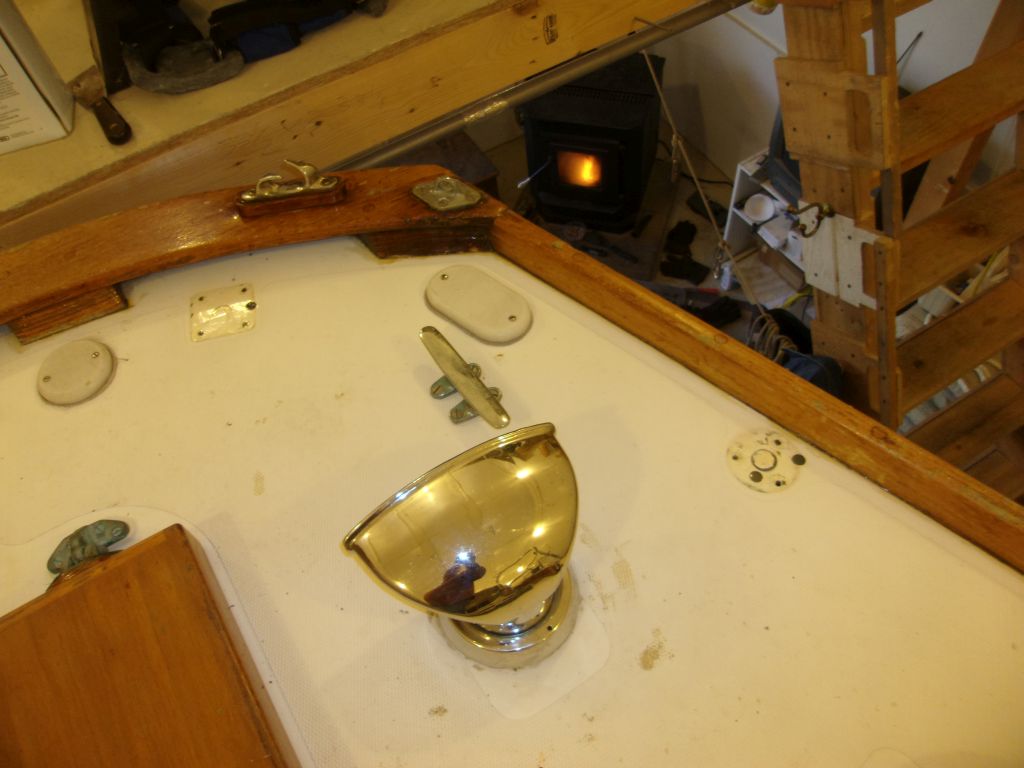
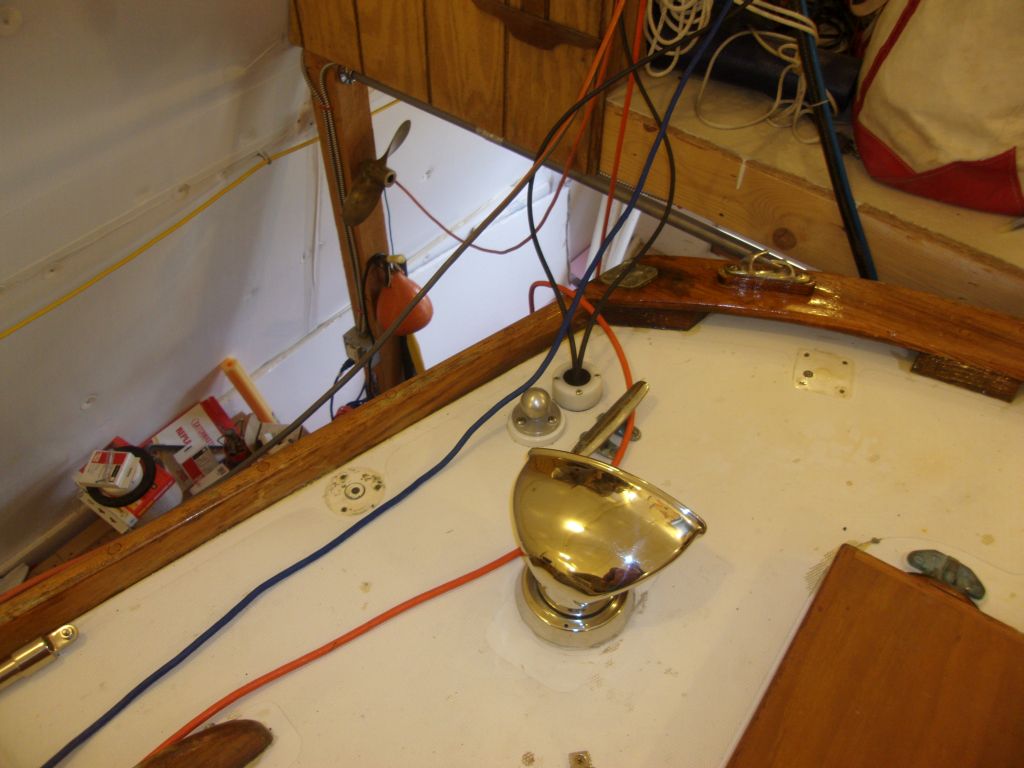
The existing stanchion bases were fine, so installing the new stanchions was a generally simple matter of removing the old tubes and inserting the new ones.


Inside the boat, I installed the battery box cover/step with the new latches at the forward end, which secured the tops and, more importantly, prevented it from flipping up when one came down the ladderway from the cockpit.

To install the cover for the engine instrument panel, after test-fitting the box I'd constructed off-site during the winter (it worked!), I marked for some cleat locations and, after final preparations, epoxied some support cleats within, holding them with some hot glue while the epoxy cured overnight.
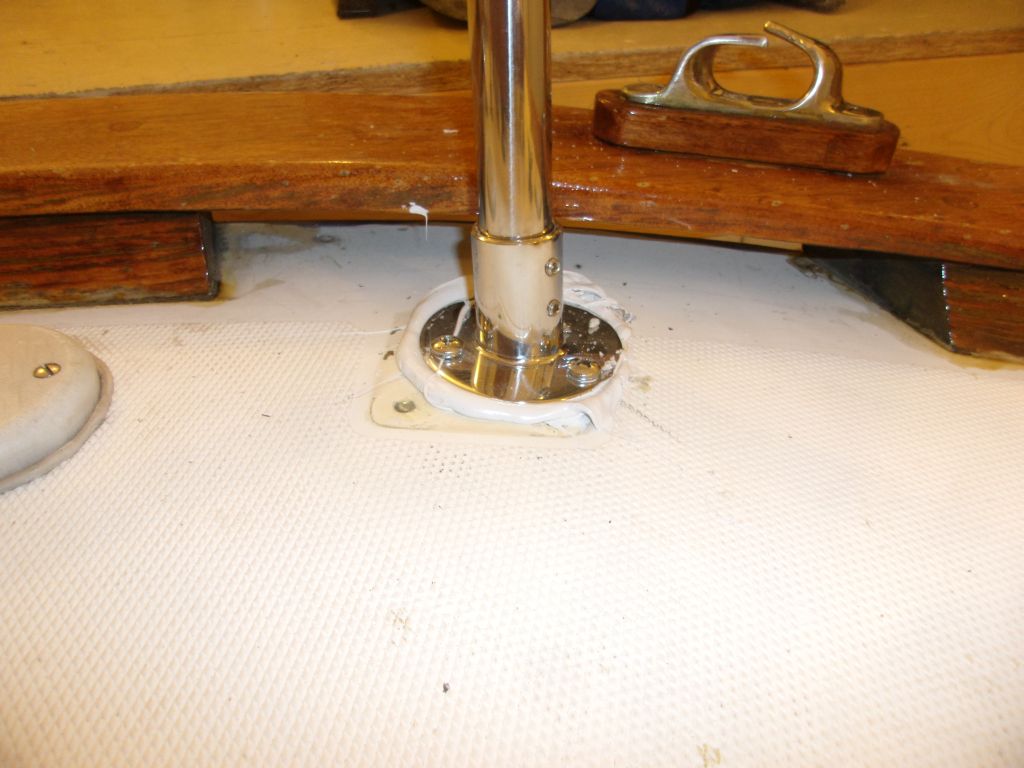
After allowing the epoxy plugs for the stern pulpit to cure overnight, I continued with its final installation, drilling and tapping the deck for machine screws before completing the installation with sealant, backing plates, and large washers.
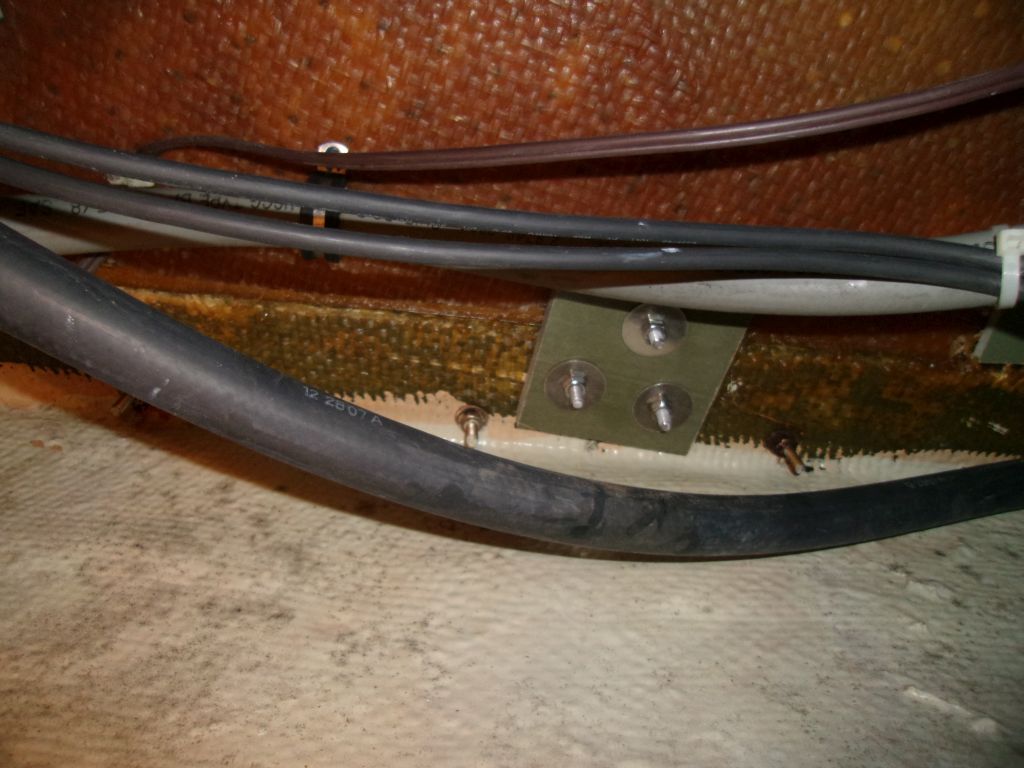
In the cabin, I secured the instrument back to the new cleats with several screws, completing its installation.
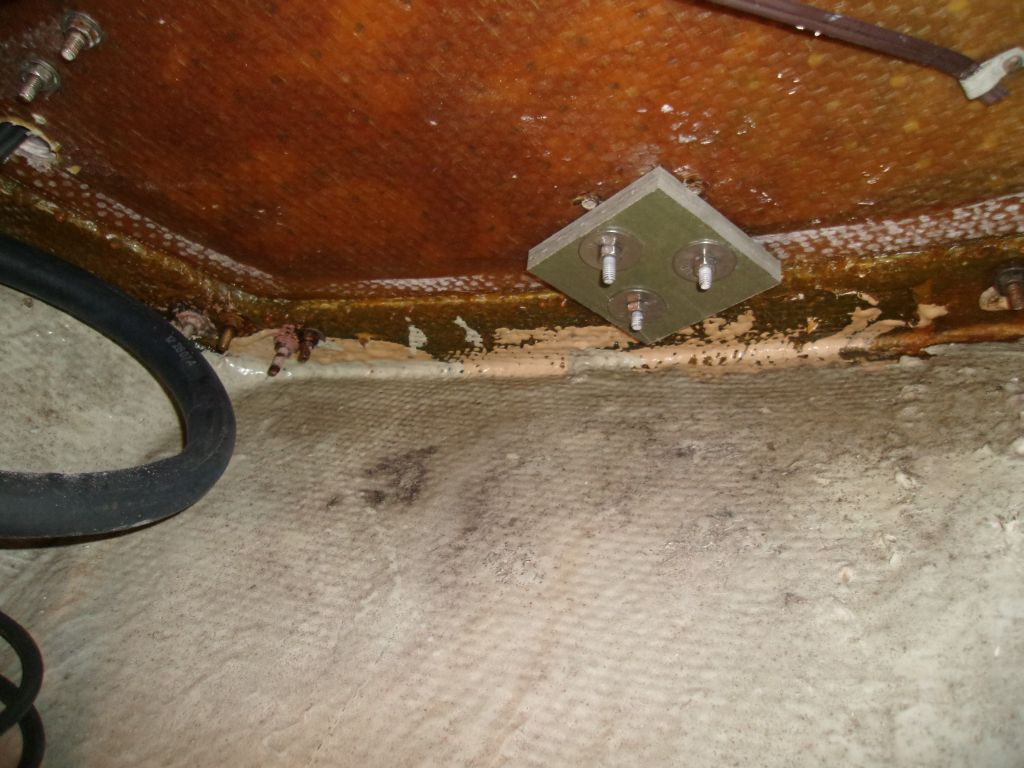
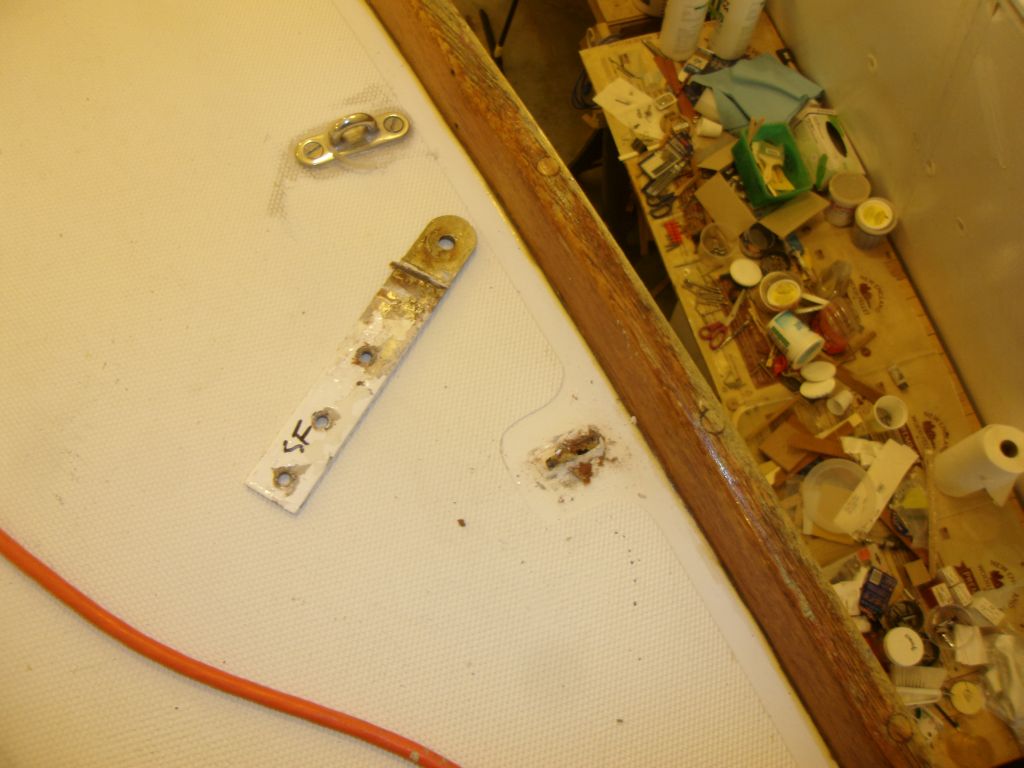
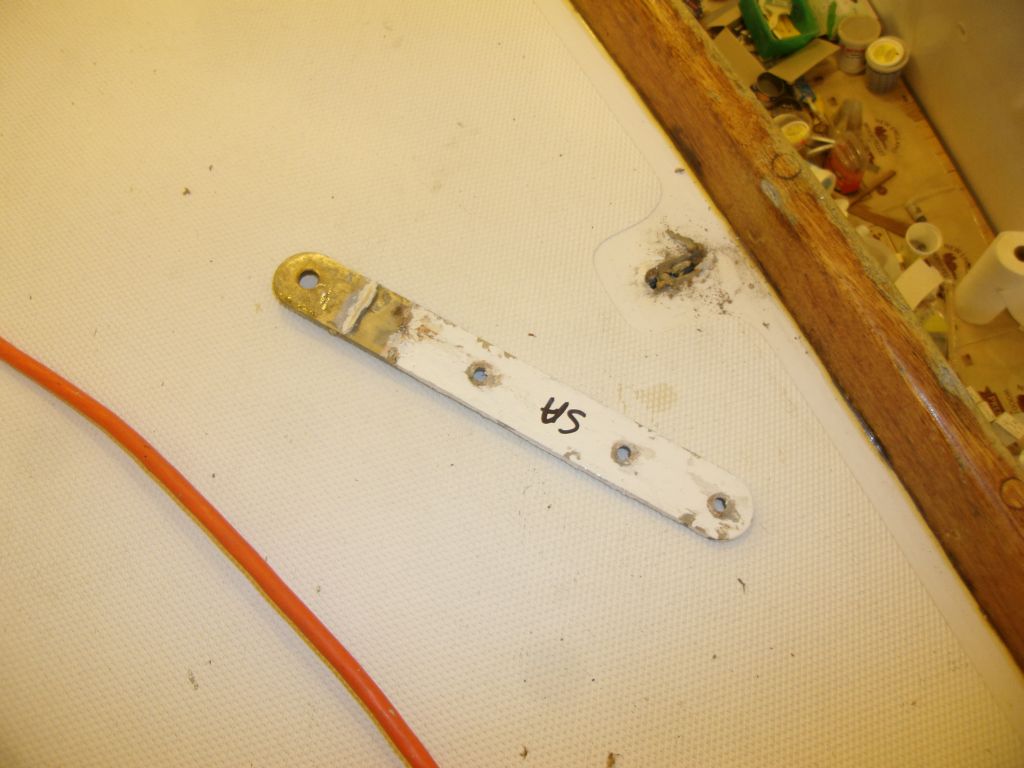
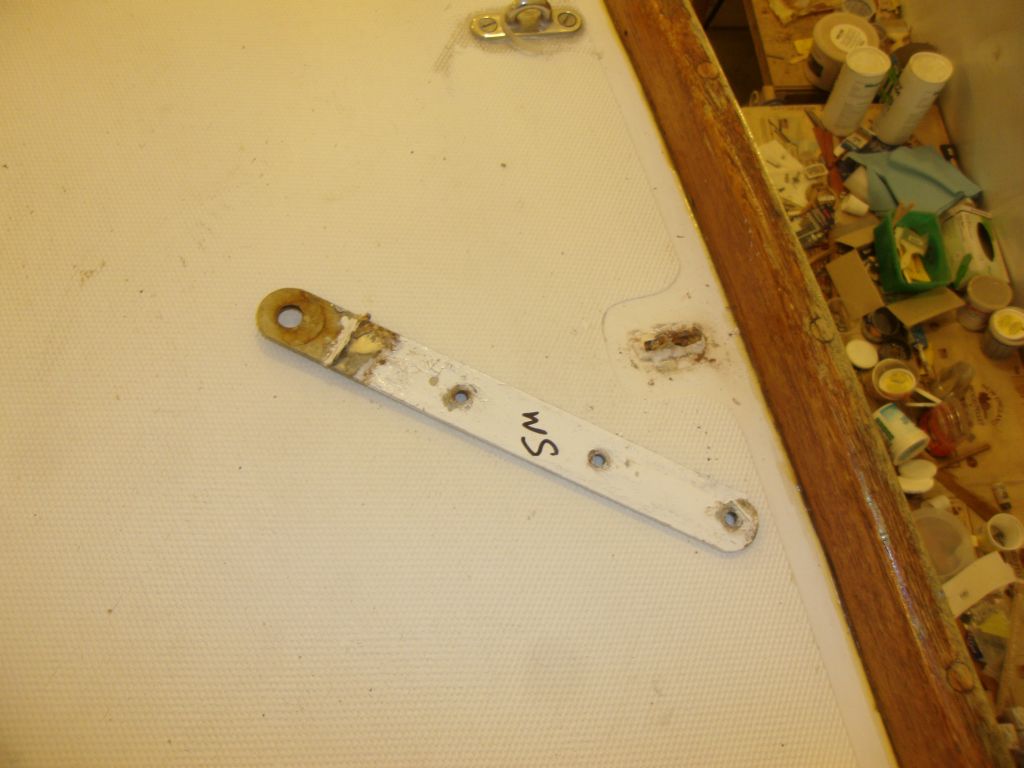
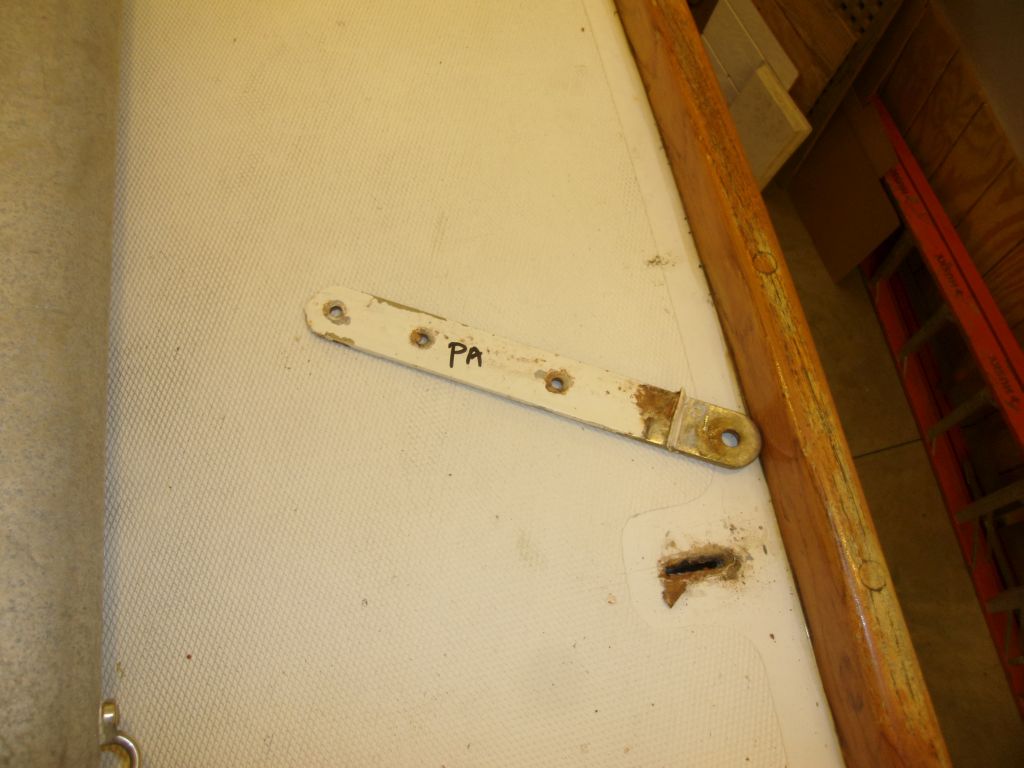
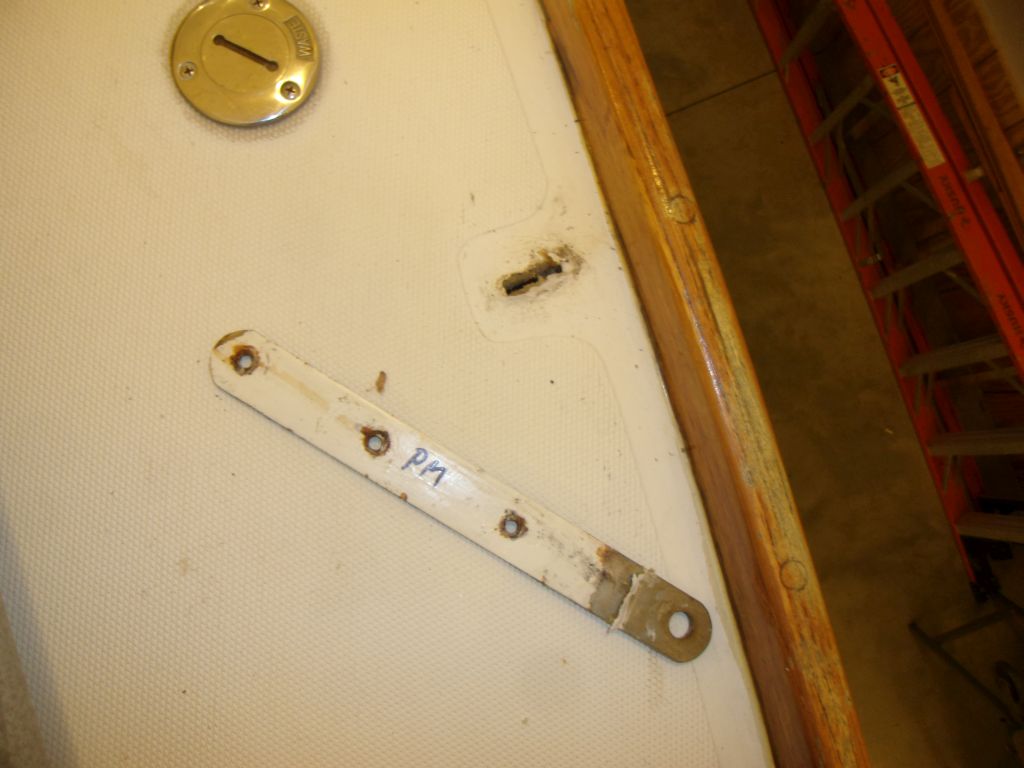
Next, I removed the existing chainplates. Some clown had installed these with slotted round head machine screws driven through very tight holes, which made removal more difficult since these sorts of heads were, to me, the most difficult of all possible types to deal with, with little to grip should (when) the slots stripped out, and no chance of gripping with locking pliers should (when) the nuts spun the whole bolt rather than simply unwinding.

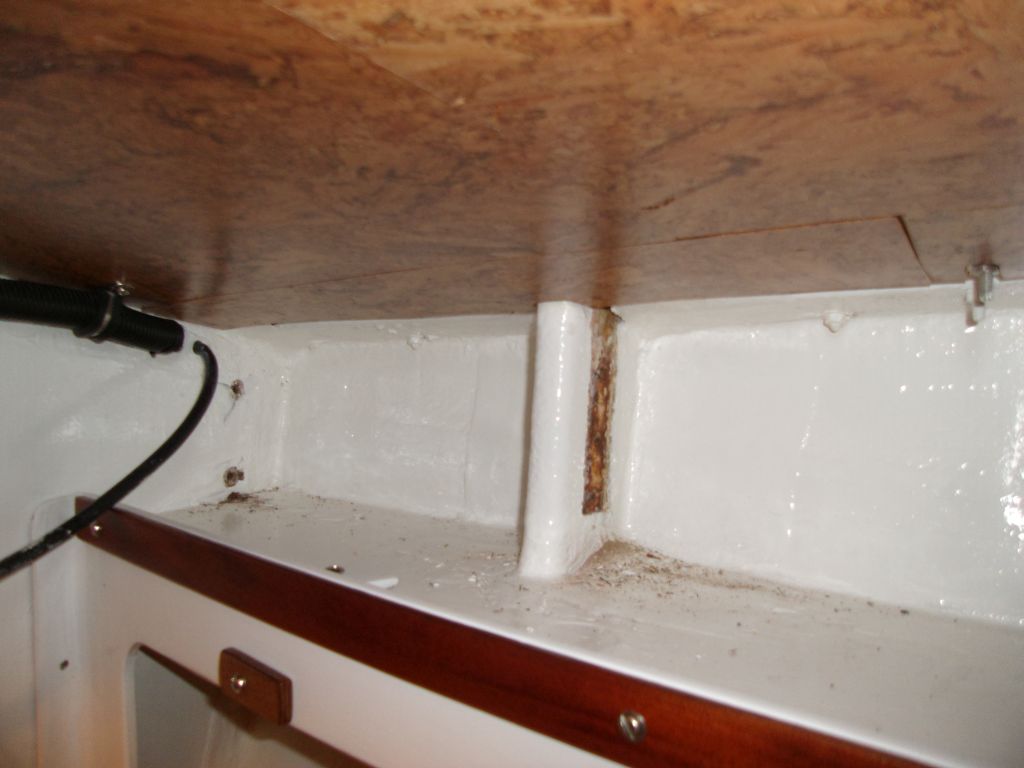
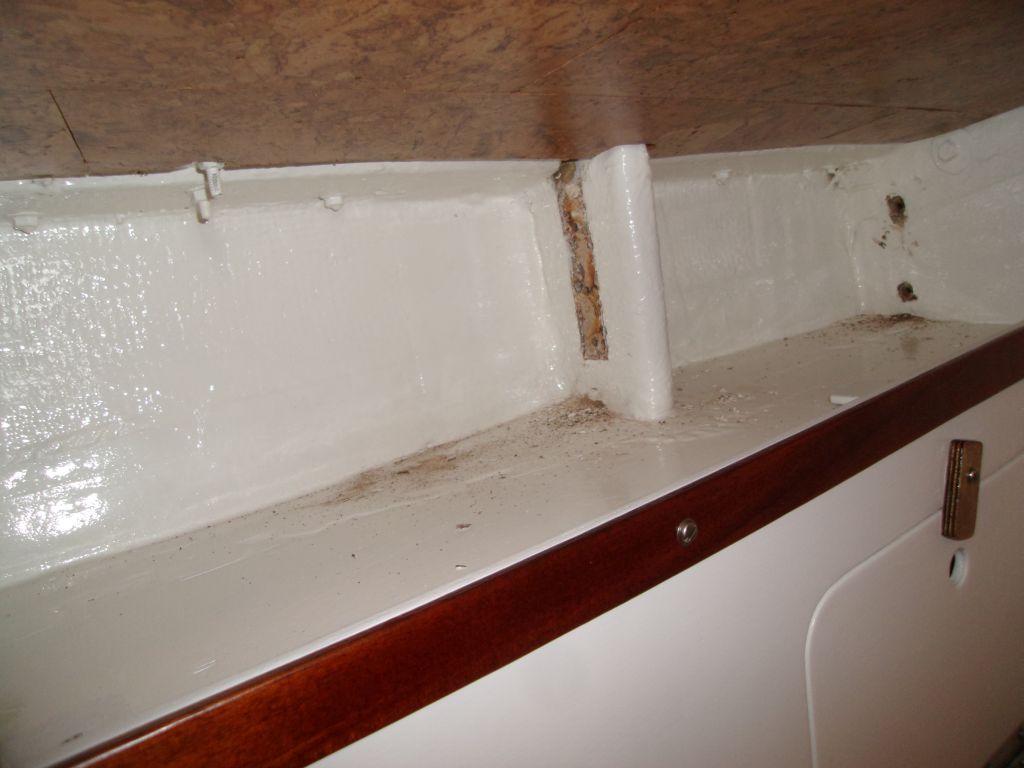
At length, however, I got all the chainplates out. I found that the deck slots, which had no sort of covers, were filled with various types of sealant, including (at least to my eye) Dolfinite, rubbery white stuff that could be various polyurethanes or polysulfide, gray stuff that could be old butyl, plus--and here's the fun part--some sort of wadding material that resembled (but hopefully wasn't) that metal polish wadding that comes in a can.


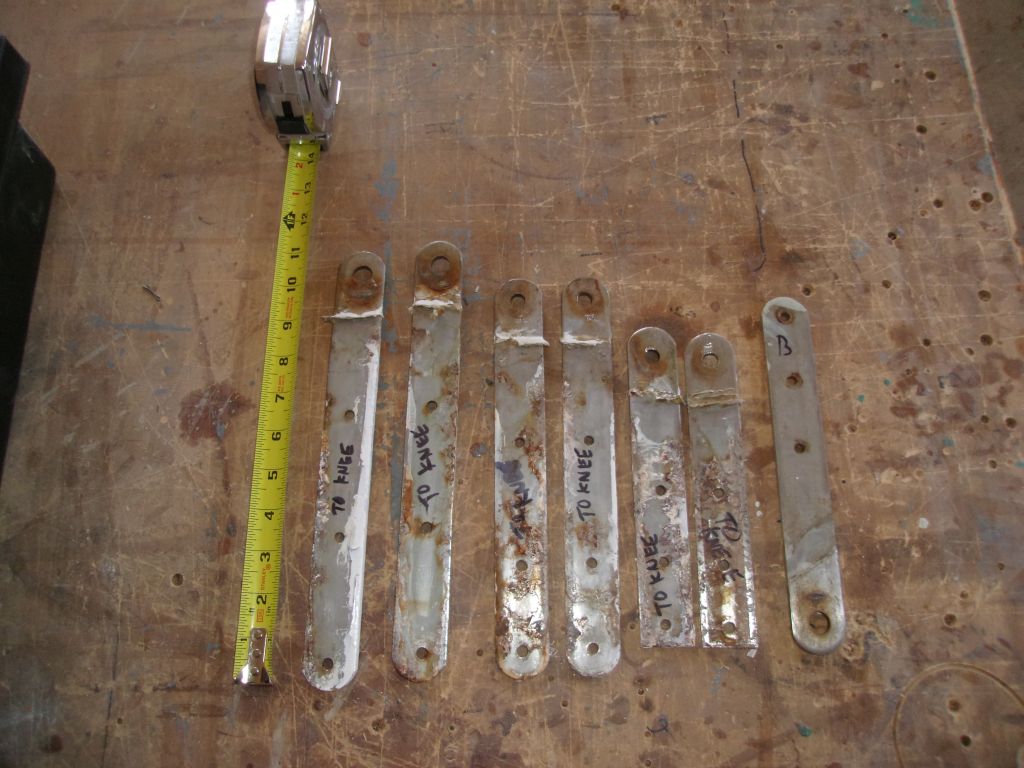
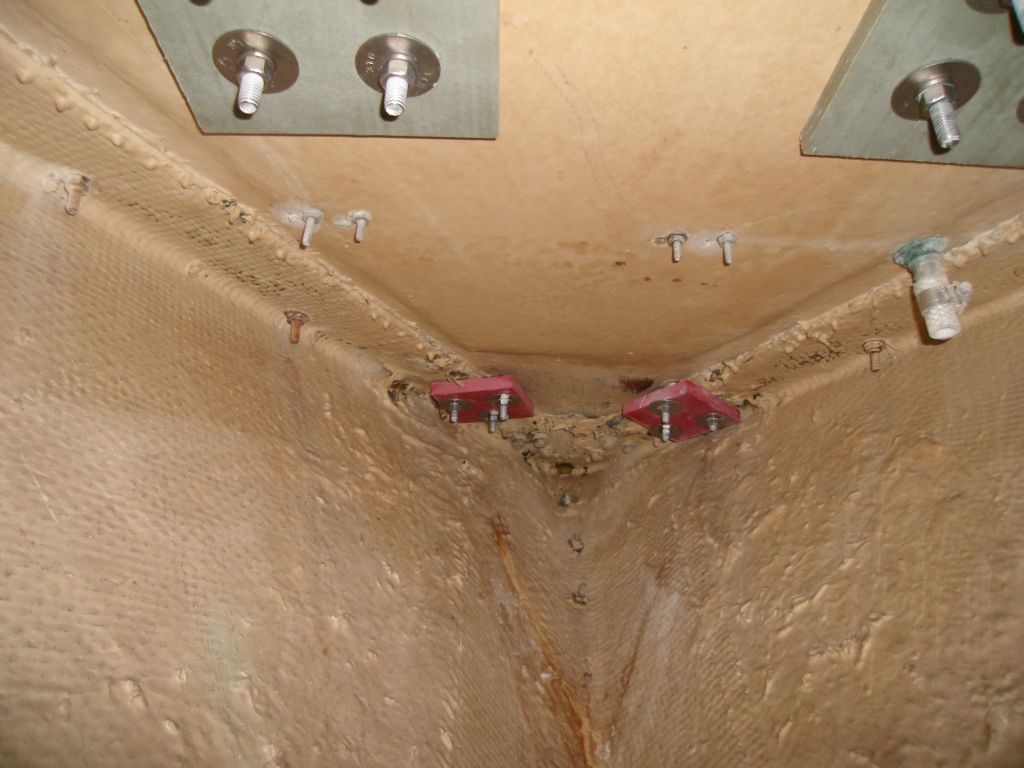
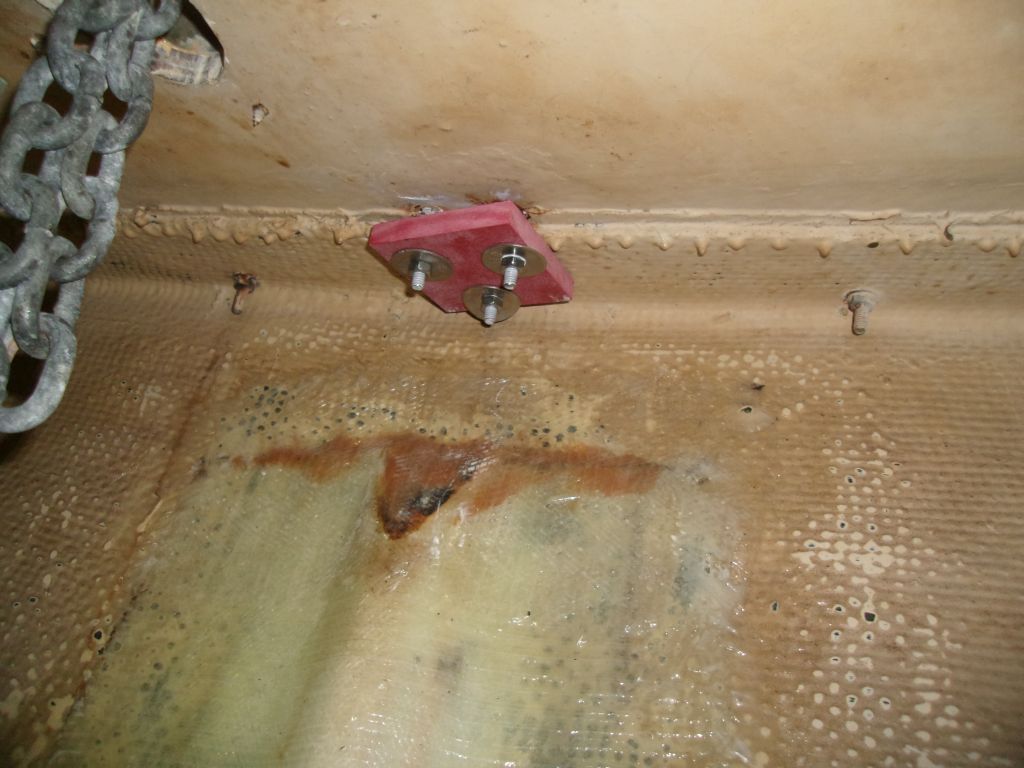
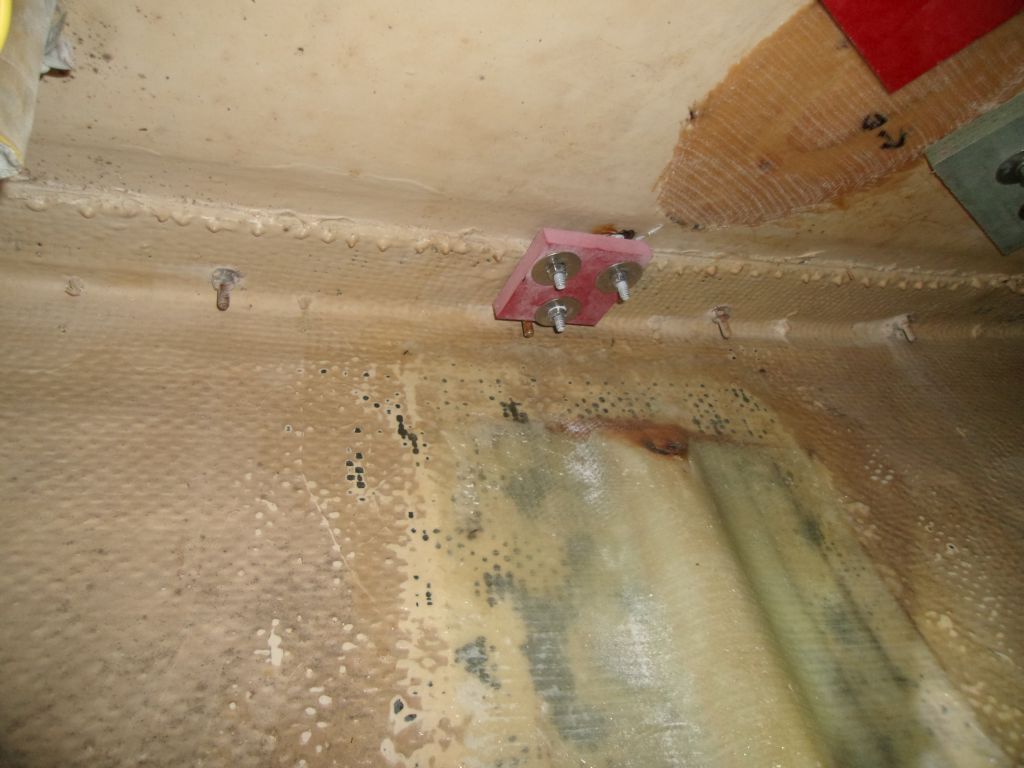
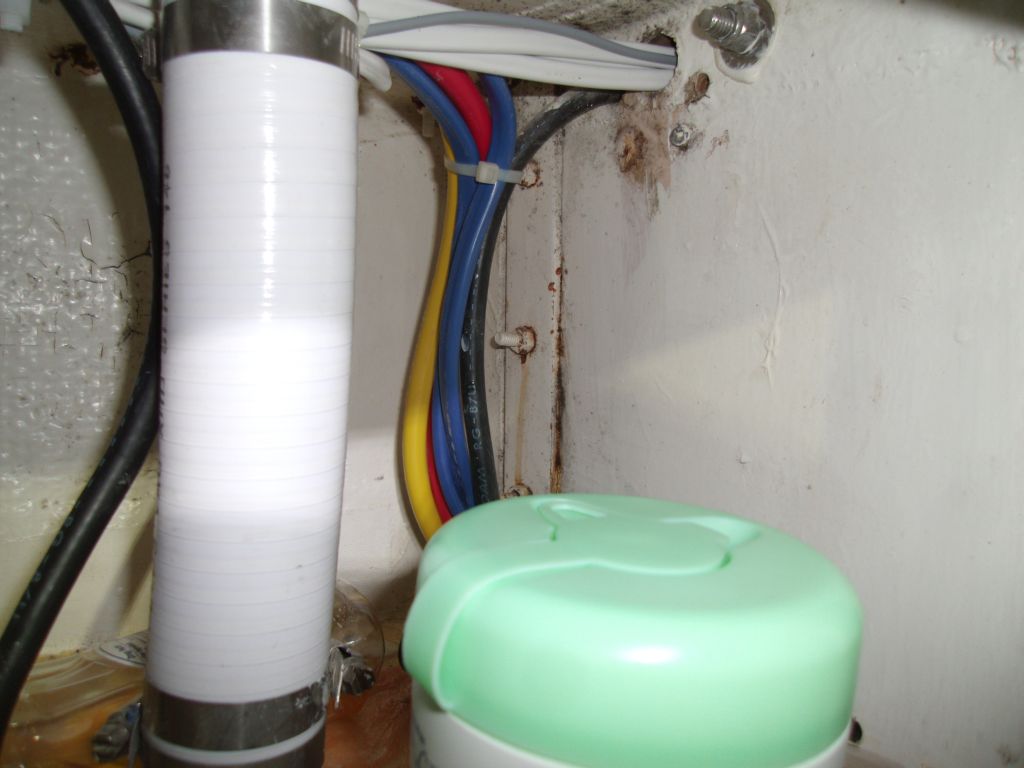
I'd get new chainplates made up at a local fabricator and reinstall the new ones later. The owner also requested extending the forward lower chainplates down to the extended knees he'd built beneath the forward shelves, and we also planned to enlarge the bolt size (currently 1/4" only) to 3/8" for additional strength on all chainplates.
After two full days of work, I'd reached if not a stopping point, at least a good static point while I waited for the new chainplates, and for the rigger to measure and make the lifelines. There'd be more work within the next couple weeks.
Total Time Billed on This Job As Described So Far, From October 2013
through Today: 24.75 hours
