
110 Cookson Lane | Whitefield, ME 04353 | 207-232-7600 | tim@lackeysailing.com
Ashantee | Wednesday, February 11, 2015
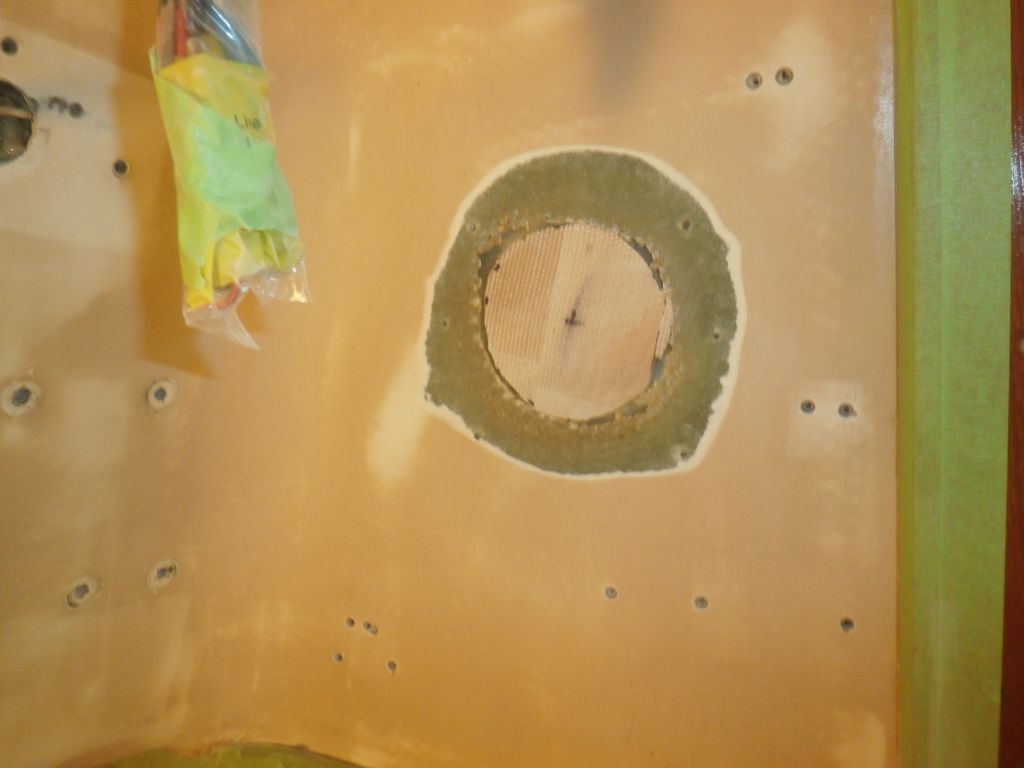
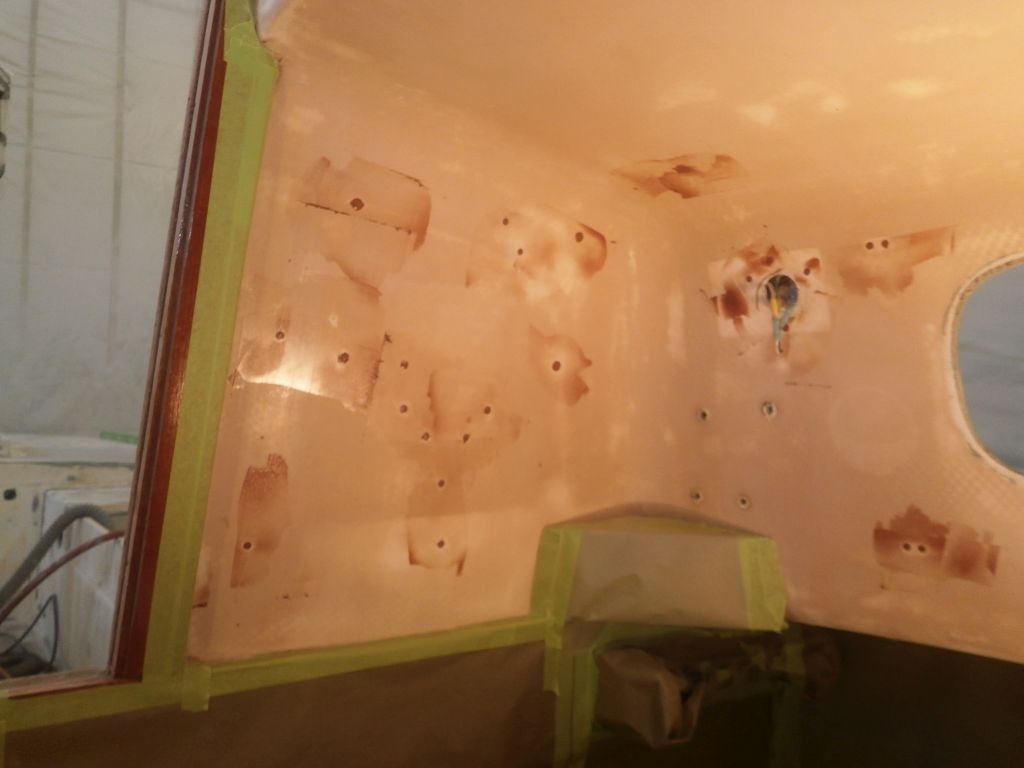
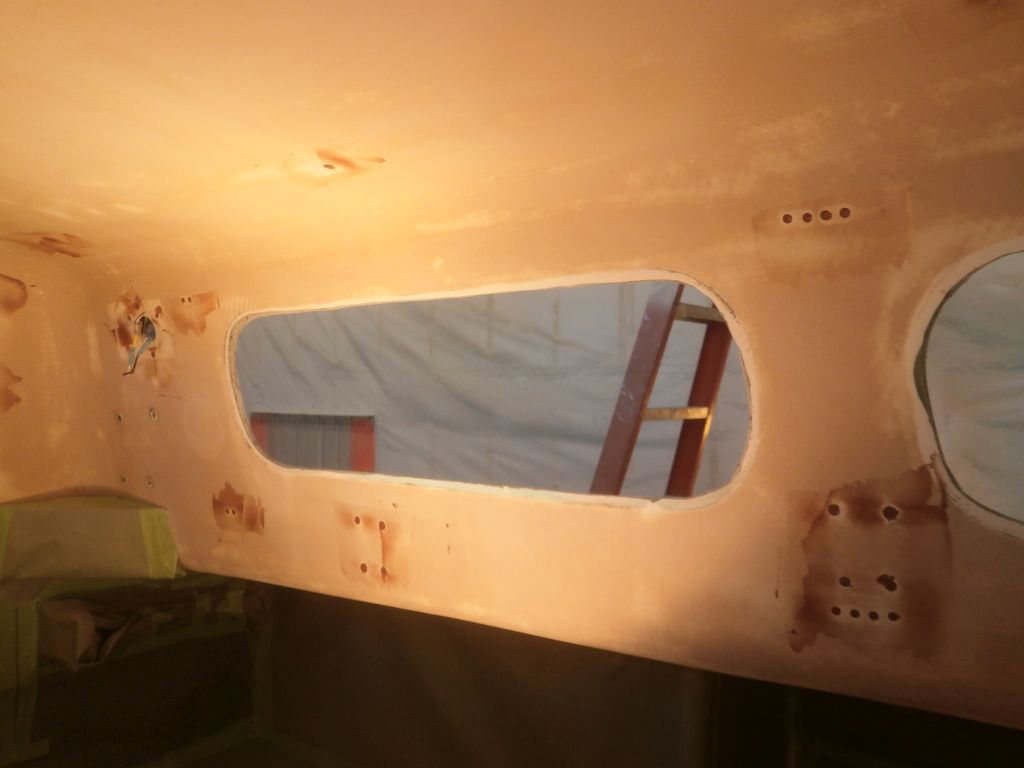
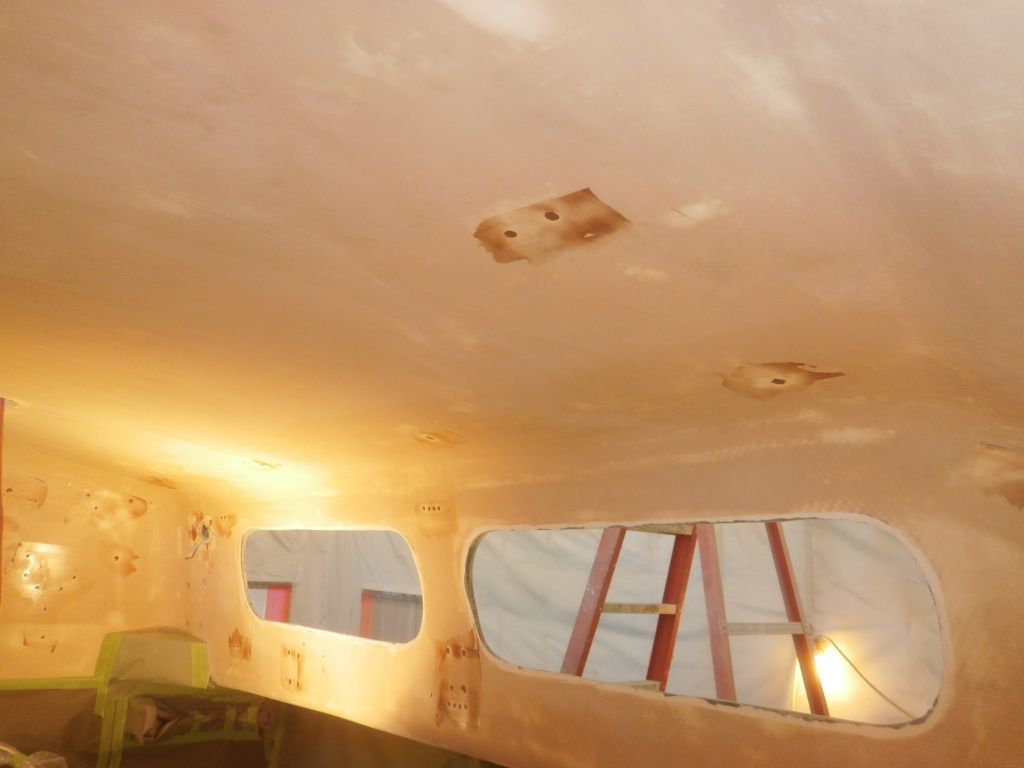
In the cabin, I finished up preparations by grinding an area around the large instrument hole in the aft bulkhead, preparing it for its new fiberglass patch. Afterwards, I went around the boat and reamed out, as necessary, any old fastener holes and the like that required filling.
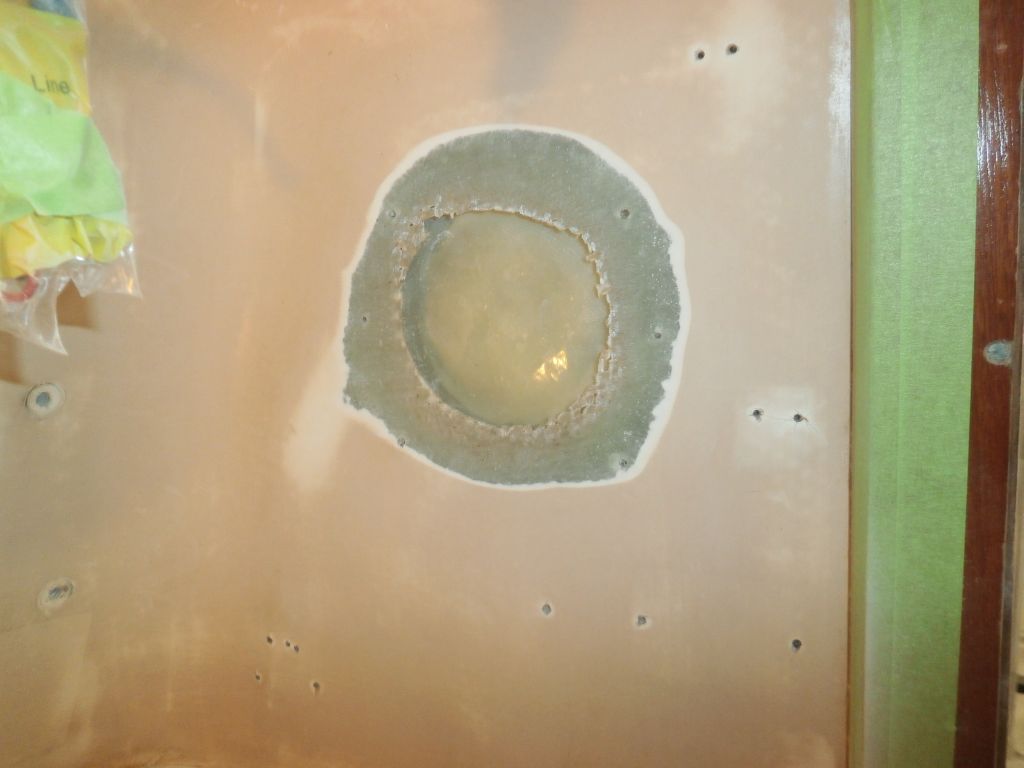

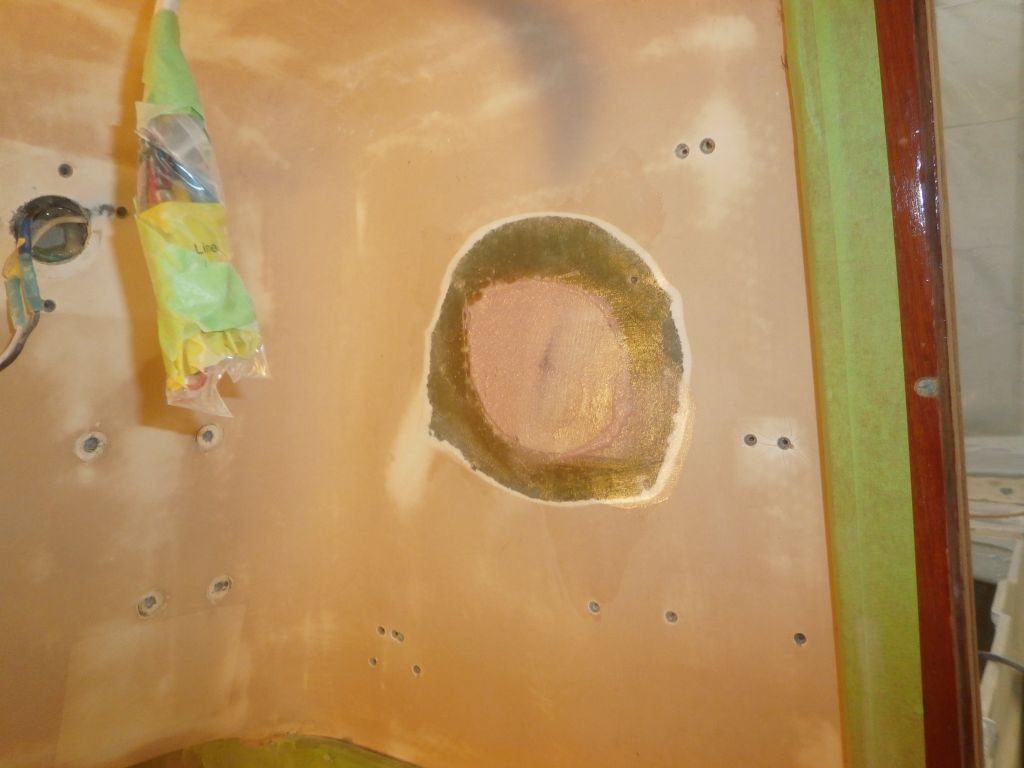
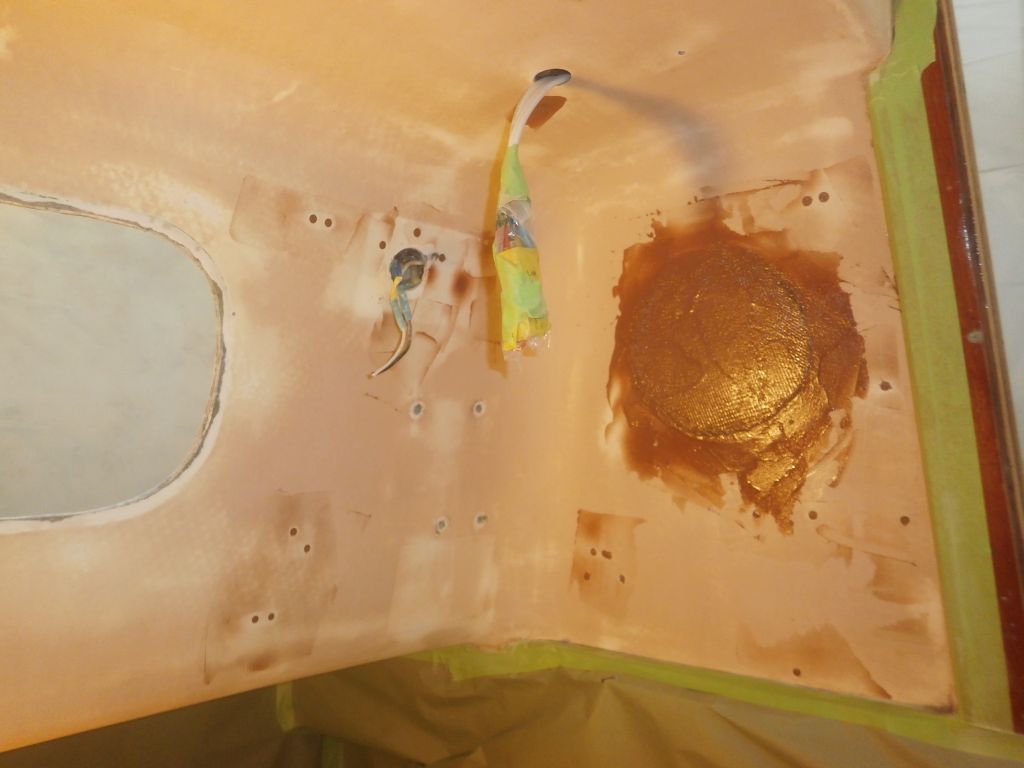
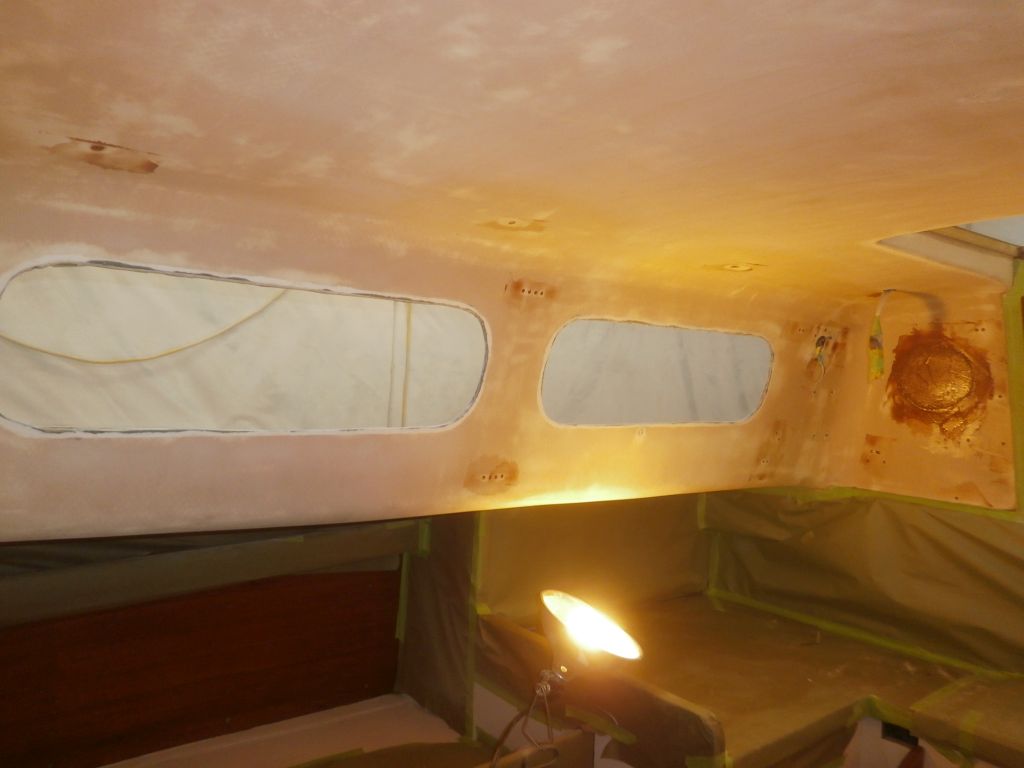
After cleaning up, I started the bulkhead repair by installing a piece of scrap balsa in the opening, this only to fill the void between the liner and the actual cabin structure beyond it and provide something against which I could lay the new fiberglass patch. After troweling in some thickened epoxy to fill remaining voids and even out the patch area, I installed a 6" circle of biaxial fabric to complete the patch.

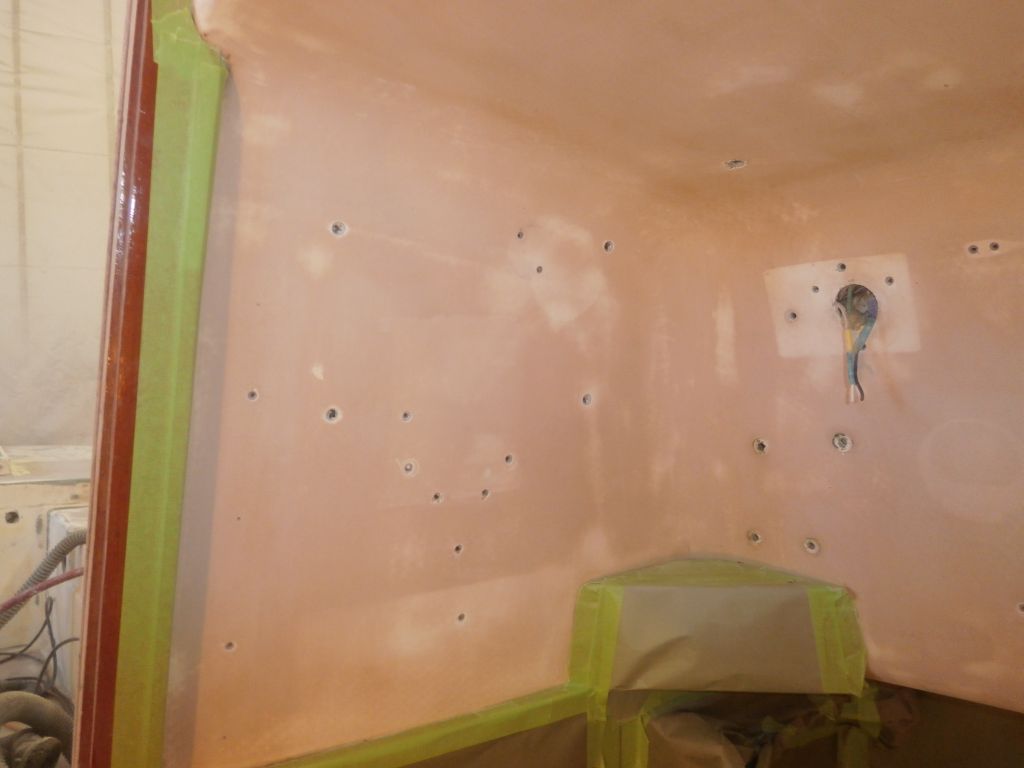
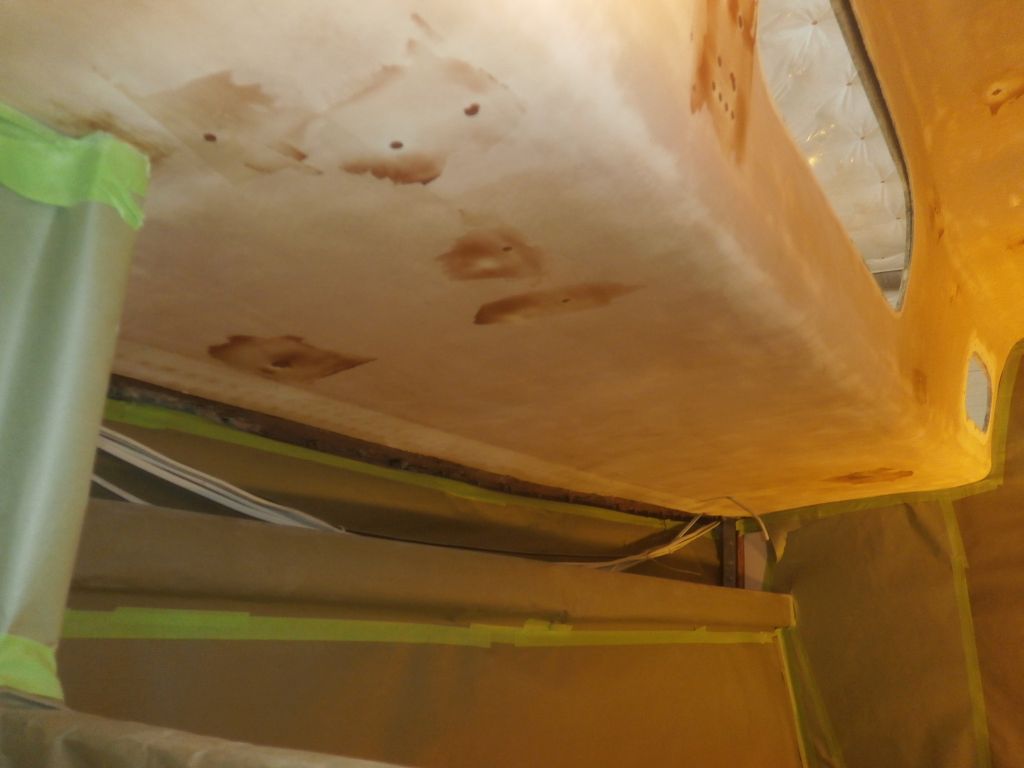
Later, I applied epoxy fairing material to all the small fastener holes in the cabin, and, since the fiberglass patch had partially cured, over the bulkhead repair as well, hoping to streamline the finishing process there.


There was nothing more I could do at this point in the cabin while I gave the epoxy time to cure, so for the remainder of the day I worked on various odds and ends, all advancing the project in an overall sense even if few of the chores were particularly momentous. Some parts of the project are like that, but the fun stuff would start soon.
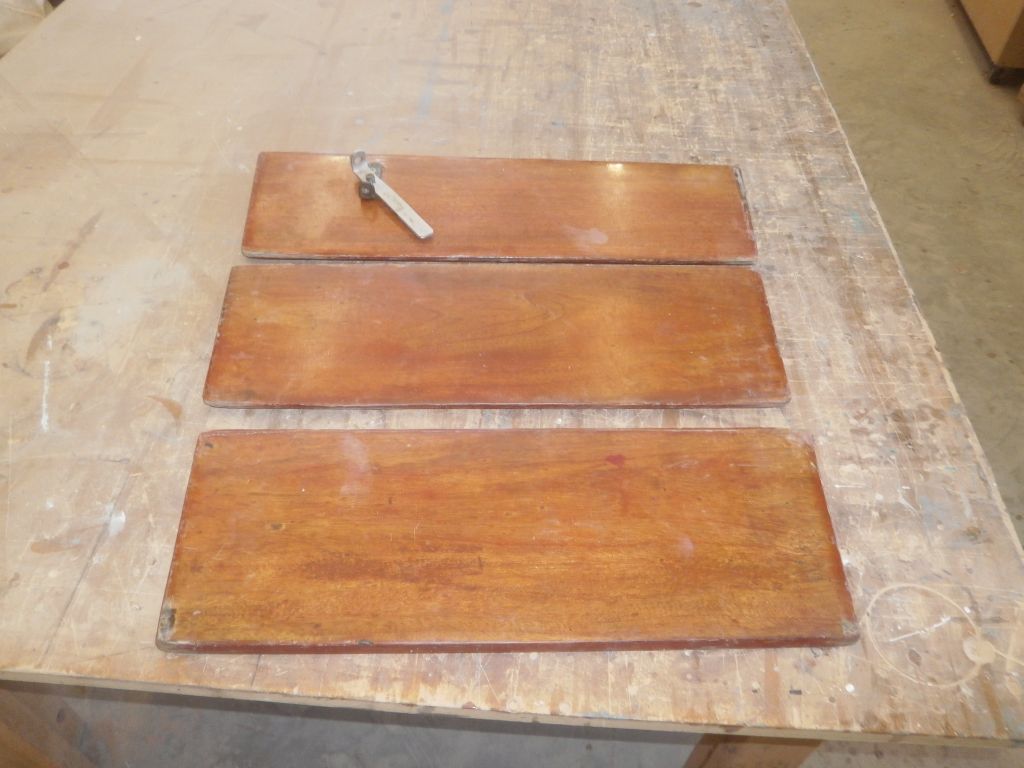
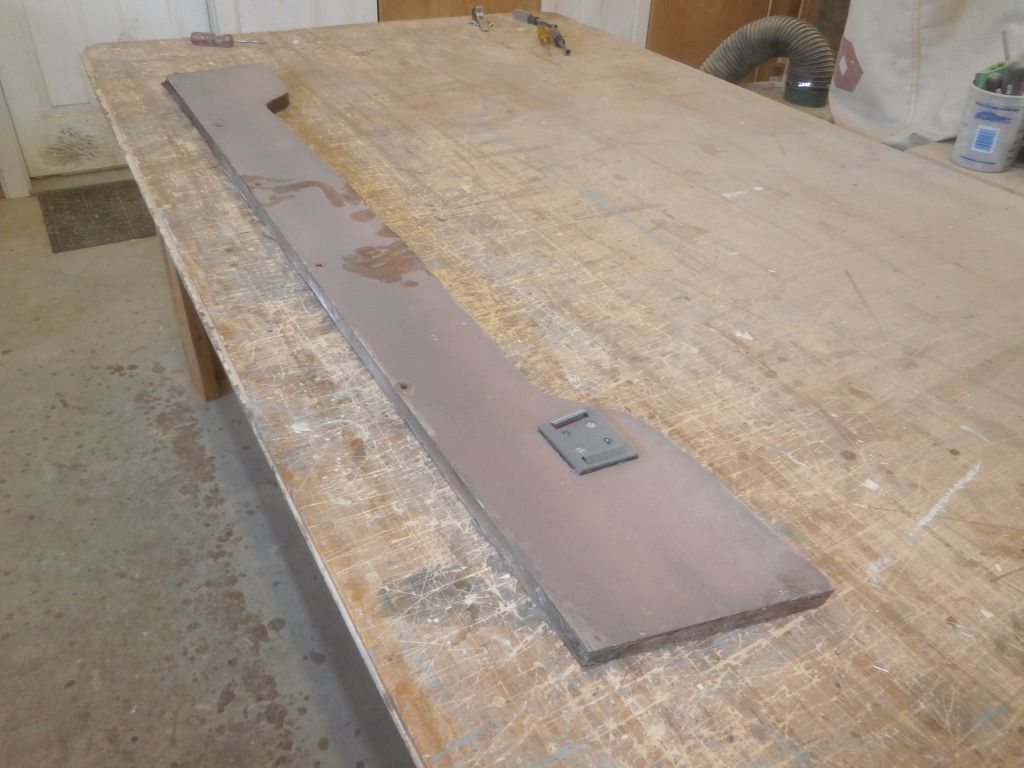
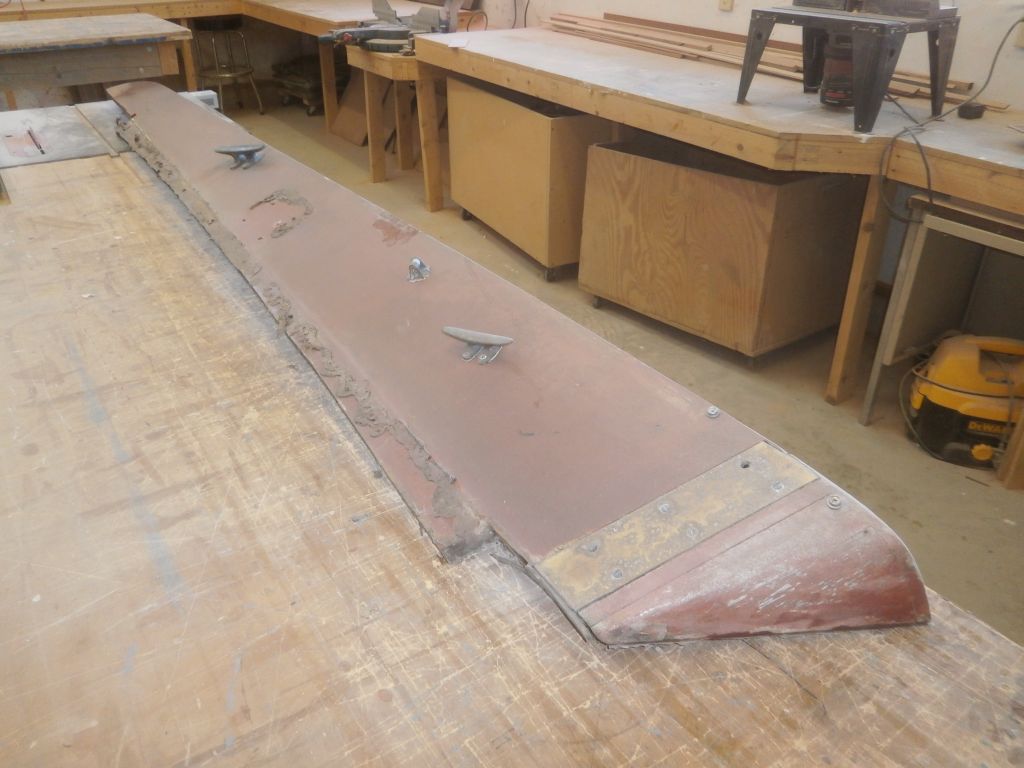
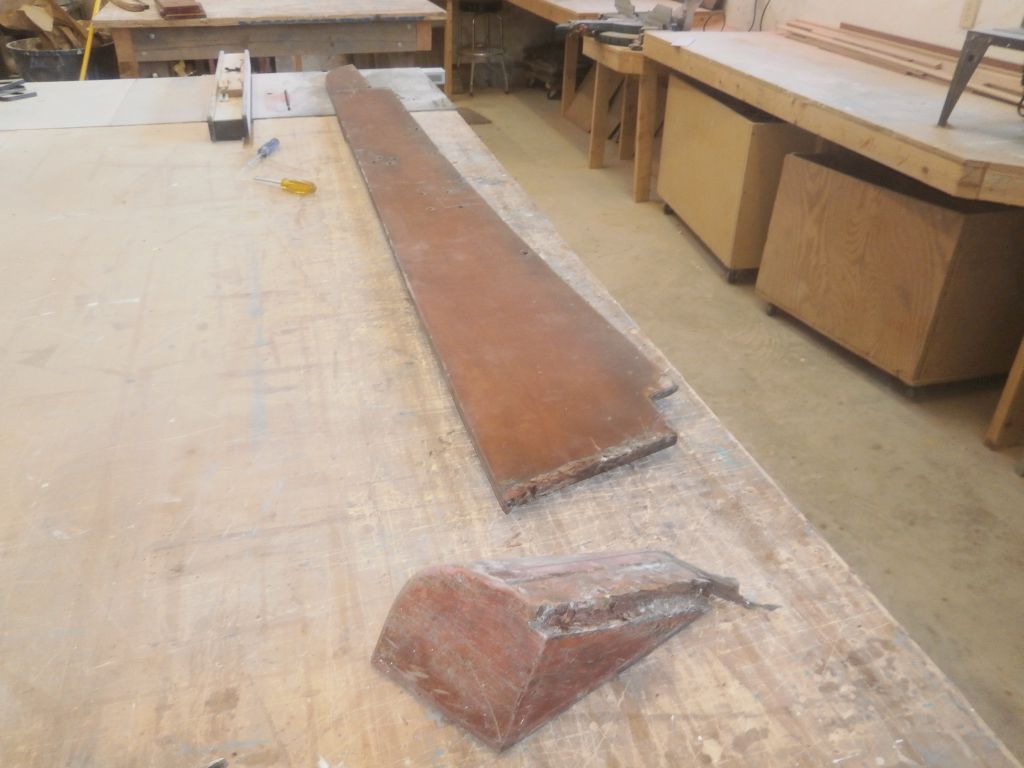
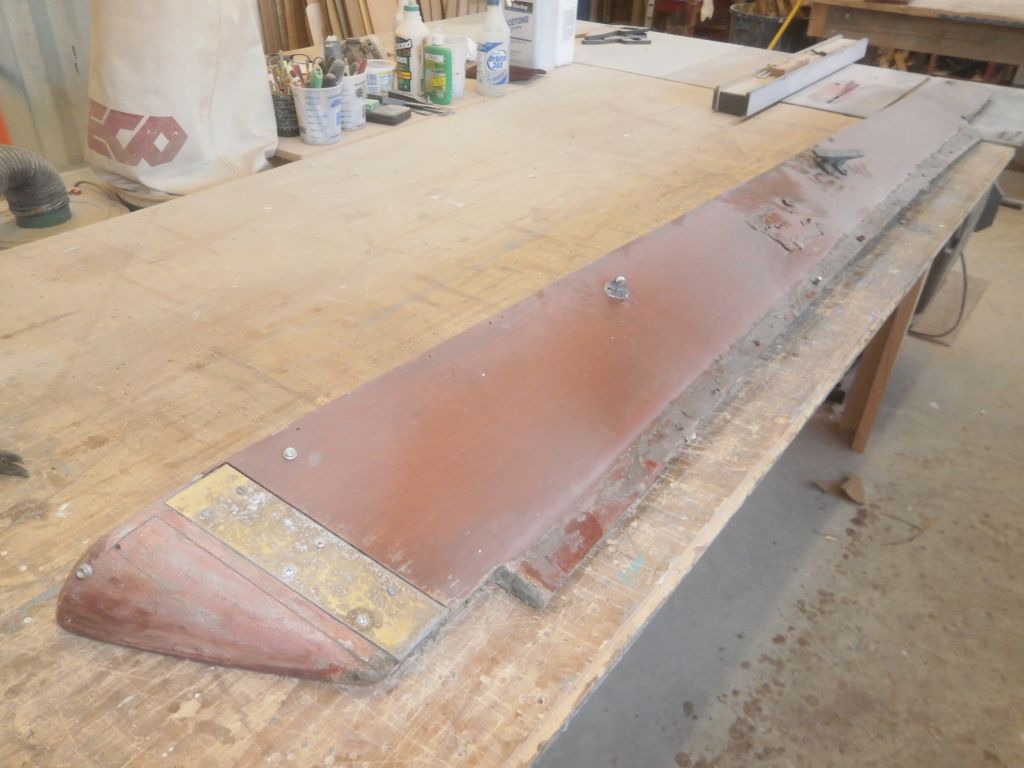
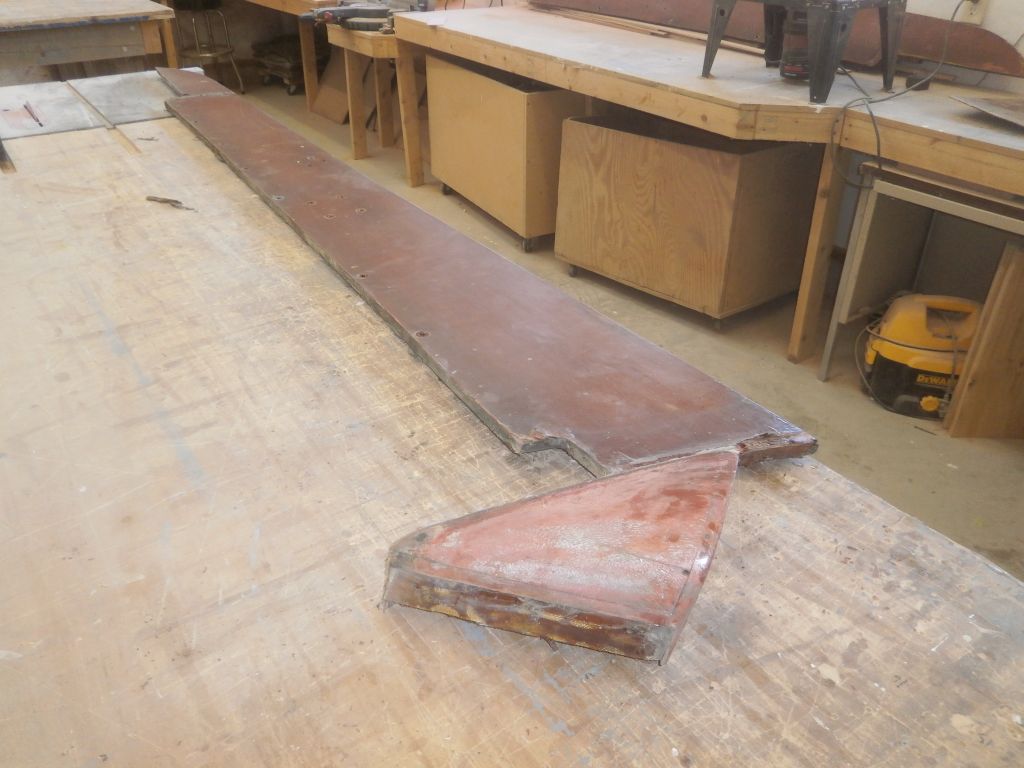
Preparing ahead for building the new cockpit coamings (the new teak was now on hand), I removed the remaining hardware from the old coamings, and removed the coaming return blocks in order to make the old coamings easier to use for patterning. I also dug out the companionway swashboards to get ready to strip and refinish them.

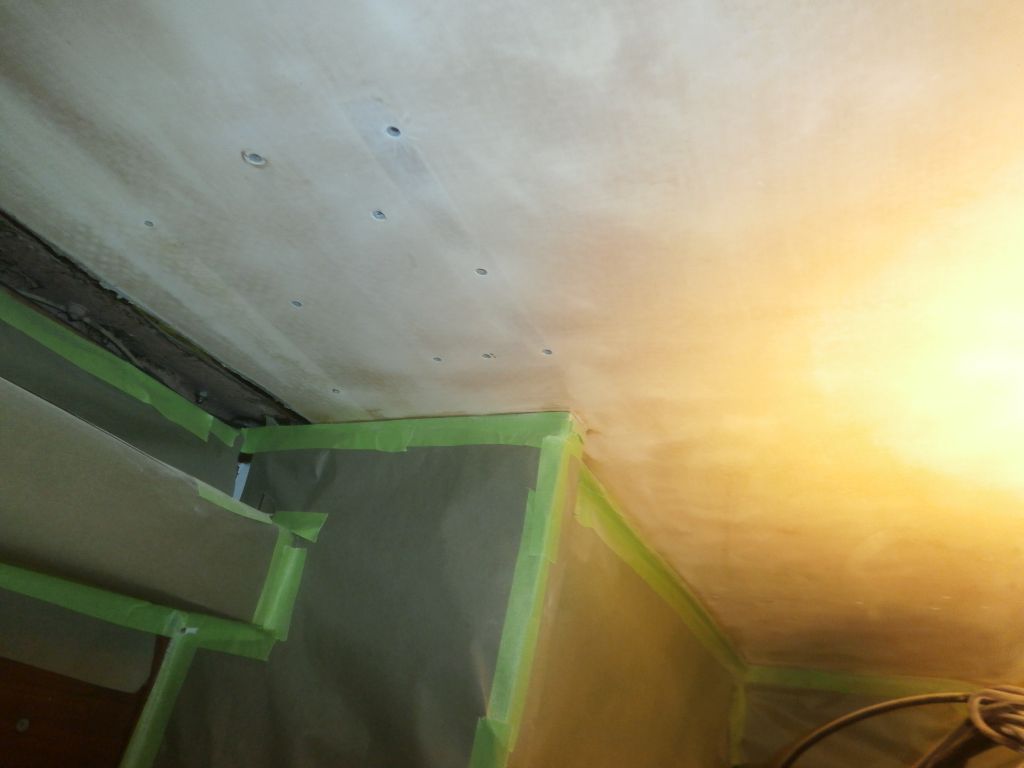
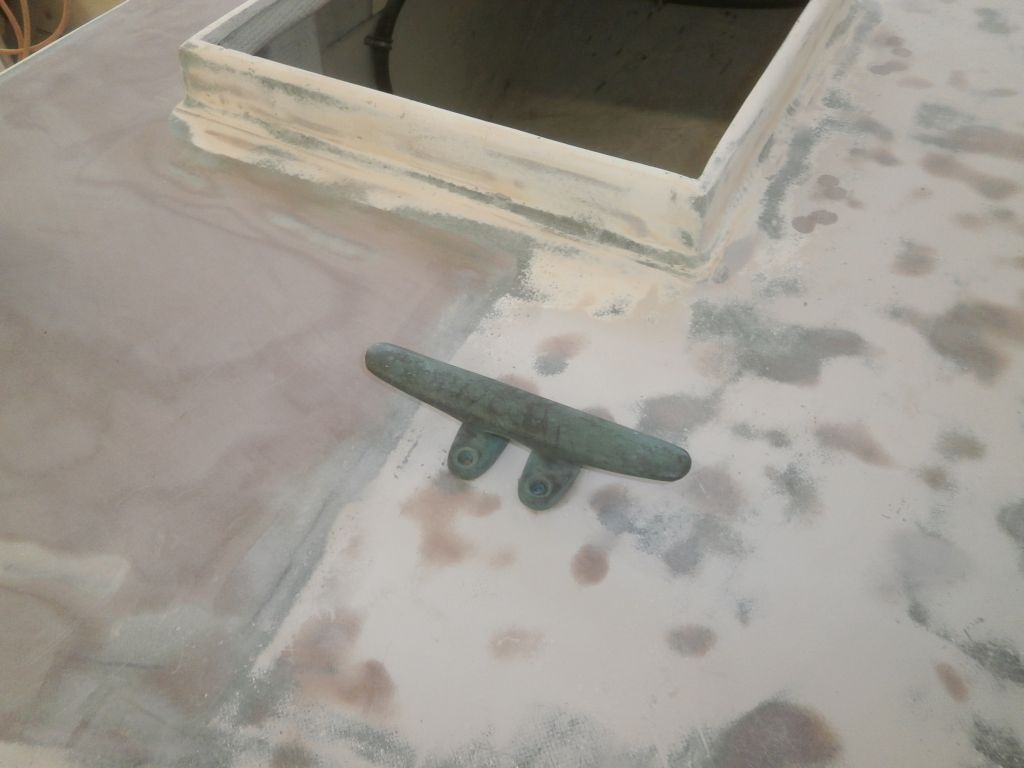
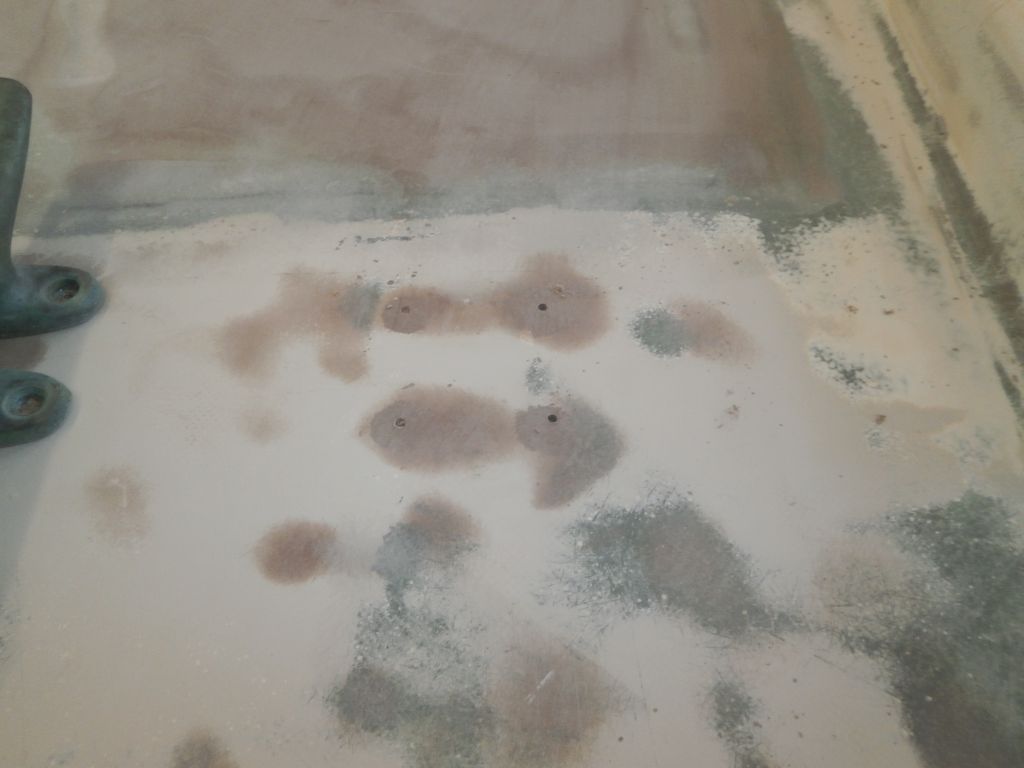
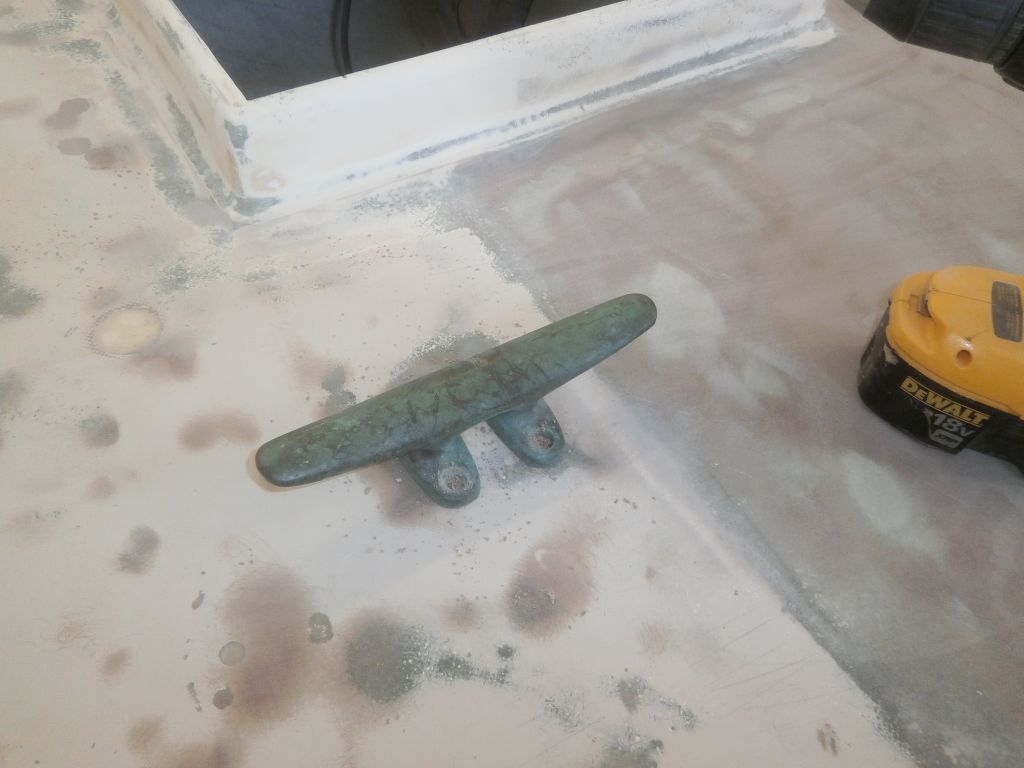
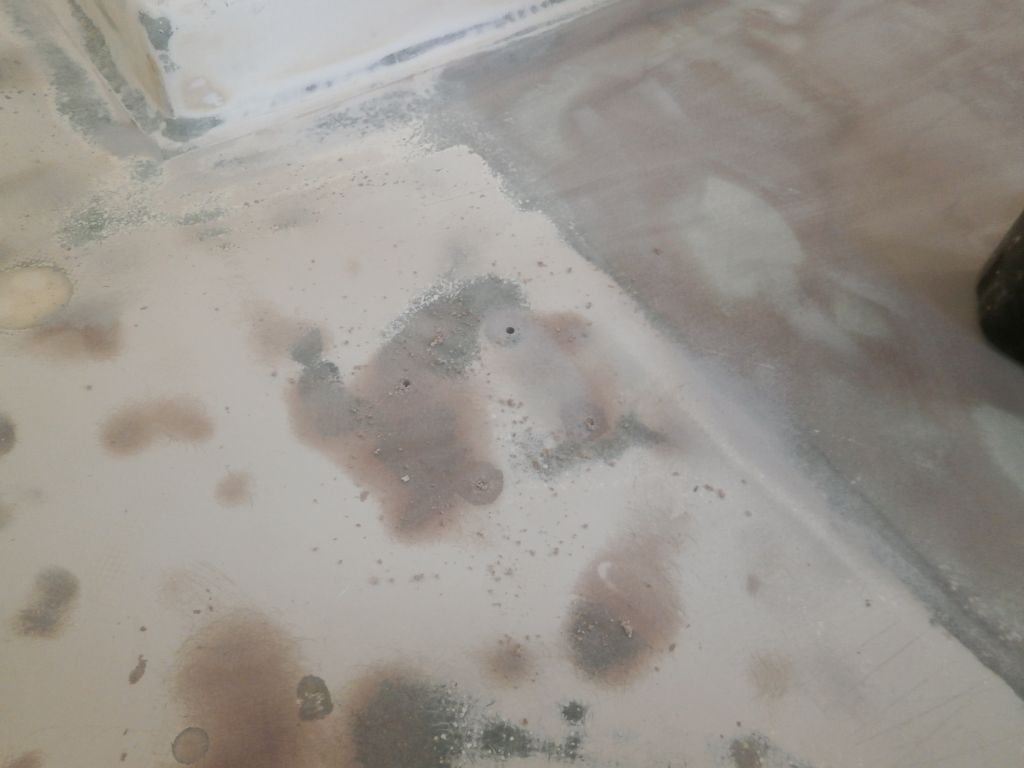
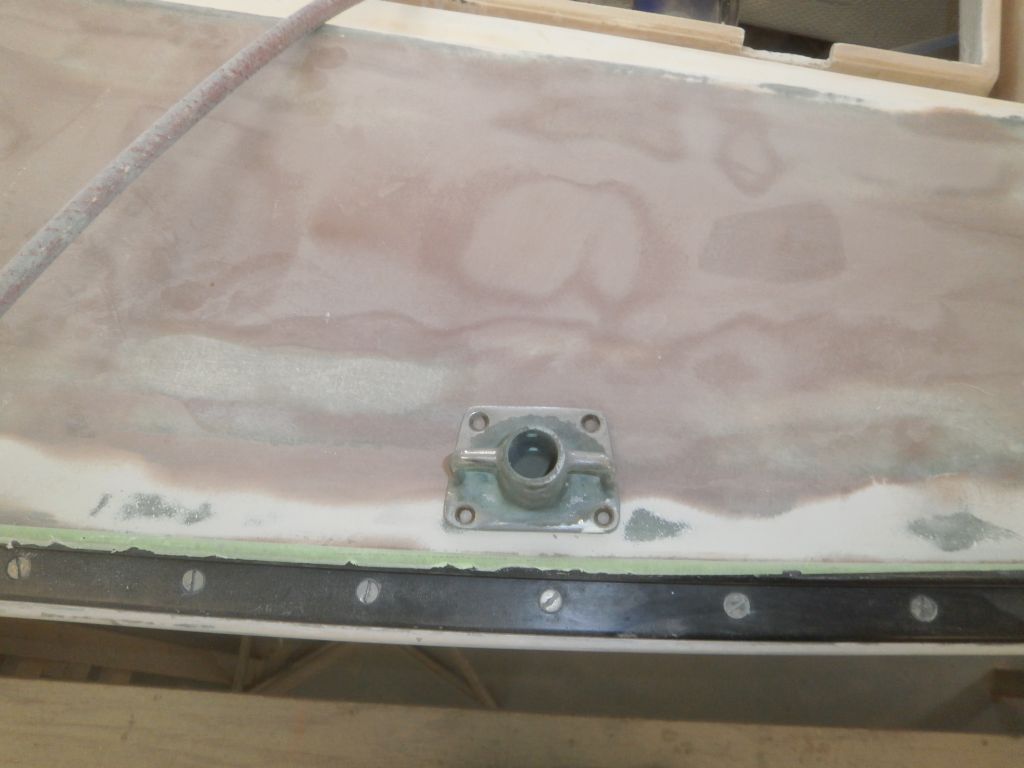
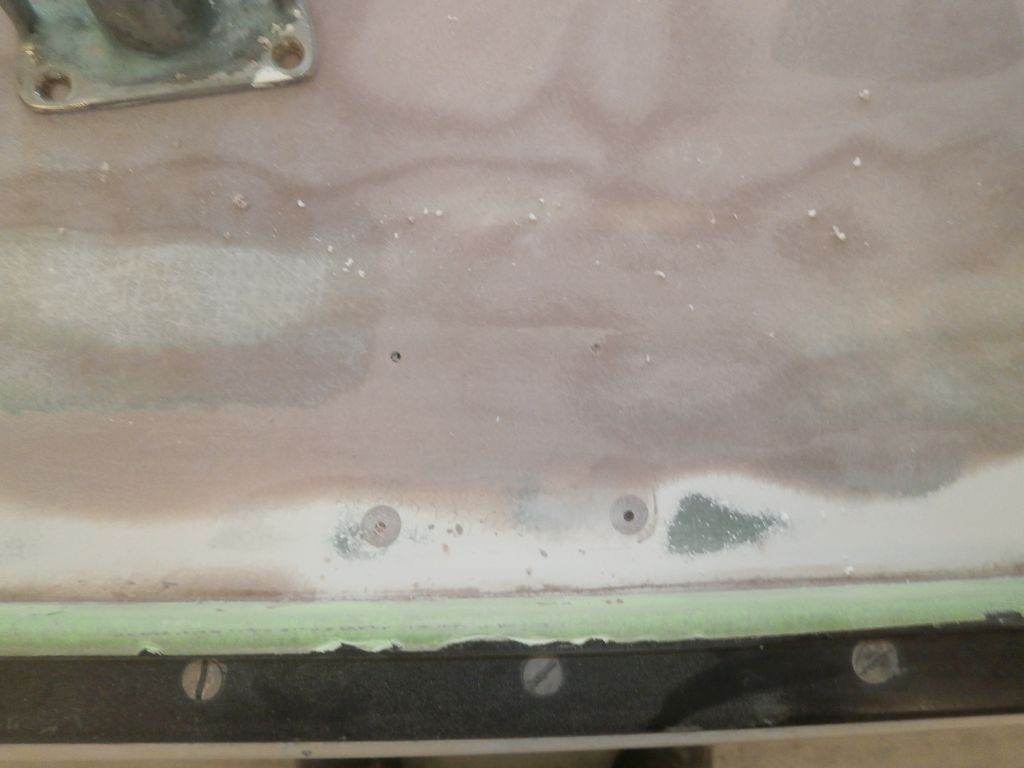
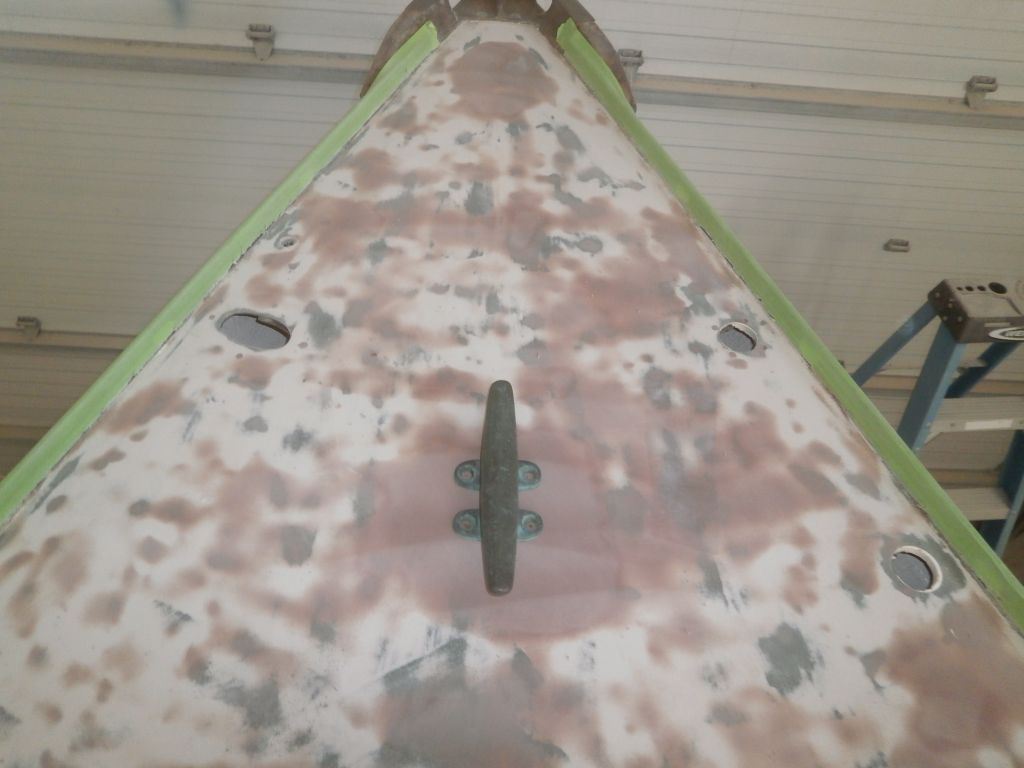
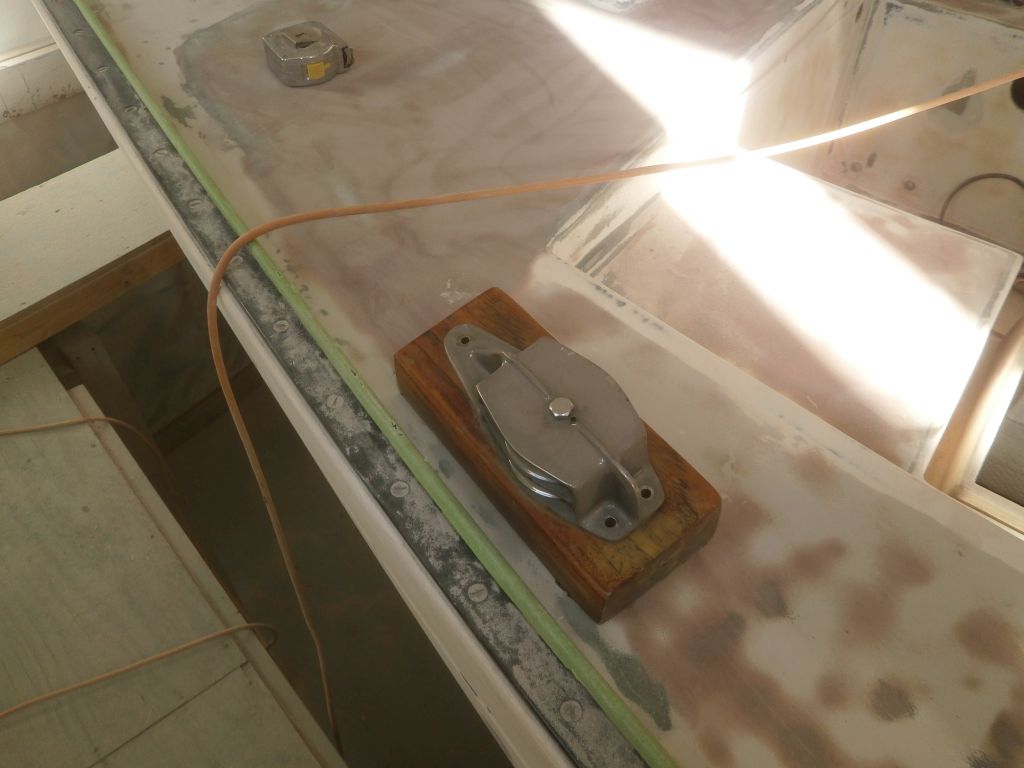
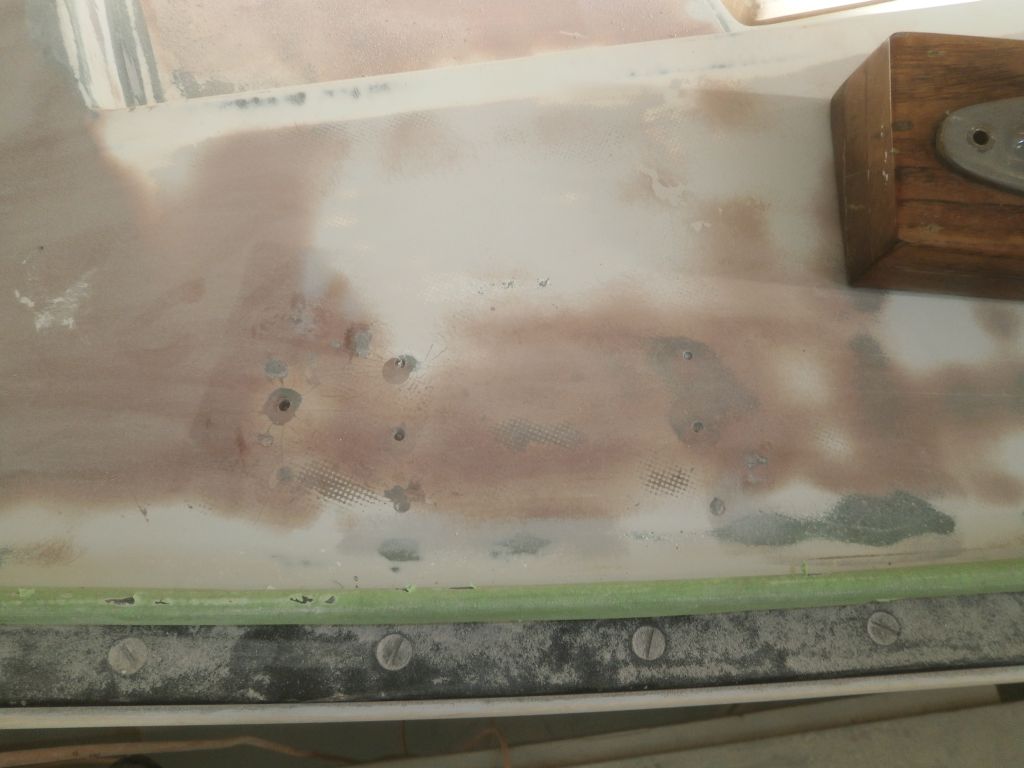
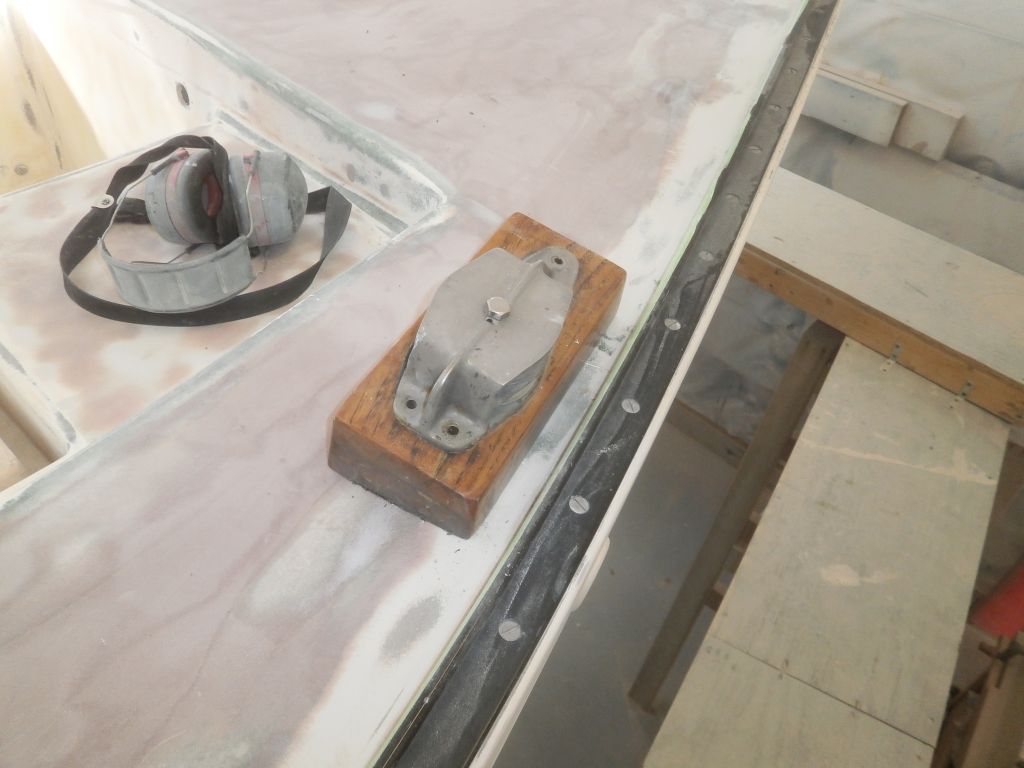
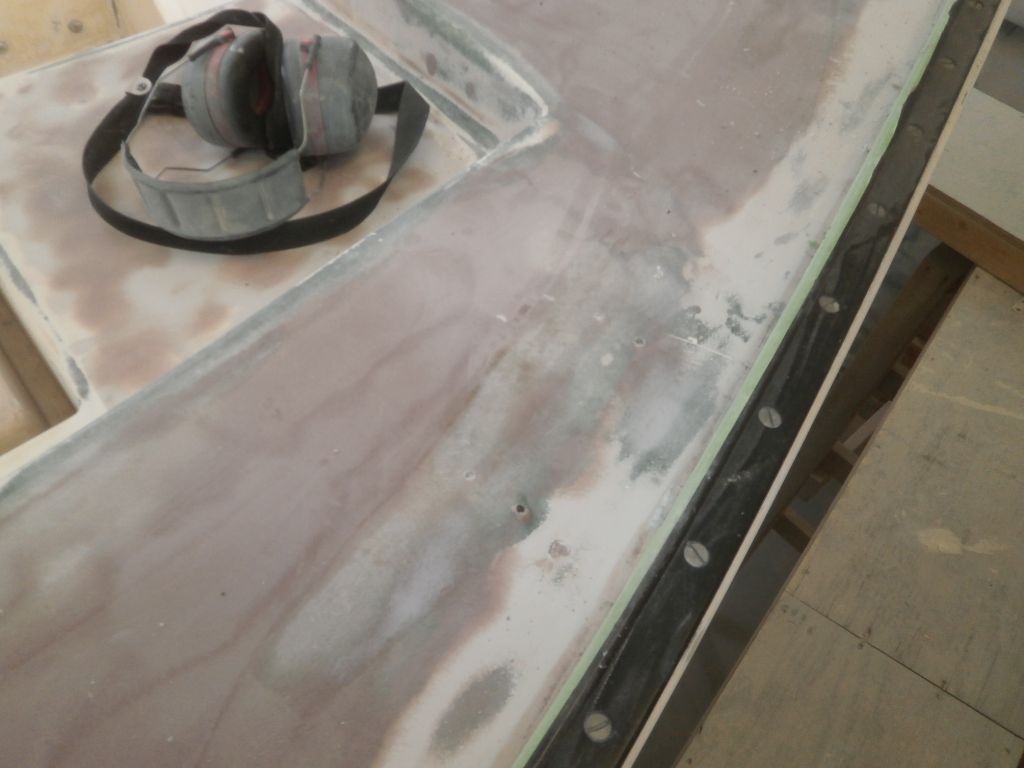
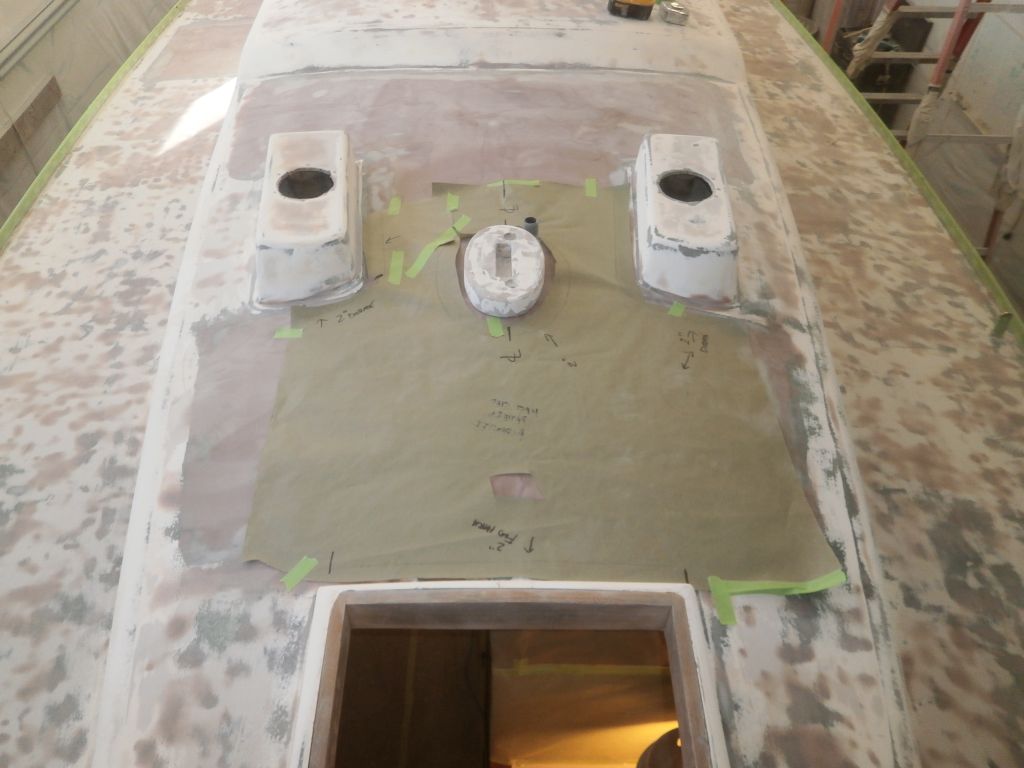
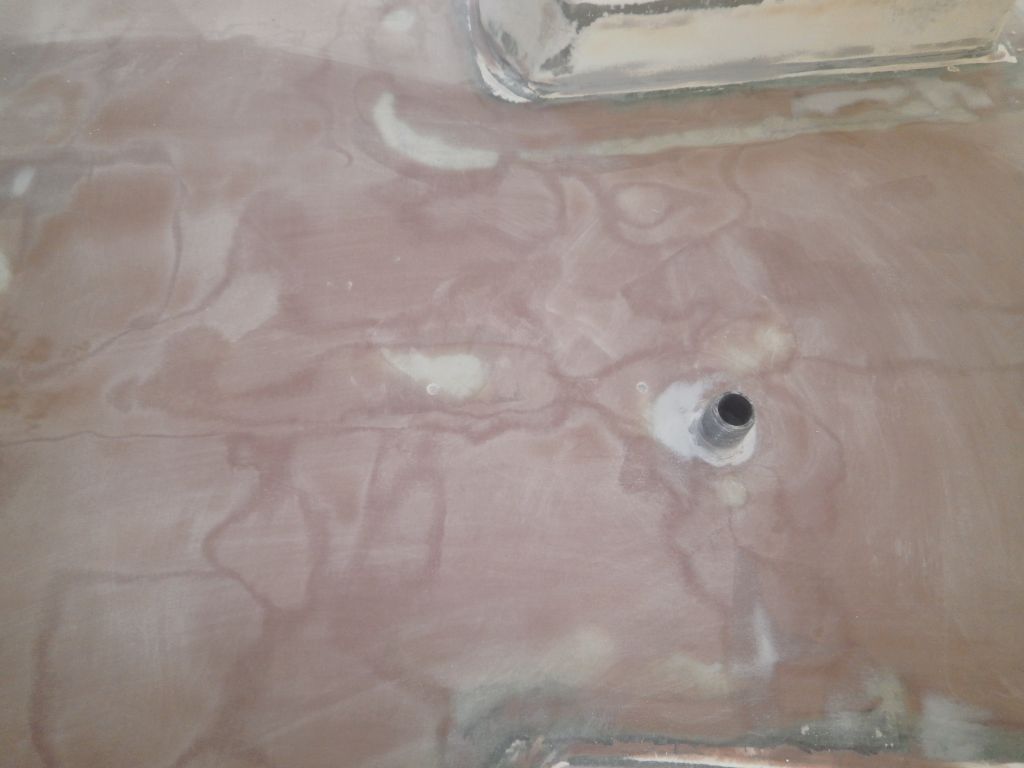
Because I'd prepped and filled all the old fastener holes on deck during repairs and surfacing, there were a few hardware installations for which I wanted to mark the fastener locations now, while I could still see the original locations before painting--in particular, the stanchion bases and mooring cleats, plus the genoa sheet turning blocks. Anything that I could reinstall without pre-marking I left alone.
In each instance, I positioned the hardware over the ghosts of its old locations--checking as necessary against photos I'd taken during removal--and drilled small pilot holes deep enough to remain visible; these would give me the guideline I needed later when it was time to drill the actual fastener holes and reinstall the hardware.
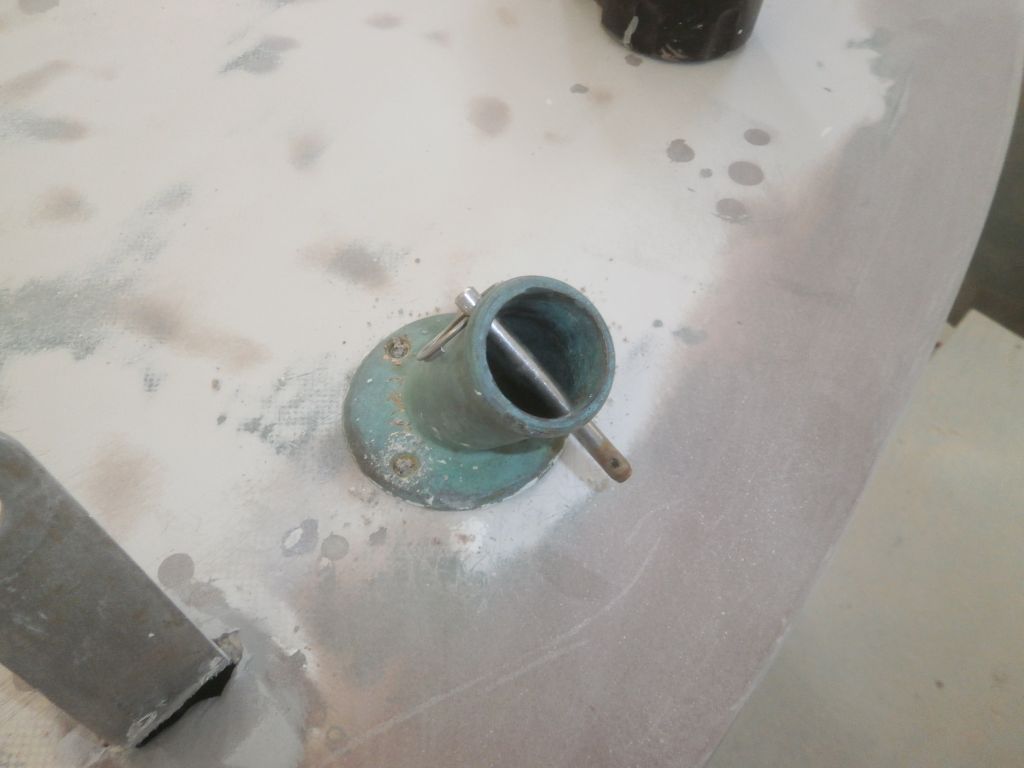
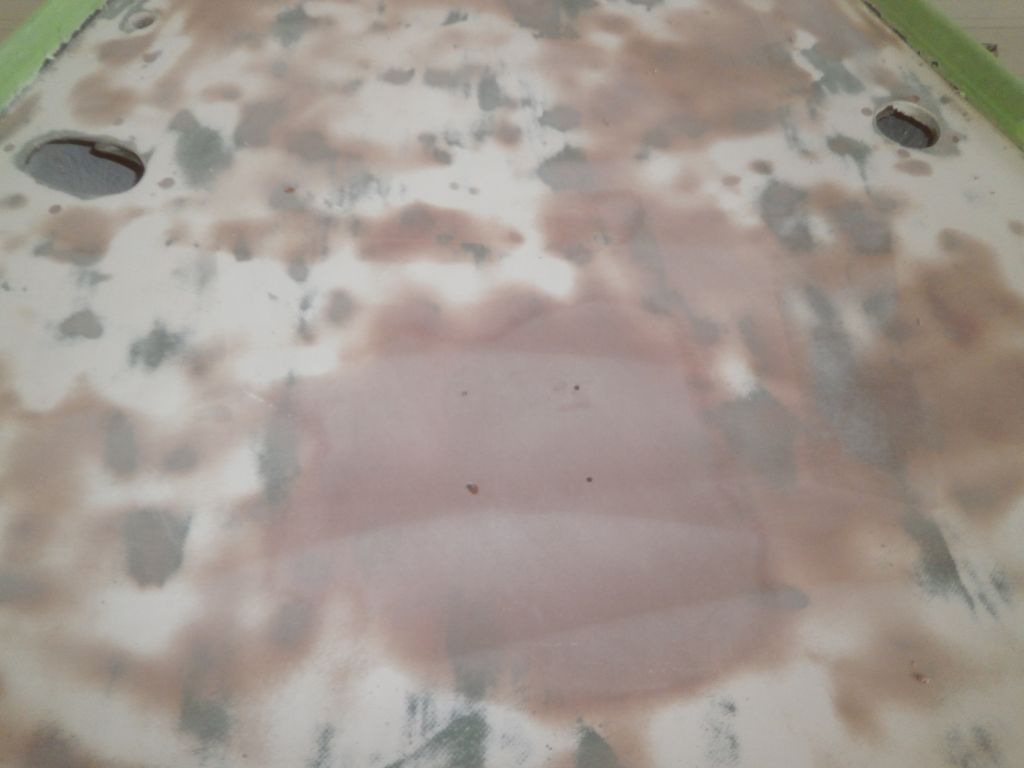
Using my template that I'd created earlier in the deck process, I relocated the mast step, measuring off the template from my layout lines to the nearby structures as required to align it. Then, I drilled two partial pilot holes in the deck so I could easily locate the step later, after painting.
To use up the day, I removed the masking tape from the toerails; I'd installed this tape quickly to protect the rails during deck fairing and filling, but I'd need to retape them accurately before painting. This was a tedious, but necessary, job.
Total Time Billed on This Job Today: 7.25
Hours
