

October 28, 2016
Acadia 26
Friday
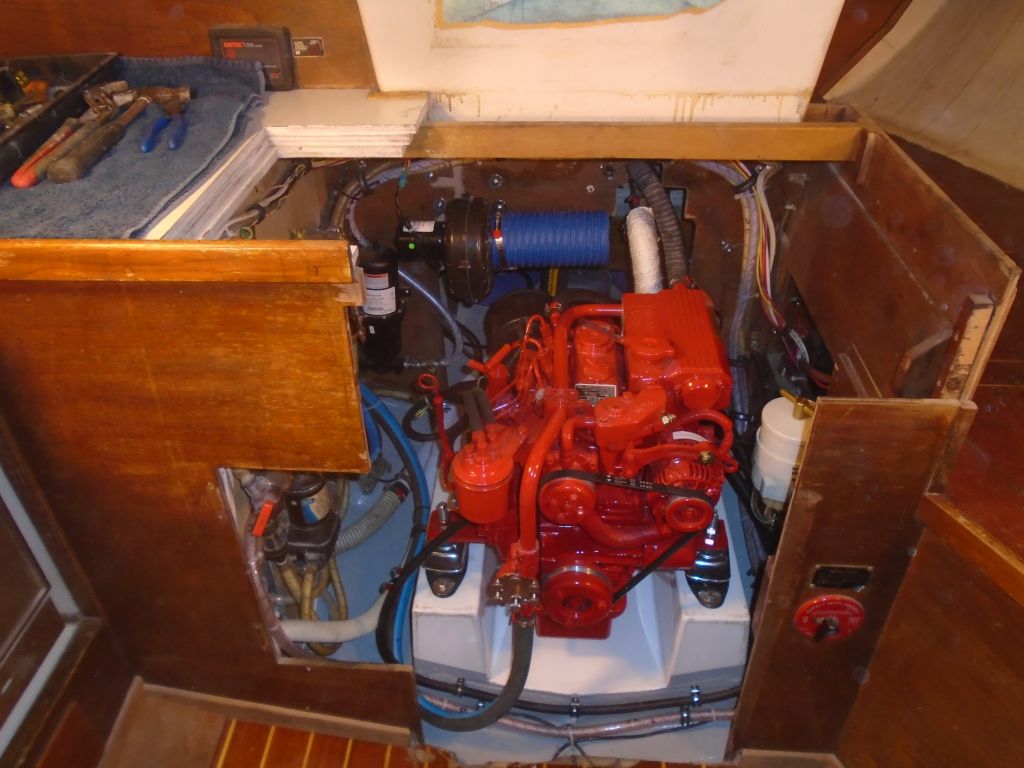
In the engine room, I ran lengths of 5/8″ water heater hose from the barbed outlet and inlet provided on the engine’s fresh water cooling system. These hoses would provide engine heating to a new potable water heater in a nearby locker. I secured the hoses to one another and out of the way as necessary, and left the lengths long in the water heater locker for later connection.
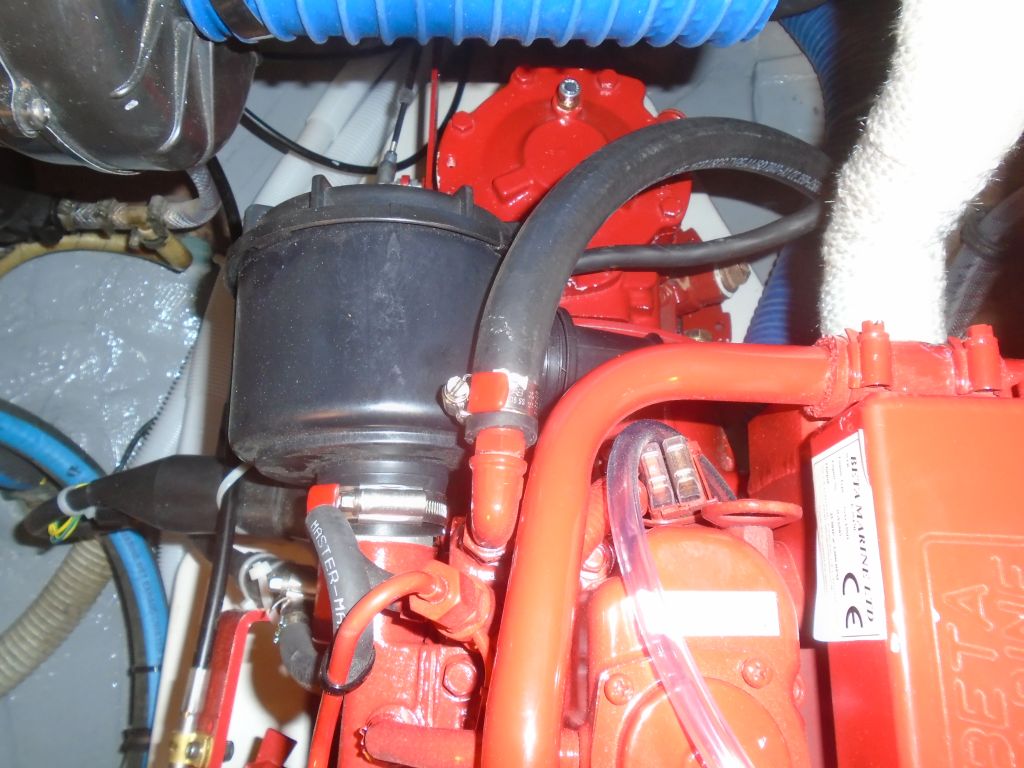
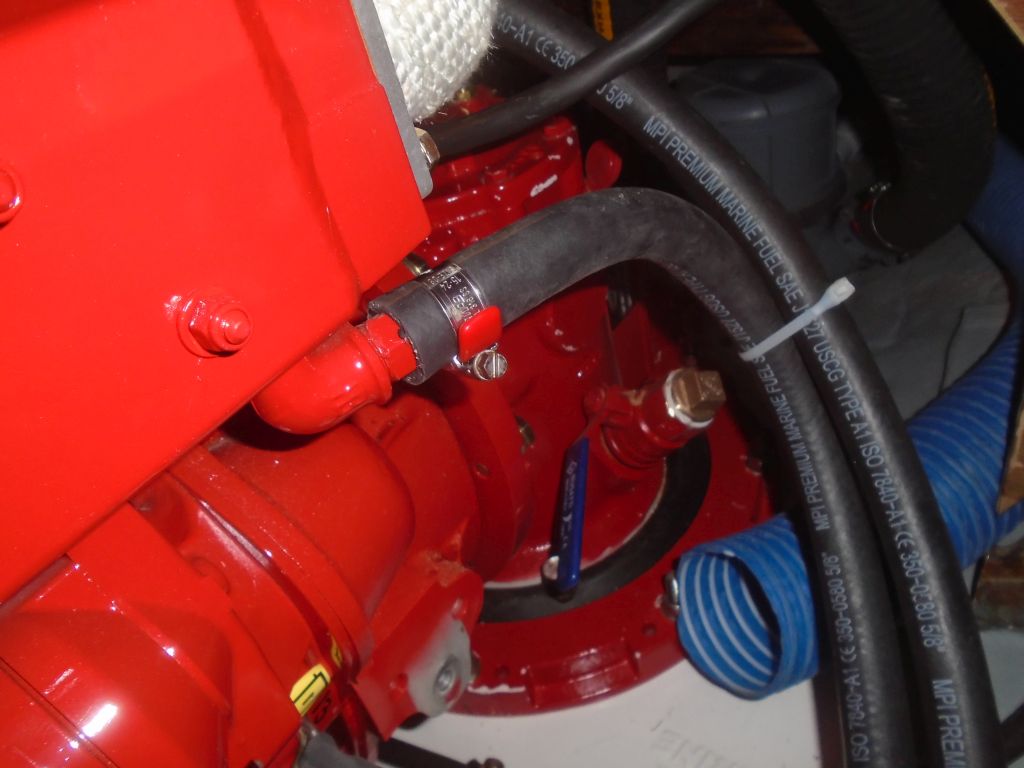

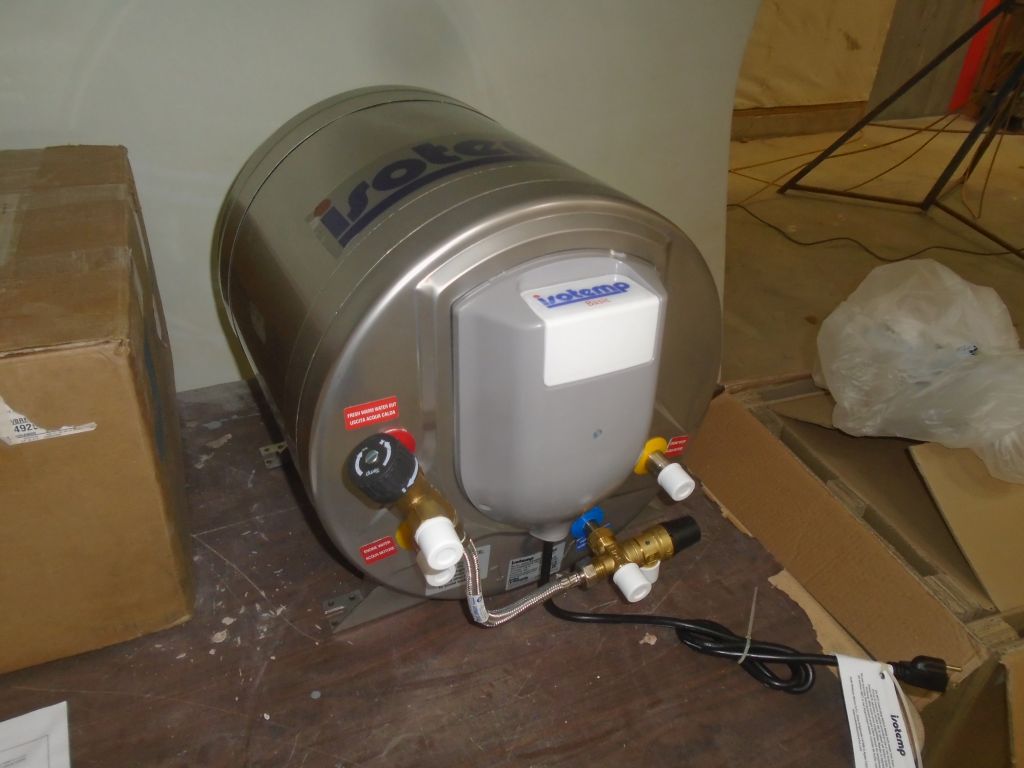
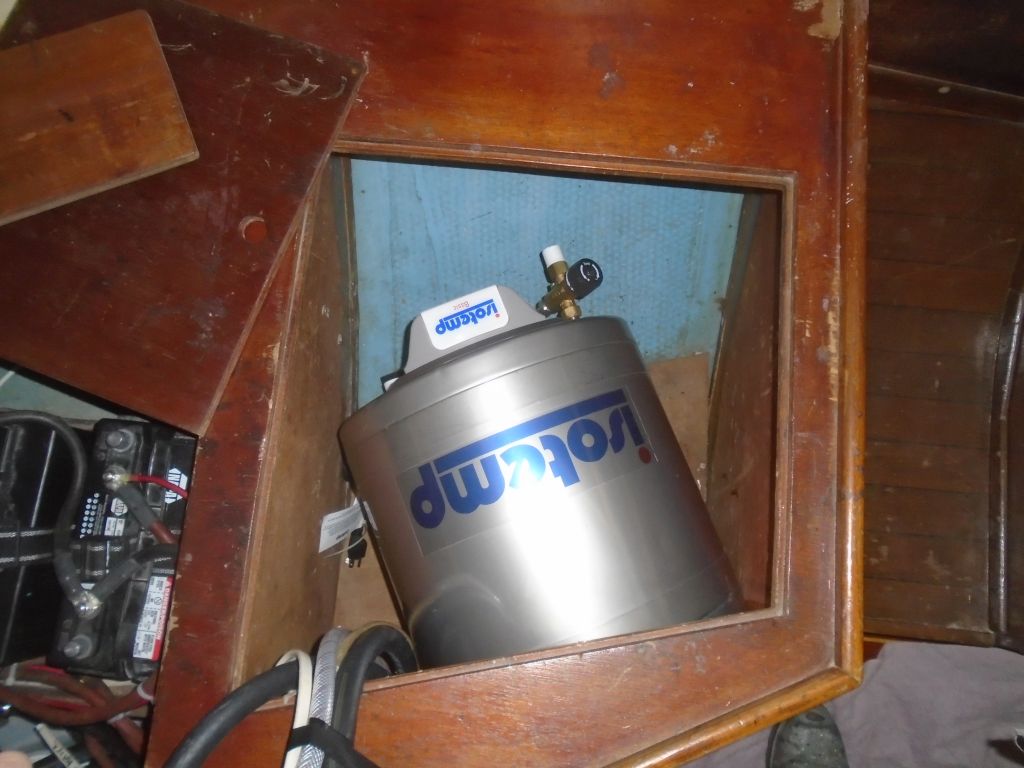
The new water itself was a stainless steel 6.5 gallon cylinder, fired by both engine coolant bypass and 110V AC electric. For now, I squeezed the tank into the locker to check the fit, and noted the pipe-hose connections required for the four connections. Previous experience with this heater had reminded me that at least one of the connections was an odd thread type (BSPT thread); the remaining three required 1/2″ NPT female threads. I ordered the requisite connectors so I’d have them on hand when I was ready to complete the heater installation.
In the cockpit, I made up the connections between the engine control cables, which I’d earlier fitted with the original clevises from the old cables, and the controls on the pedestal. This was straightforward, and afterwards I tested the cable throw to ensure that both levers moved their respective engine controls the requisite full throw, particularly the transmission lever. The adjustments were good, so I secured the locknuts to hold the cable ends a their current point of travel. On the throttle lever, I replaced a temporary fixing screw with a new bolt to secure the handle tightly in place.
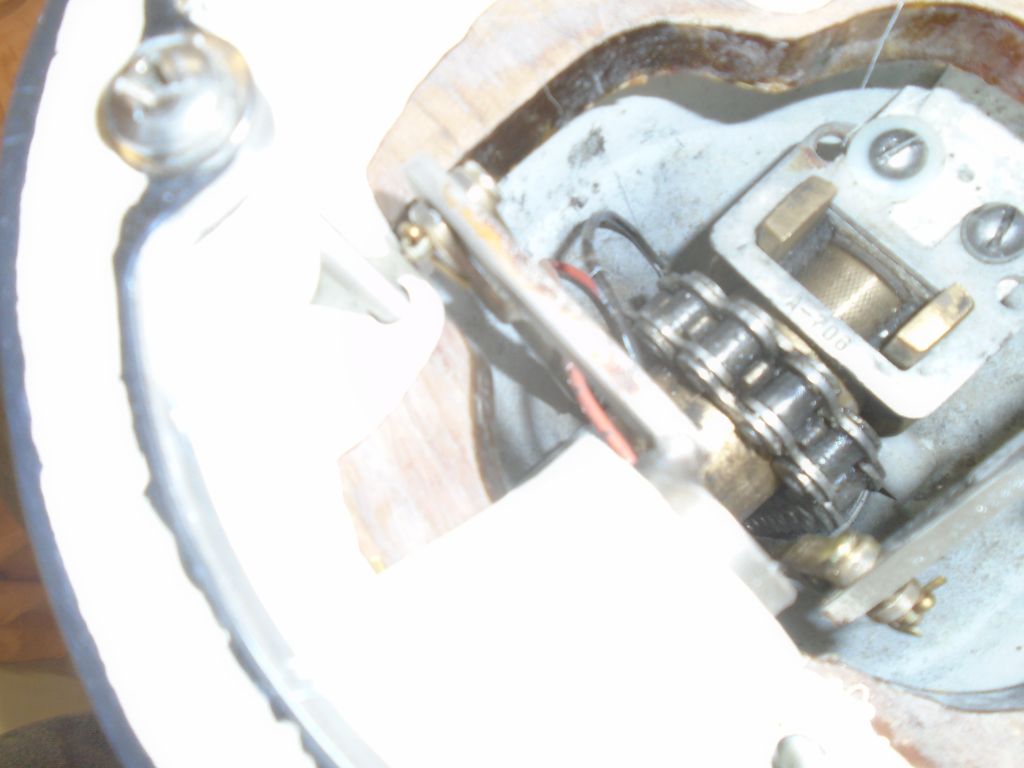
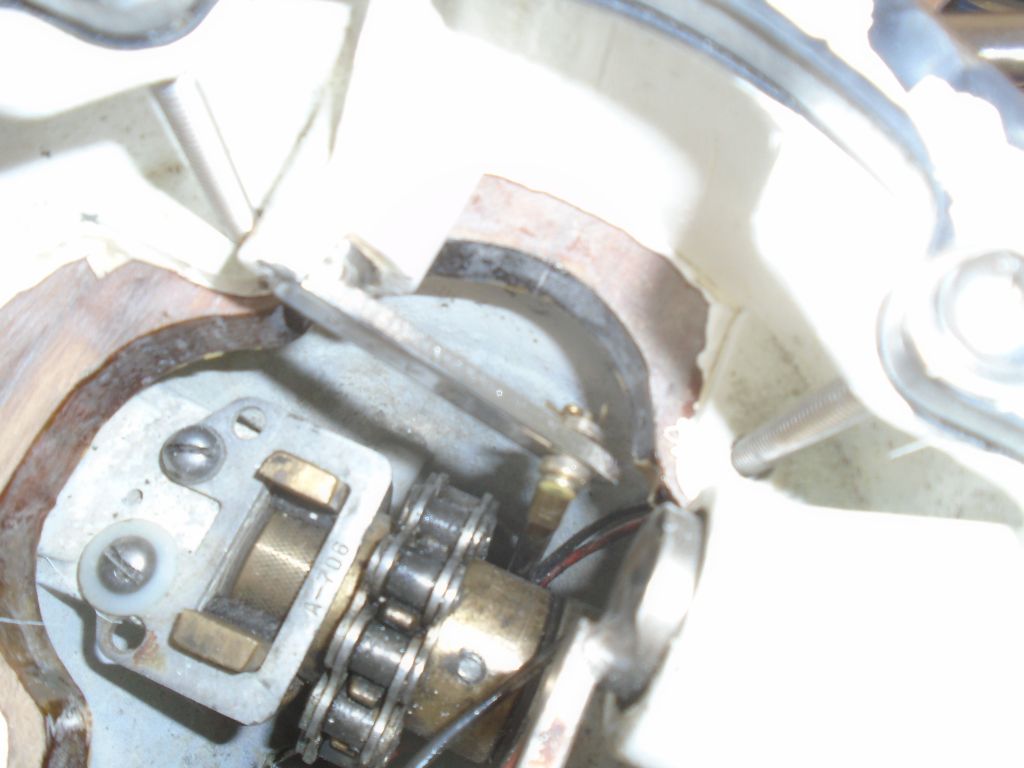
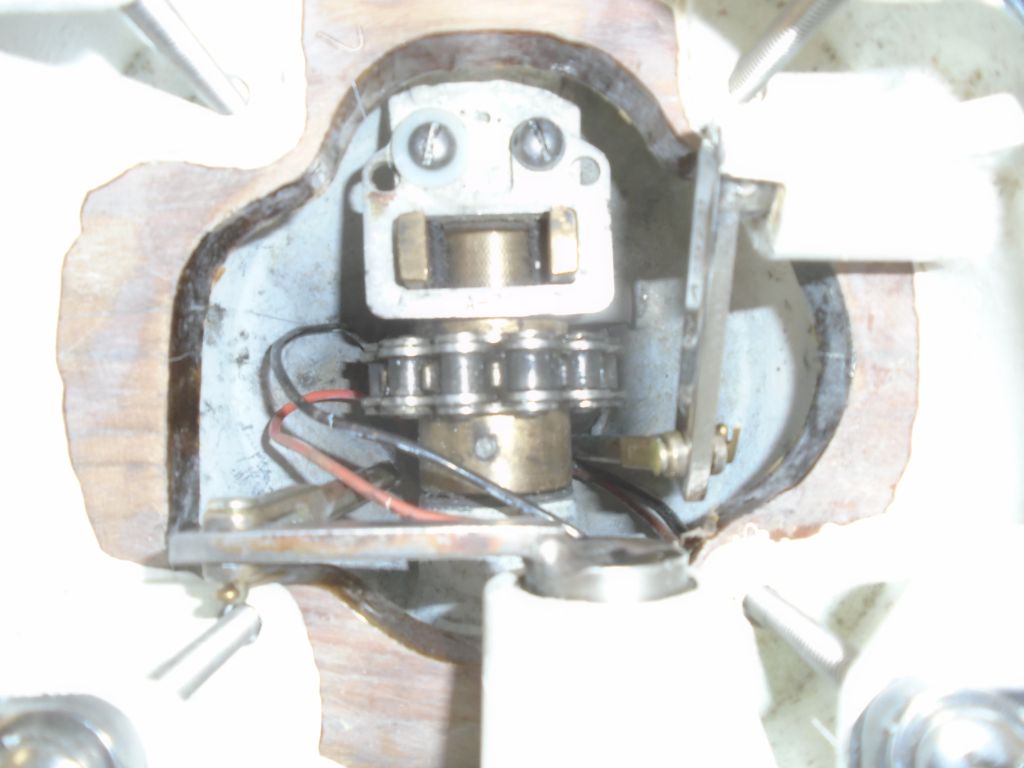
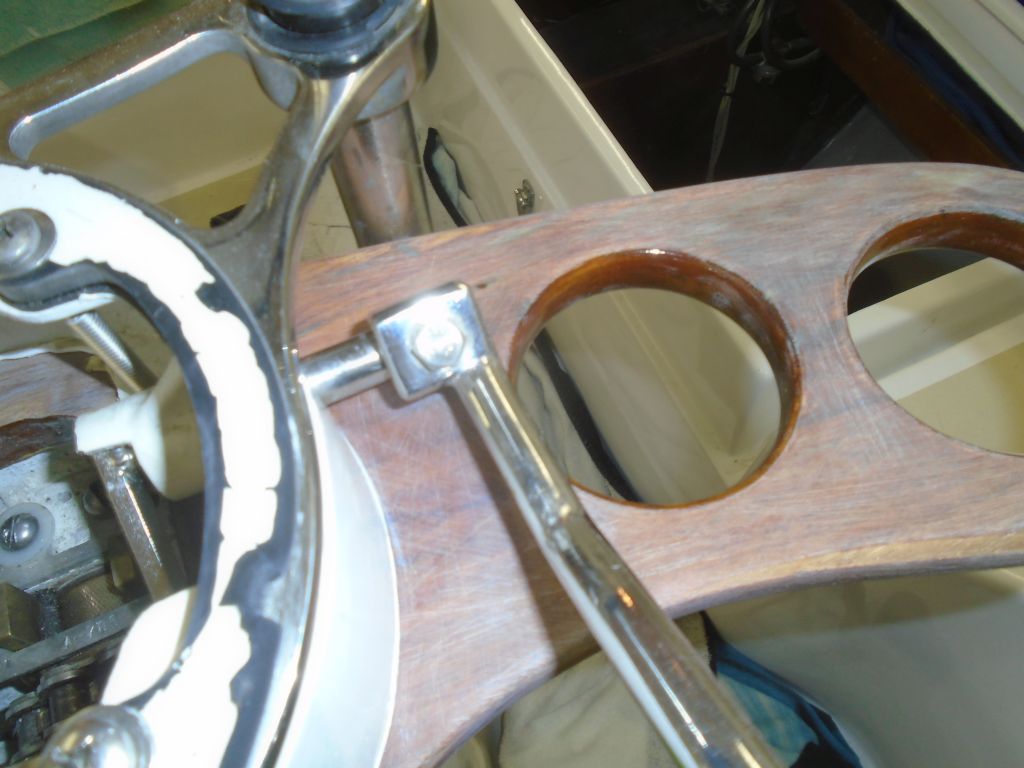
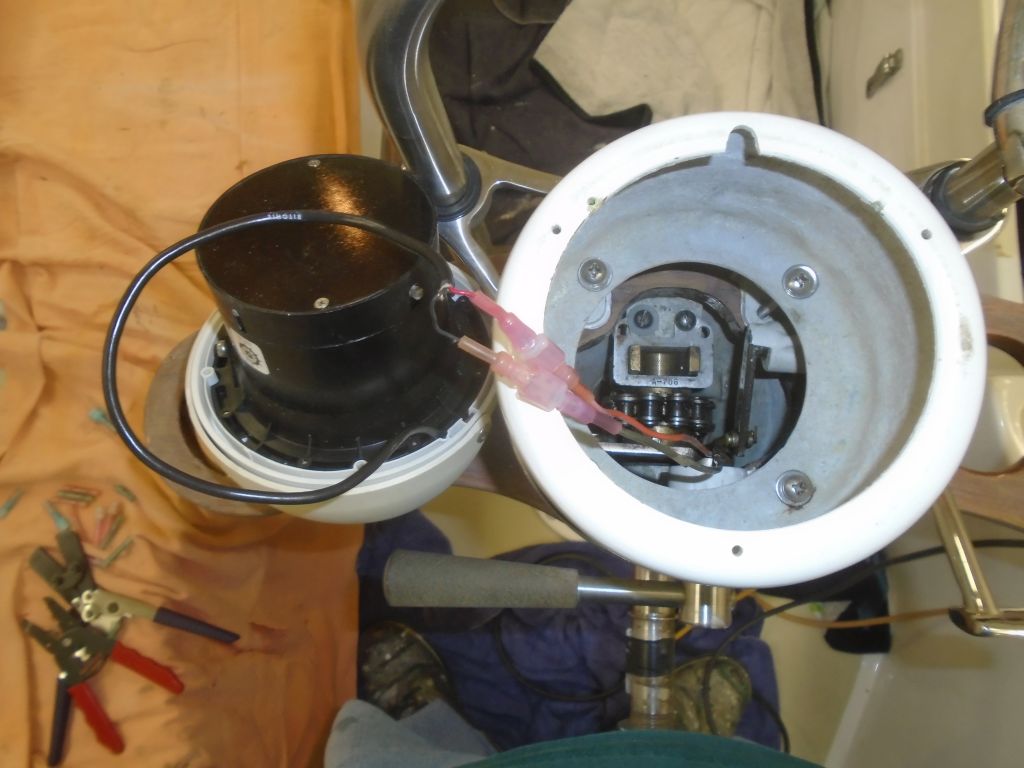
Afterwards, I made up new removable wire ends for the compass light connection, then reinstalled the binnacle and the compass itself, completing the pedestal work.

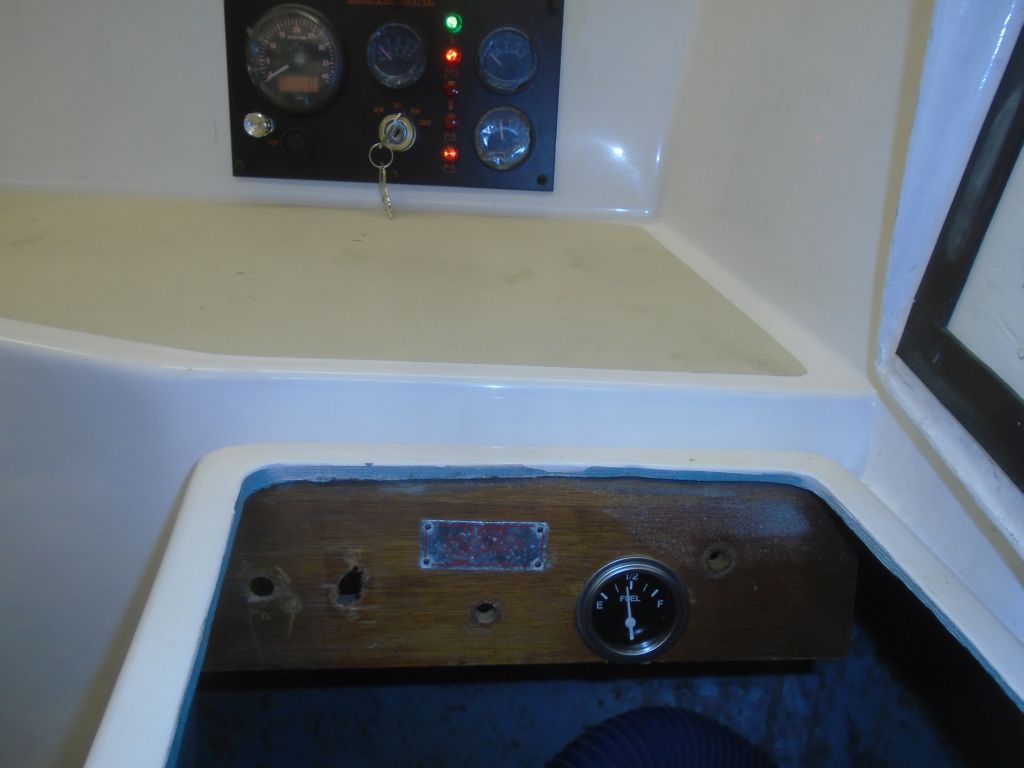
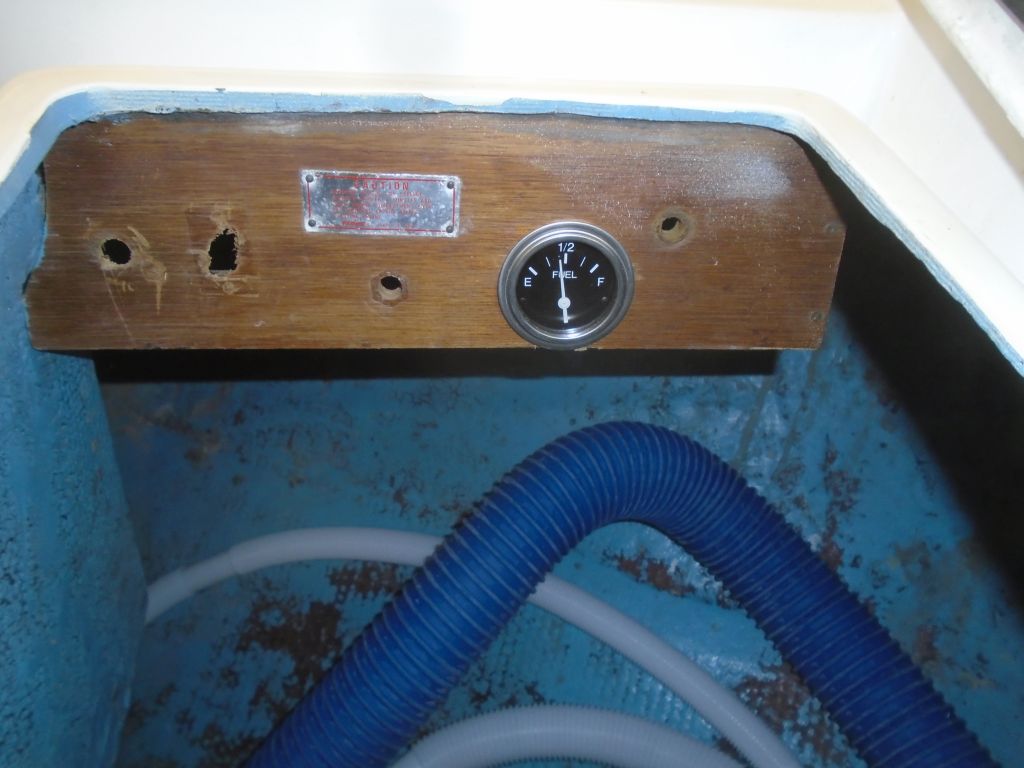
One of the reasons for installing a new fuel gauge and wiring was that the owner reported that the old gauge had not worked. I’d hoped a new gauge and wiring would take care of the problem, rather than needing to replace the fuel tank sender, so now with the boat’s electrical system reconnected, I could do a quick test to see if the new installation worked. With the engine key switch on–that’s where I’d drawn the power for the fuel gauge–the gauge lit up and provided a realistic reading, so presumably all was well with the sender.
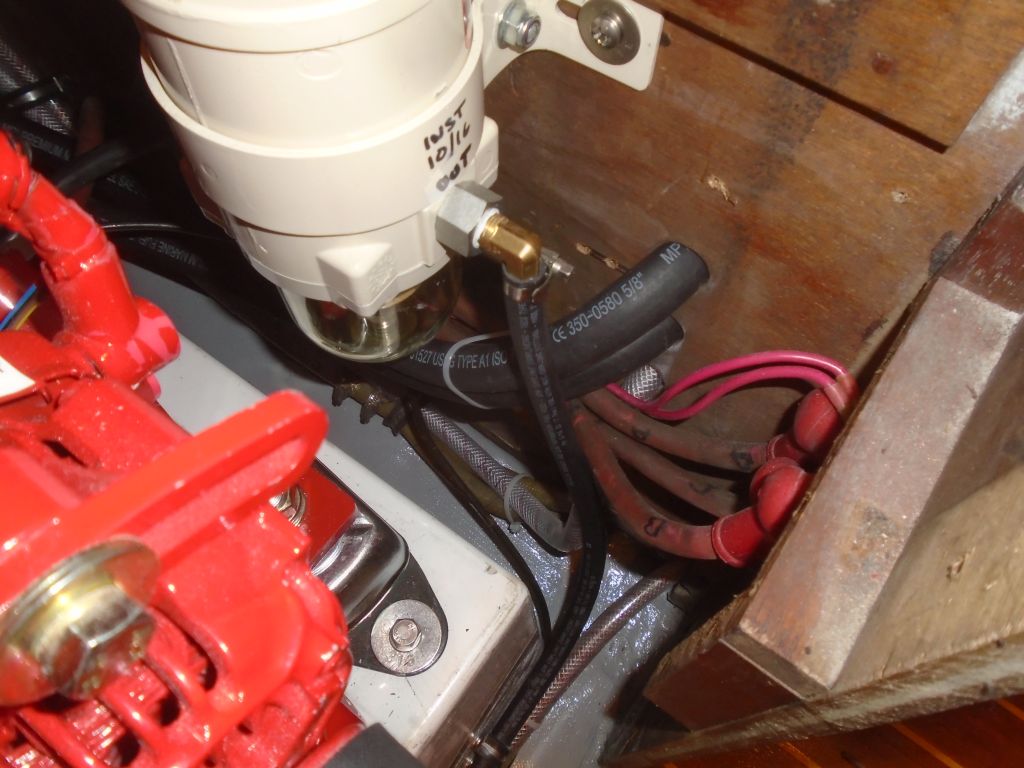
Most of the engine installation work was now complete. Still ahead I’d need to make up the final hose and power connections for the new water heater, and secure the heater in place, and also finalize the fuel supply line to the filter, which I’d held off on while awaiting a hand primer bulb to install in the line to make filling the filter easier now and in the future; this had been a last-minute decision on my part, so I’d not had the bulb on hand. I checked the engine fluids for future reference: all were empty, as expected, including the transmission. Final engine testing would await spring and the time just before launching. I started some of the reassembly of the engine room, including a cross beam at the after end, and a cleat and removable panel on the port side.
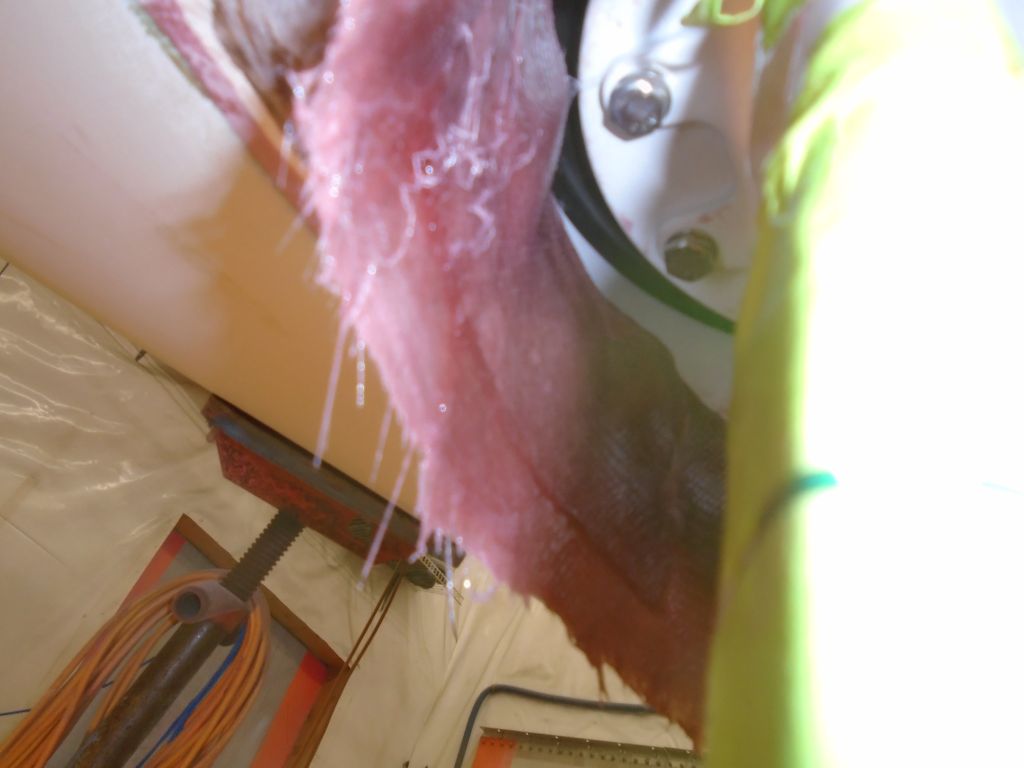
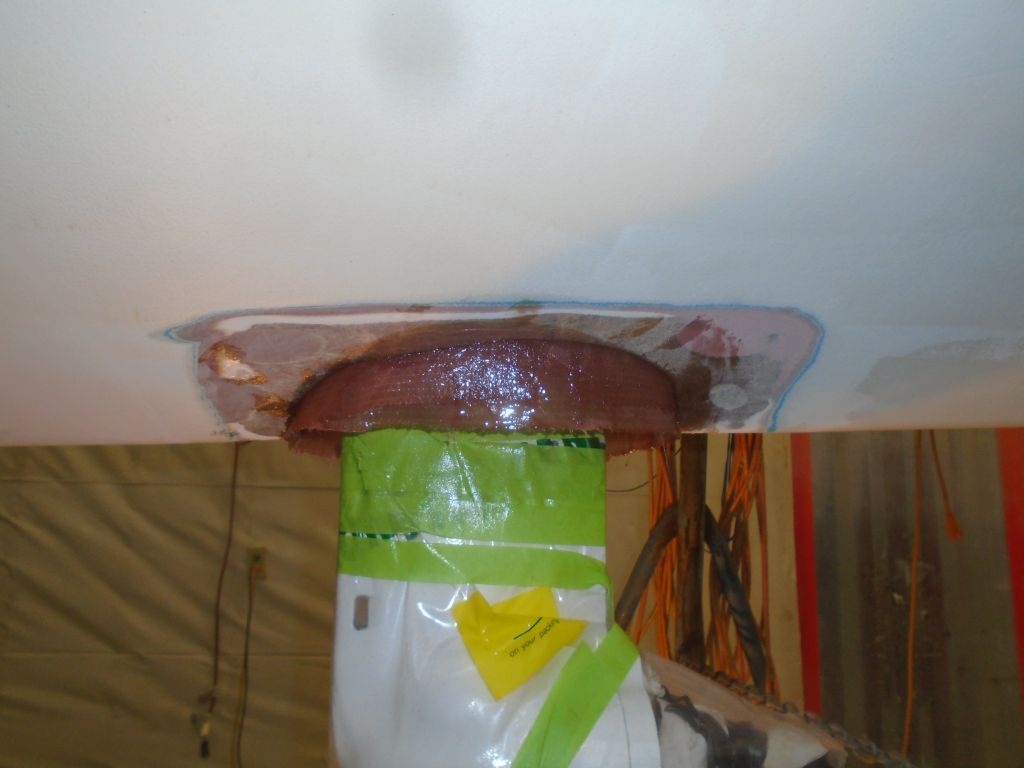
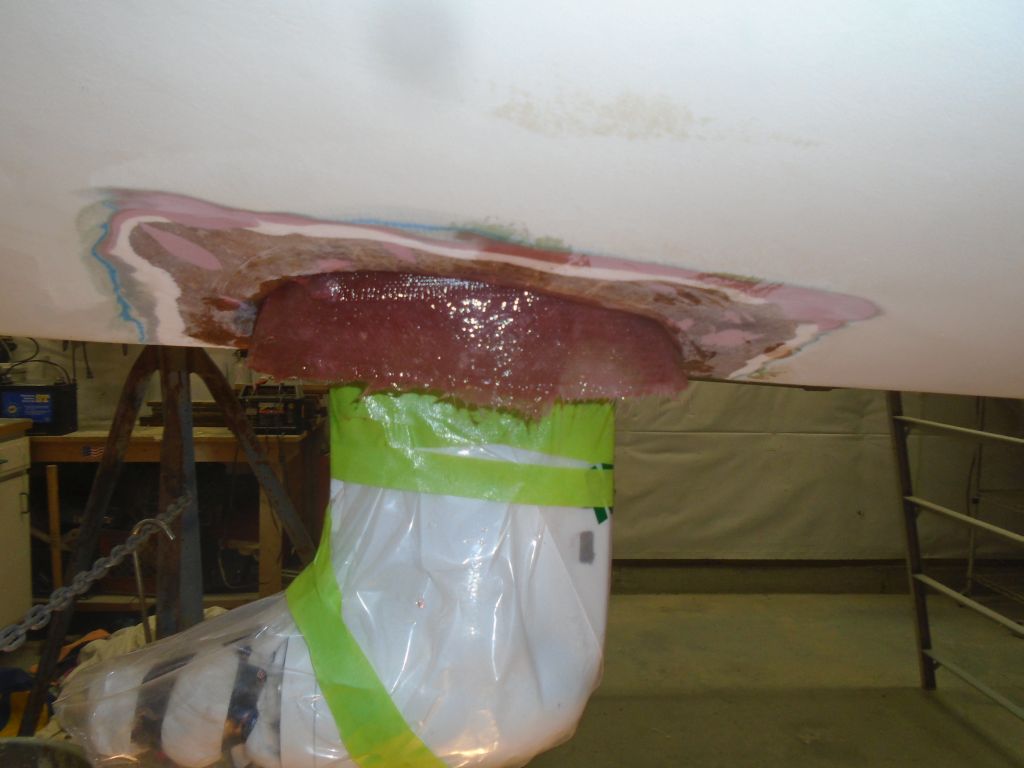
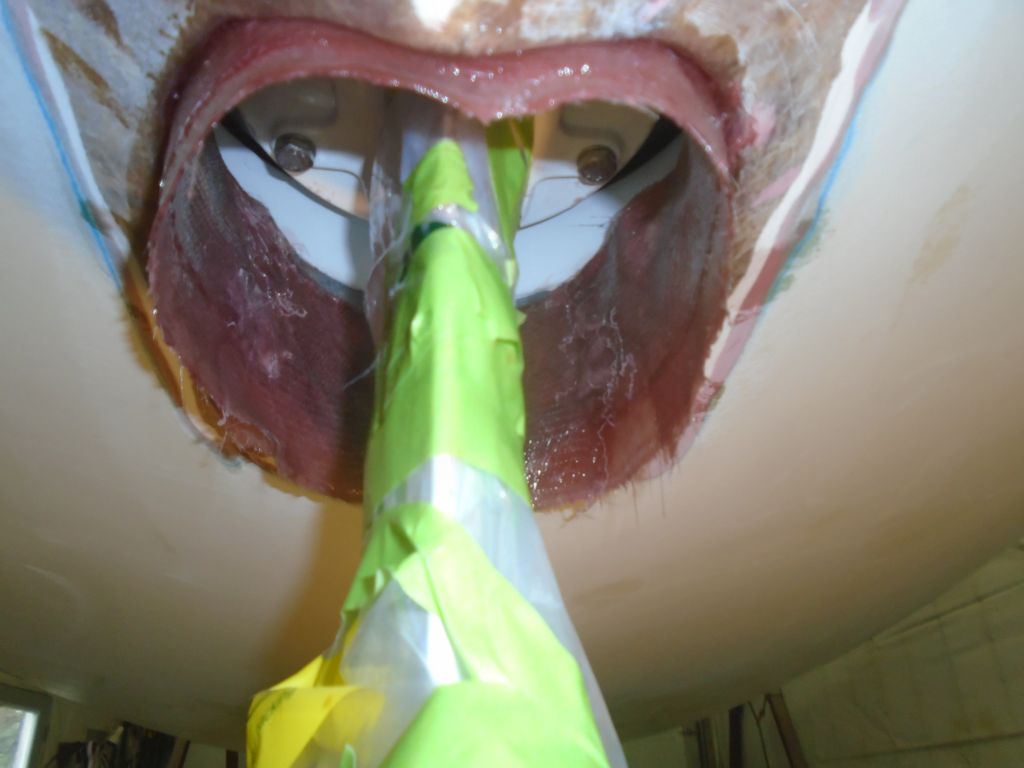
Later, and after final preparations, I installed fiberglass within the Saildrive leg opening, bonding the engine foundation to the hull inside the opening. To begin, I wrapped two layers of lighter cloth (10 oz. roving) over the patches in the widened part of the opening, and over the top onto the molded edge of the circular opening above. I used the lighter material here as I thought it’d hold the firmer corner better than biaxial fabric. With this part of the tabbing in place, I installed two layers of 1708 biax all the way around, letting the excess run wild below the hull for later trimming. Then, I added one more layer of tabbing over the widened patch area for good measure. Access was tight, but do-able, though the work was less aesthetic than I’d normally like. But what was important was good bonding between the layers themselves, and to the hull and foundation, and I ensured that I got out any air bubbles, mainly using a gloved hand since there was no room for tools within.
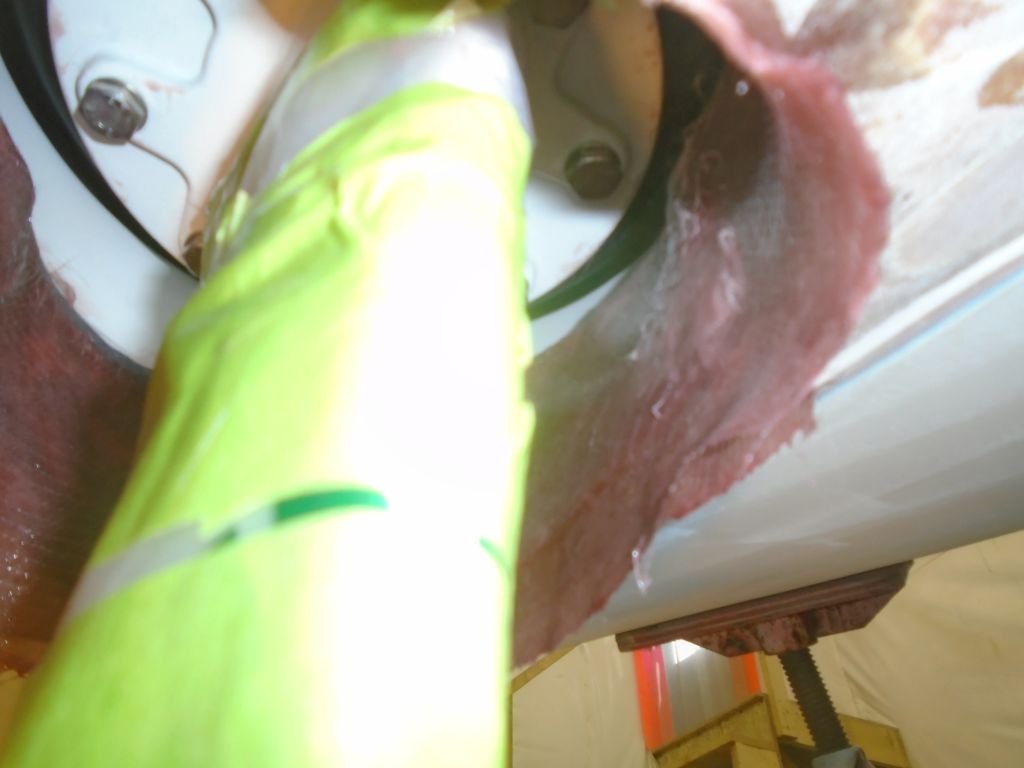
Once this material cured, I’d cut and sand away the excess, then apply a final layer, which I’d wrap out onto the hull itself along the lower corner. I’d get to that next time.
Total time billed on this job today: 4.5 hours
0600 Weather Observation:
42°, rain. Forecast for the day: Rain, 45°